Last Updated on February 25, 2024 by Mat Diekhake
While not commonly used, Windows 10 has a feature that allows you to lock the computer. It’s an alternative to logging off, “sleeping,” restarting or shutting down.
Locking the computer offers a way to stop other people from using your user account while providing the quickest alternative to getting back inside that user account and using the computer again—ideal for situations like zipping off to use the bathroom in an office environment for example.
Computers running newer versions of Windows these days startup quicker than ever before, but there is still an advantage of locking and unlocking over the likes of “sleeping” or logging off.
Once a computer is locked, you’ll need to enter a password to unlock it again. After that, there is minimal delay before you can start using the computer. Windows 10 doesn’t offer any sound by default for when the computer is being unlocked, but it’s possible to change that by scheduling a task for it in the Windows 10 Task Scheduler.
How to Play Sound when Unlocking Computer in Windows 10
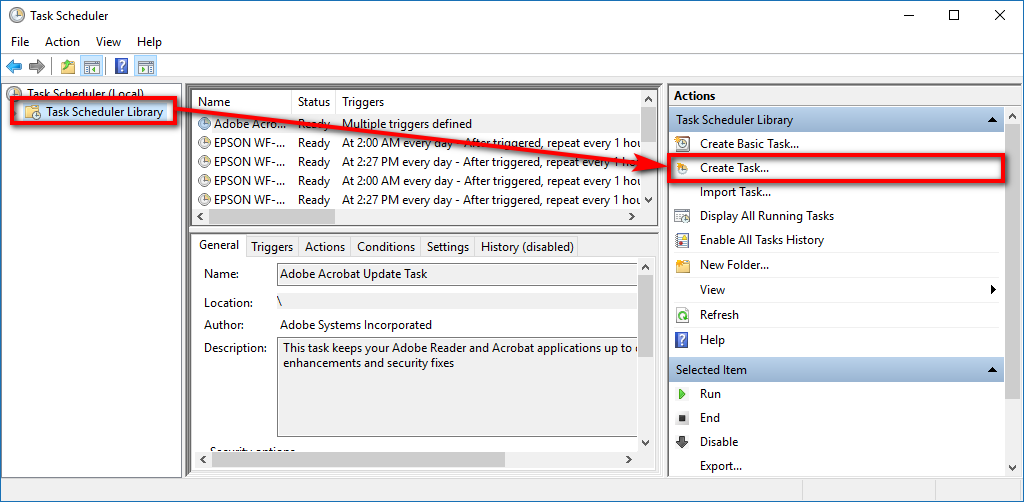
You can play a sound when unlocking the computer from its locked state in Windows 10 by using the Task Scheduler and creating a new task for it. To do that, press the Windows logo + R keys to bring up the Run dialog box and then type “taskschd.msc” into Run’s available field and then click on the “OK” button.
You’ll now have the Task Scheduler windows open. Click on the “Task Scheduler Library” in the left pane and then click on the “Create Task” in the right side pane so you can begin creating a new task.
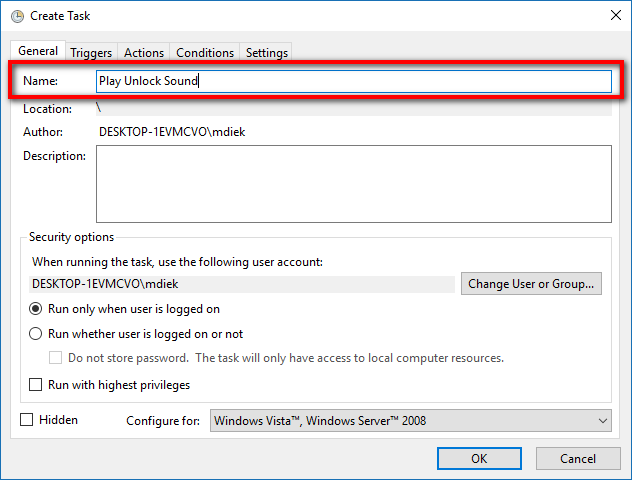
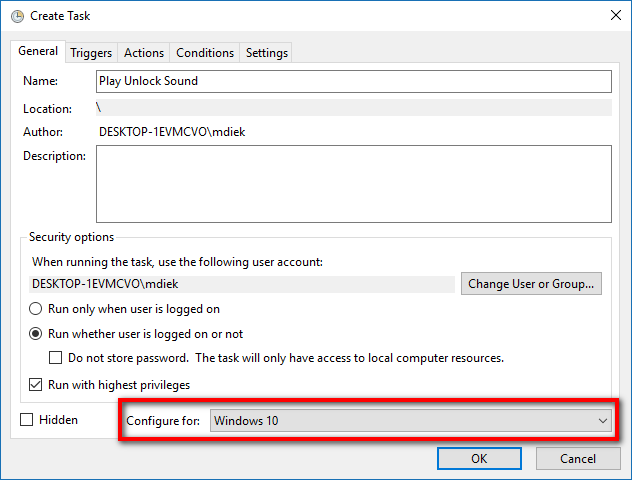
Where it says the “Name,” put “Play Unlock Sound” so that you can easily identify it from the scheduler.
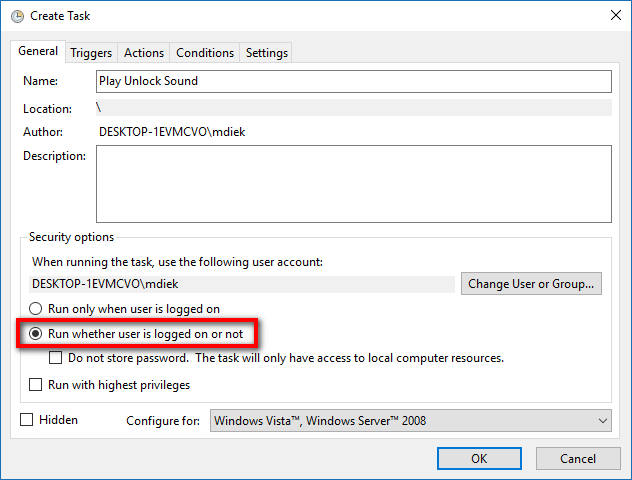
Change the checkmark from its default location to the “Run whether the user is logged on or not” so that the new task will always run and thus allow for the sound when logging back in to Windows.
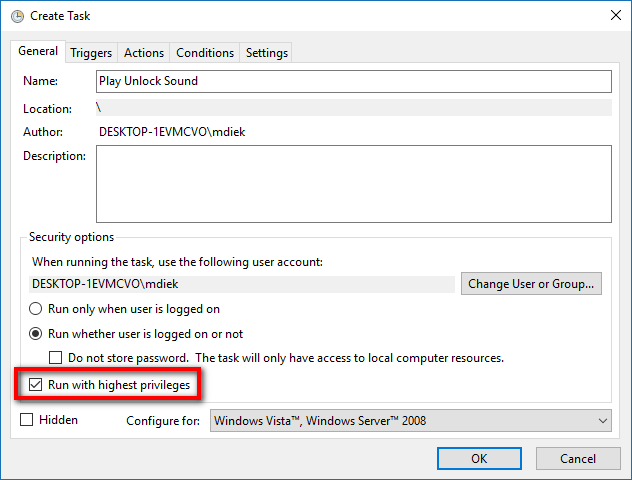
Also, make sure you click on the “Run with highest privileges” so there is now a checkmark in that box as you need to make sure this new task has the elevated level of permissions or else the sound won’t work.
At the very bottom of the window is the drop-won menu for “Configure for” that you now need to click and then select the “Windows 10” operating system from the list of options.
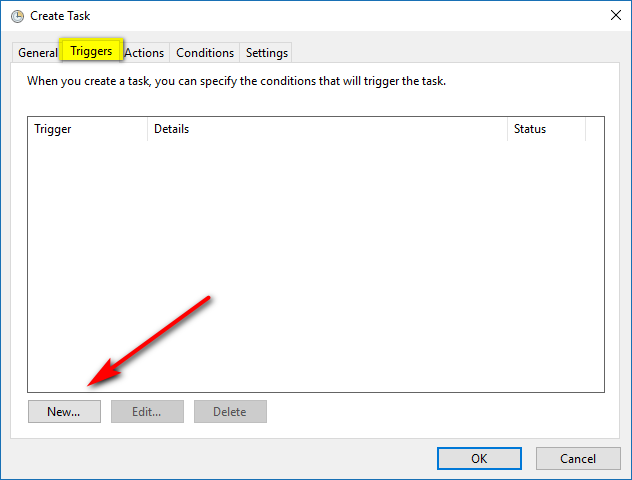
Next, click on the “Triggers” tab at the top of the window and then click on the “New” button to begin creating a new trigger—that’ll be what triggers the sound to begin.
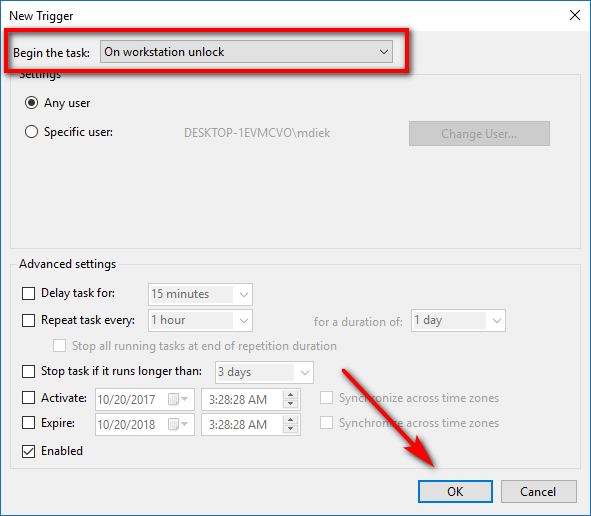
From the “Begin the task” drop-down menu at the top of the window, select the “On workstation unlock” and then click on the “OK” button at the bottom of the window.
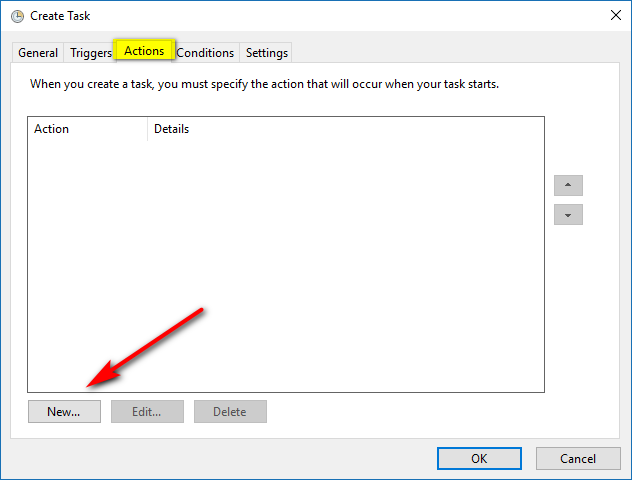
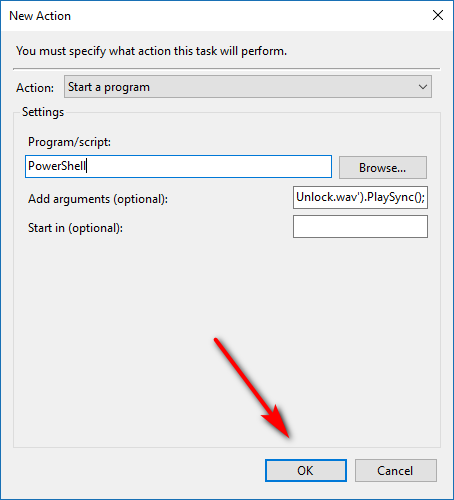
Now select the “Actions” tab at the top of the window and then click on the “New” button to begin creating a new action that allows you to add the argument.
From the “Action’ drop-down menu, make sure it is set to “Start a program.”
Then type “PowerShell” in the field under where it says “Program/script.”
Now next to where it shows the empty box next to “Add arguments,” copy and paste the following: -c (New-Object Media.SoundPlayer 'C:\Windows\Media\Windows Unlock.wav').PlaySync();
Click on the “OK’ button to close the “New Action” window.
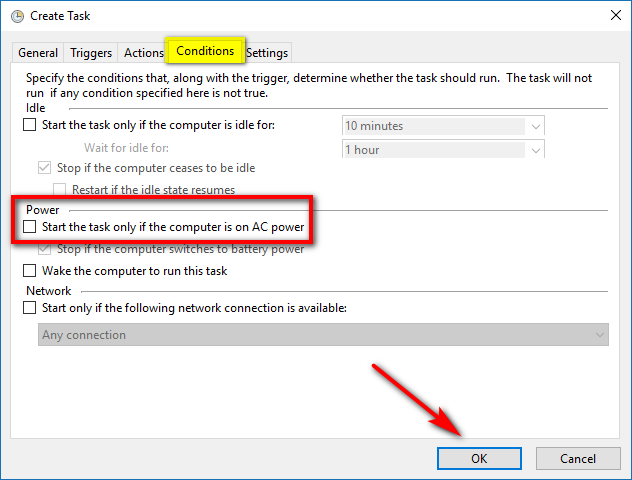
Select the “Conditions” and remove the checkmark from the box that says “Start task only if the computer is on AC power” under the “Power” heading and then click on the “OK” button at the bottom of the window.
You’ll now be prompted to enter your password for your user account to confirm you are the person attempting to create this new task. Once you’ve done that, it is all set and ready to go.
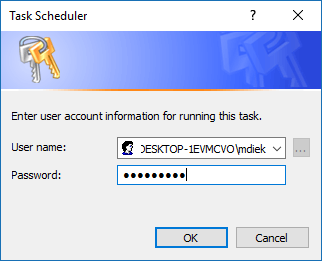
The sound will begin when the user unlocks the computer next.
You might also be interested in:
- How to Play Sound at Shutdown in Windows 10
- How to Play Sound at Logoff in Windows 10
- How to Enable/Disable Built-in Elevated Administrator Account in Windows 7
- How to Create Bootable UEFI USB Flash Drive for Installing Windows 7, Windows 8, Windows 8.1
You can subscribe to our RSS, follow us on Twitter or like our Facebook page to keep on consuming more tech.