Last Updated on December 26, 2022 by Mat Diekhake
Windows Defender has been developed by Windows ever since Windows XP. Back in those days, it wasn’t anything more than a spyware solution, and you had no choice but to look for alternatives for an antivirus that would keep your computer safe from all malware threats.
As good an operating system as XP was, it did have one obvious caveat which was it failed to keep many computers safe from malware, even with protection running. Windows started taking its security much more seriously in more recent versions of its OS, and by the release of Windows 8, Windows Defender had grown from a spyware solution to full-blown antivirus protection. In Windows 10, Windows Defender is now known as one of the premier antivirus solutions that you can find.
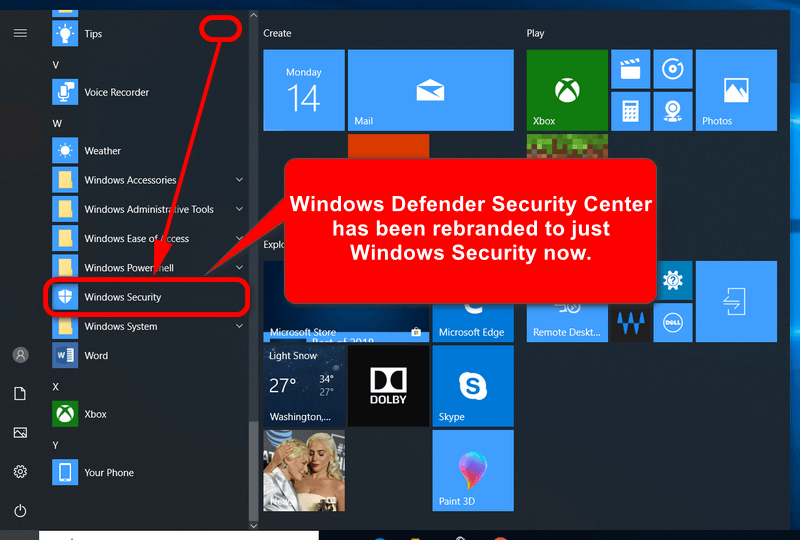
When you hear the term “Windows Security” in Windows 10, it is still about that same Windows Defender. After the Creators Update, it was known as Windows Defender Antivirus; when you used to open the app, it had another name: the Windows Defender Security Center. Nowadays it has been rebranded to just Windows Security.
Windows Security does an excellent job of keeping your computer save on many different levels. You get the virus and threat protection, account protection, firewall and network protection, application and browser control, device security and device performance and health. Some of those are optional features. For example, most people do away with the browser control, which comes with Windows Defender SmartScreen, because it’s still considered more of an annoyance than anything else.
Windows Security also changes between devices. If you’re using a computer that is running Windows 10 S or Windows 10 with S mode, then some of the features will operate differently. This is because Windows 10 with S mode is developed with tighter security in mind so it can compete with other slimmed-down operating systems such as ChromeOS. The way they do this is by offering fewer options.
How to Open Windows Security from Notification Area Icon
1. Click on the Windows Security icon in the notification area.
2. If you don’t see it there, then try clicking on the arrow to the left of the other notification area icons and you might see it hiding among the extra icons.
![]()
How to Open Windows Security from Start Menu
1. Open the Start menu and then scroll down the list of All Apps.
2. Stop when you get to “W” and then click on the “Windows Security” icon.
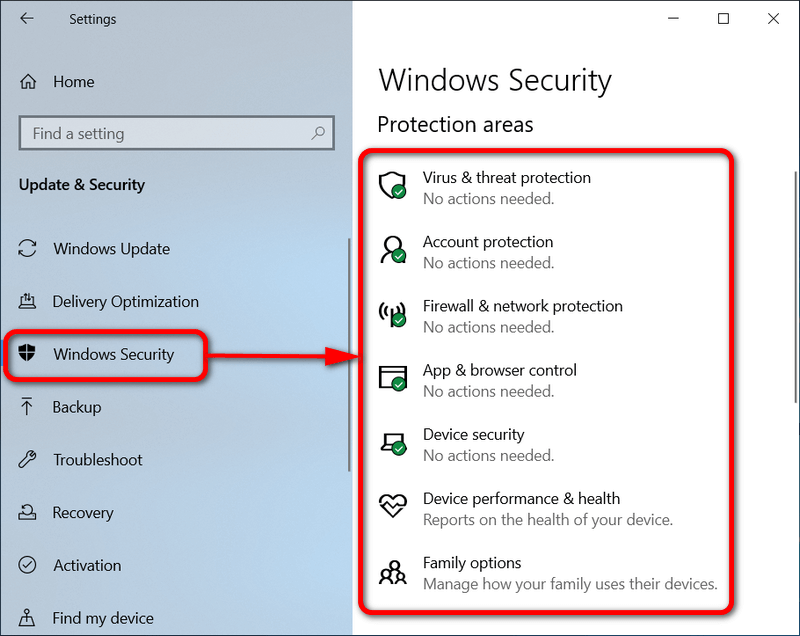
How to Open Windows Security from Settings
1. Open the Settings app and click on the Update & Security link from the main Windows Settings menu.
2. From Update & Securities left pane, click on the “Windows Security” link and then click on the “Open Windows Security” link under the Windows Security heading.

3. Alternately, scroll down the same area and then click on one of the seven known protection areas.
These seven areas are the same areas that you would see from the Windows Security homepage anyway. The only difference is you’re getting quicker access to them from here. It’s useful if you know of an area you want to head.
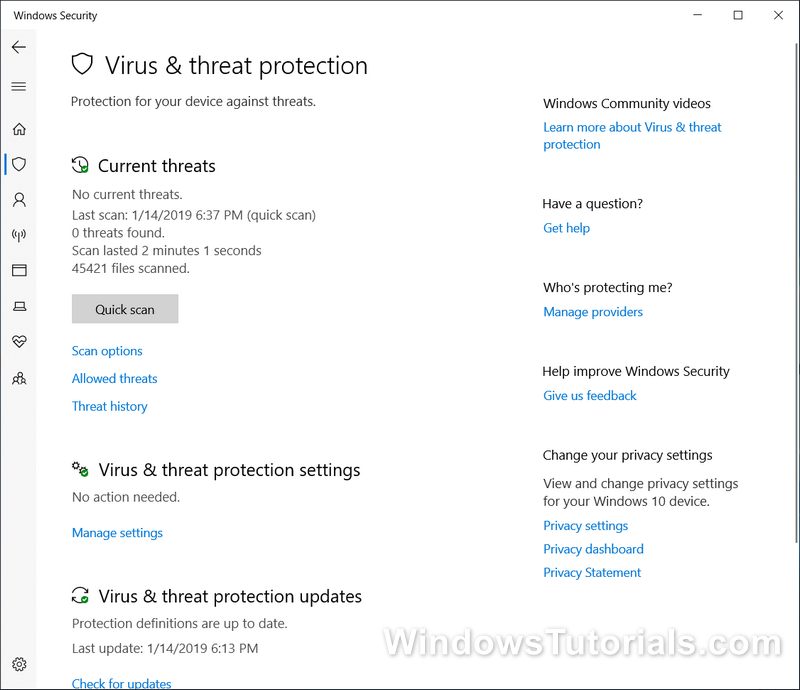
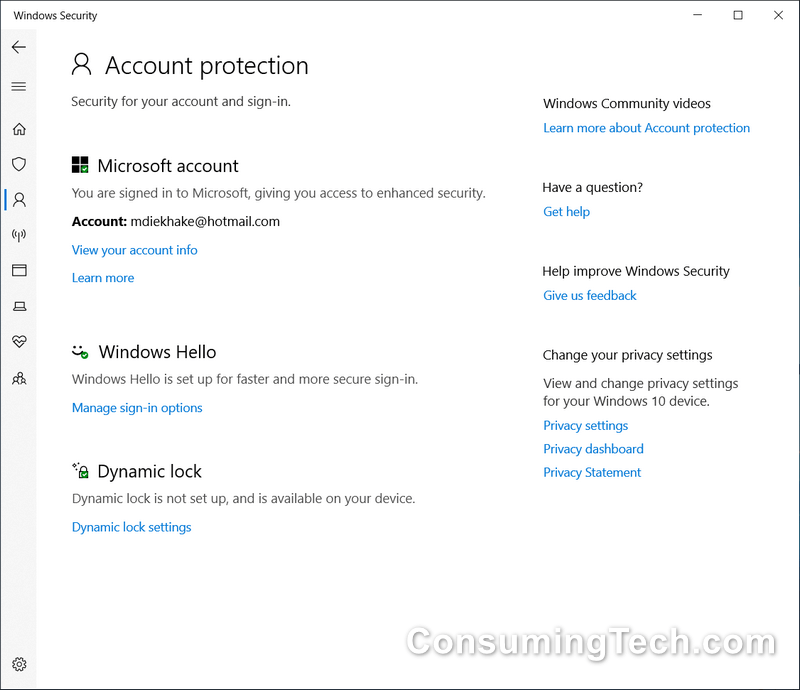
Examples of what you find with Windows Security open:
Home:

Virus and threat protection:
Account protection:
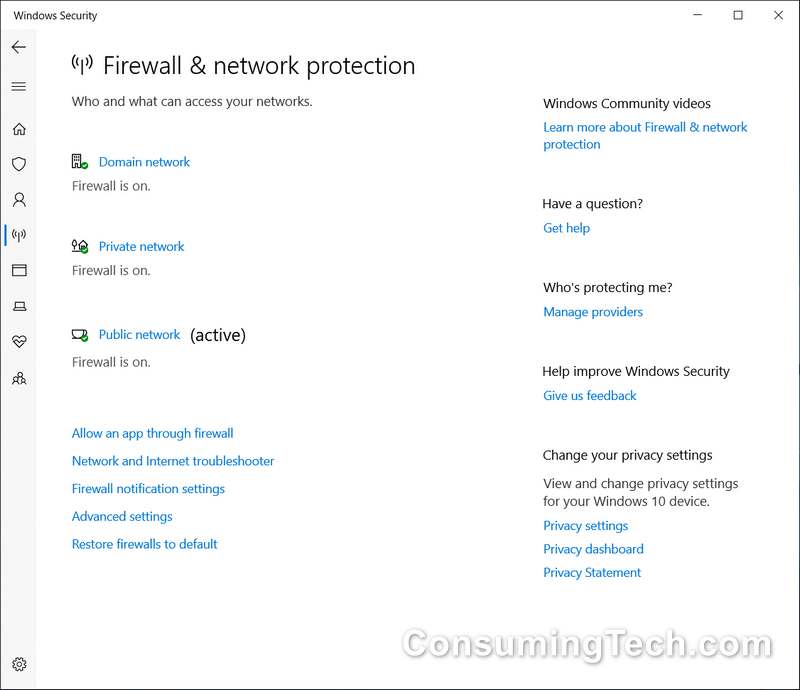
Firewall and network protection:
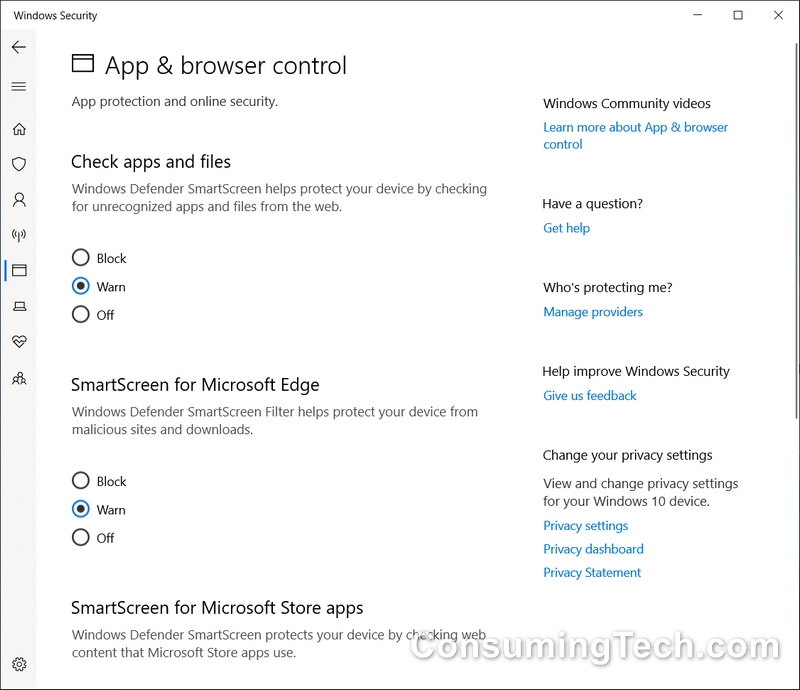
App and browser control:
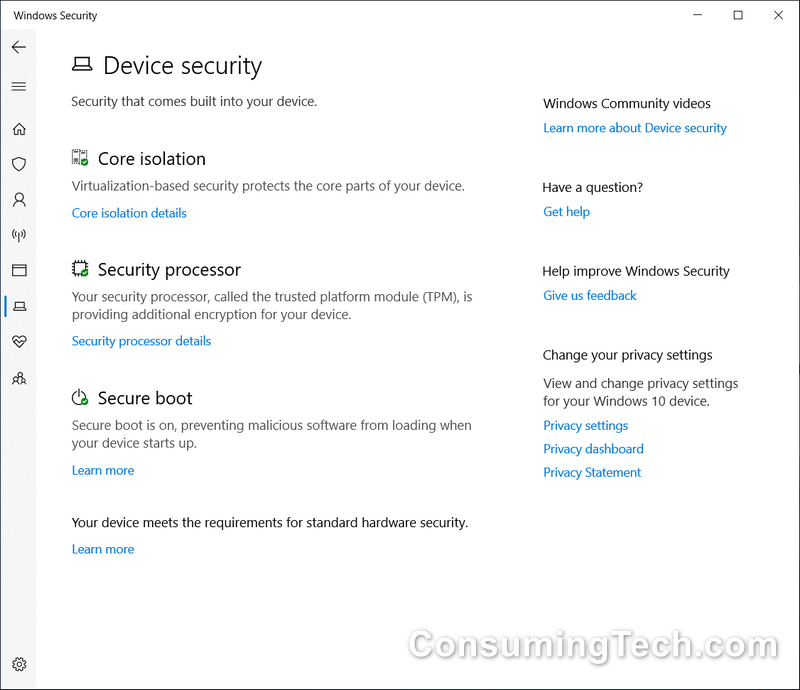
Device security:
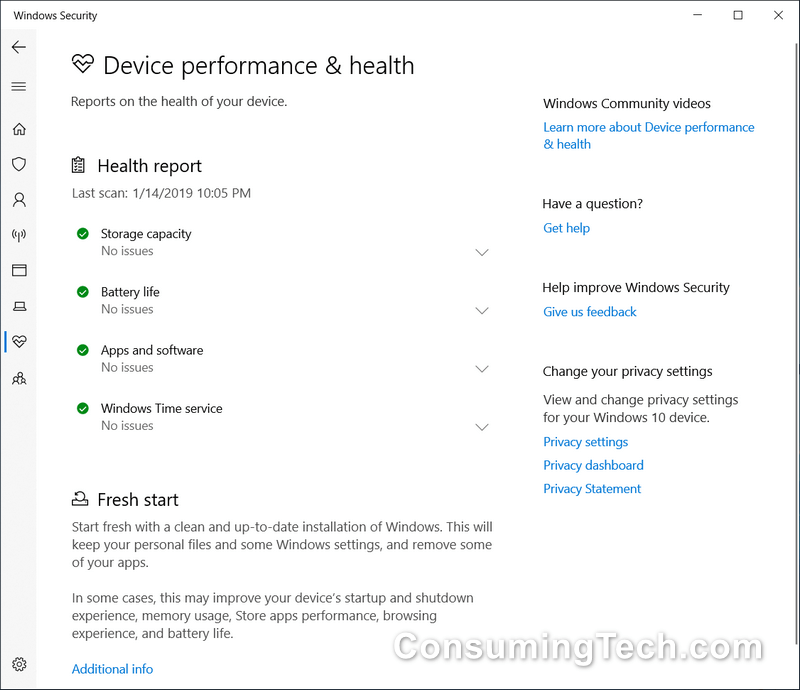
Device performance and health:
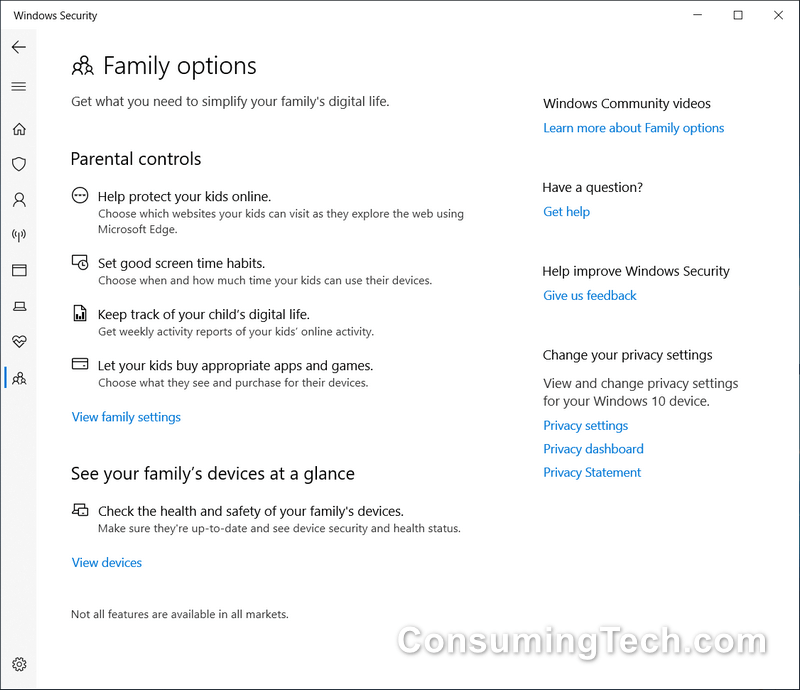
Family options:
That’s all.