Windows 8.1 is an operating system that was produced by Microsoft and released as part of the Windows NT family of operating systems. It was released to manufacturing on August 27, 2013, and broadly released for retail sale on October 17 of the same year, about a year after the retail release of its predecessor. Windows 8.1 was made available for download via MSDN and Technet and available as a free upgrade for retail copies of Windows 8 and Windows RT users via the Windows Store. It was succeeded by Windows 10 on July 29, 2015. A server counterpart was released on October 18, 2013, entitled Windows Server 2012 R2. Microsoft ended mainstream support for Windows 8.1 on January 9, 2018, and extended support will end on January 10, 2023.
The following tutorial demonstrates how to install the Windows 8.1 disk image (ISO file) on your computer.
How to Install Windows 8.1 from a Disk Image
Notes:
- You will need to have downloaded the ISO file from a source online. You can get it from the Microsoft website by using the drop-down menu to select the edition you want to install.
- You can use this tutorial for upgrading Windows 8 to Windows 8.1 or for installing the ISO file from your computer.
- We don’t know how long the ISO file will remain available on the Microsoft website. You can always download the torrent file from any trusted source and it should work just the same if ever Microsoft decided it’s time to remove the files from the internet because they feel they are too old which is a situation that is likely to occur at some point. If you want, you can install the older Microsoft operating systems by using virtual machine software even if it seems too old for your current computer or if Microsoft deems the operating system too outdated for whatever reason.
1. Download the Windows 8.1 disk image (ISO file) from the Microsoft website: Download Windows 8.1 Disc Image (ISO File)
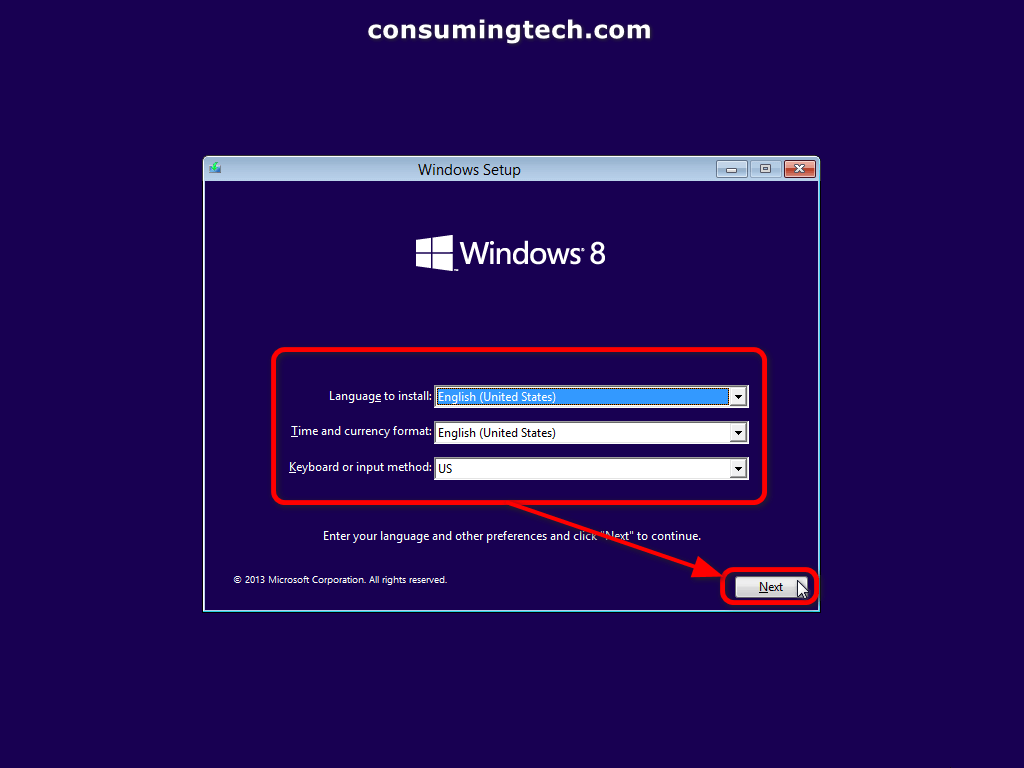
2. From the Windows 8 setup screen select from the available drop-down menus the language to install, the time and currency format you would like to use, and the keyboard or input method.
3. When you are happy with your selections, click on the Next button at the bottom of the same window.
Notes:
- If you leave it in the default settings, including the American date and time, you can change it later after you start using Windows 8.1 if you like. However, we recommend selecting your correct region here even if you keep the same US keyboard.
- When you begin to install Windows 8.1, it does say Windows 8 on the top of the Windows setup screen. Don’t worry, that doesn’t mean you have the wrong file or that you are following the wrong tutorial. This tutorial is for Windows 8.1; Microsoft did not update its logo to the 8.1 variant.
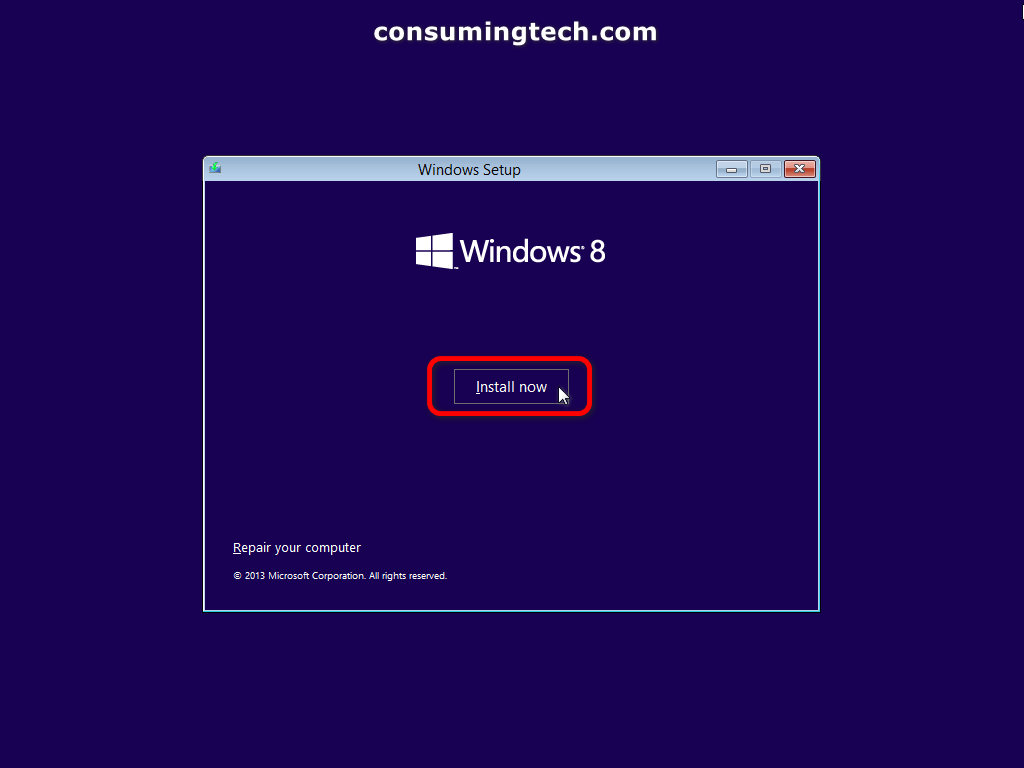
4. Click on the Install now button.
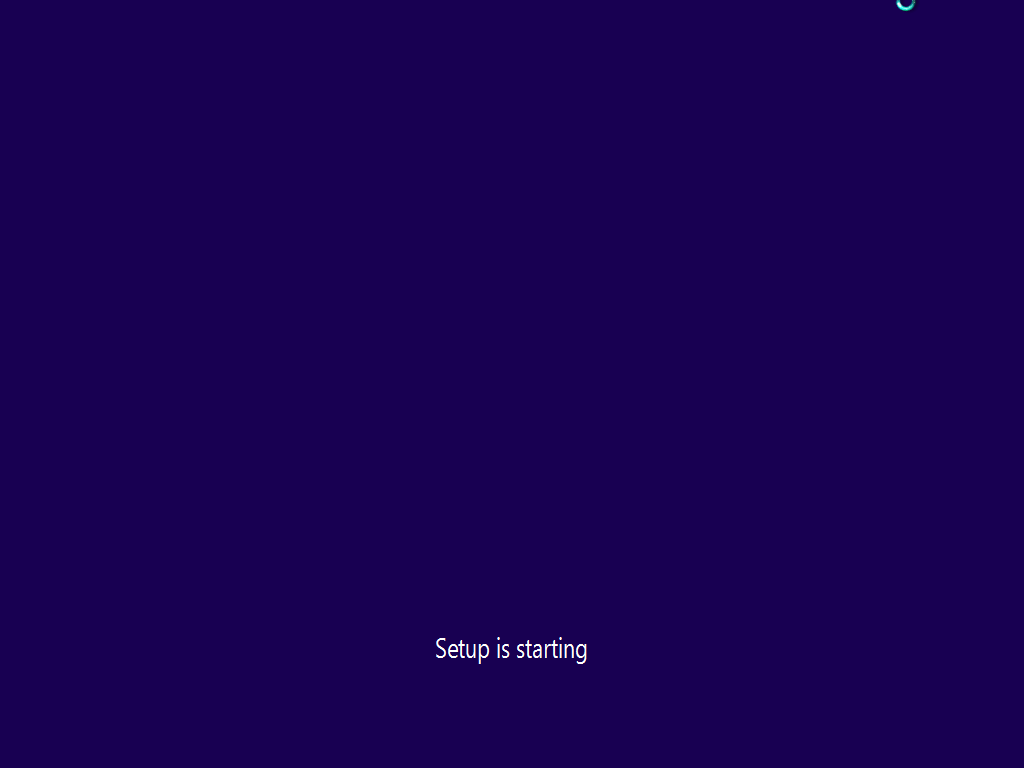
5. Wait while Windows setup is starting.
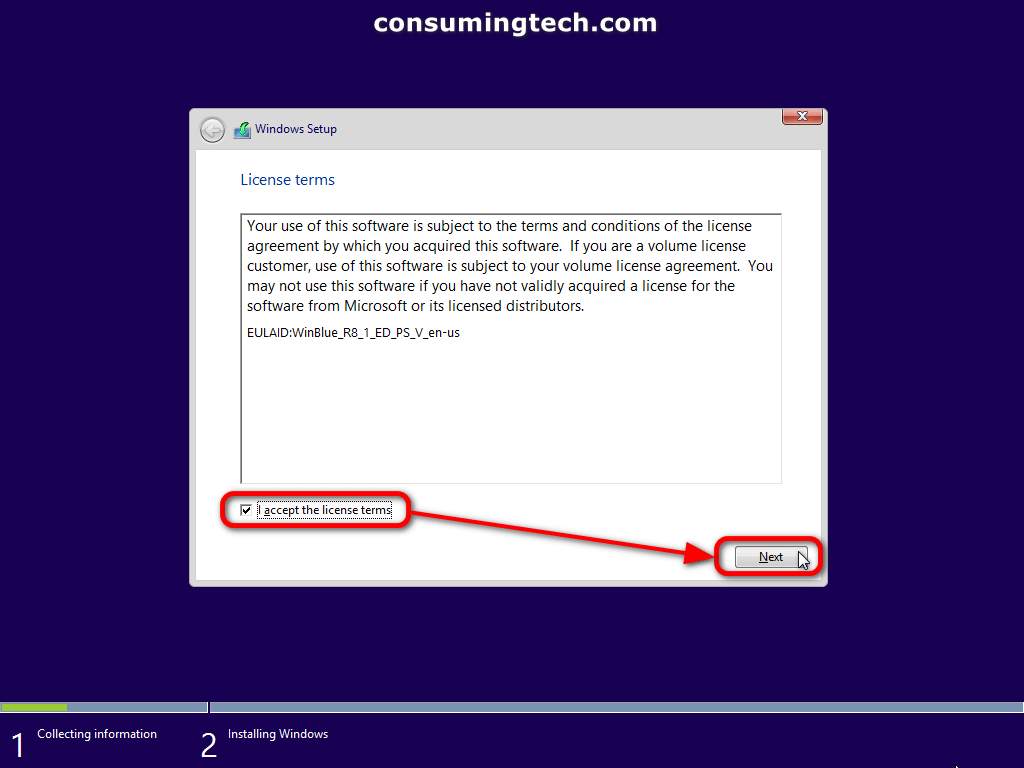
6. Check the I accept the license terms checkbox and then click on the Next button.
7. From the Which type of installation do you want? screen, choose between Upgrade: Install Windows and keep files, settings, and application or Custom: Install Windows only (advanced).
Note: If you are installing Windows 8.1 from an ISO image downloaded on your computer, click on the Custom: Install Windows only (advanced) to upload your file. If on the other hand you are upgrading from Windows 8 to 8.1, then click on the Upgrade: Install Windows and keep files, settings, and applications.

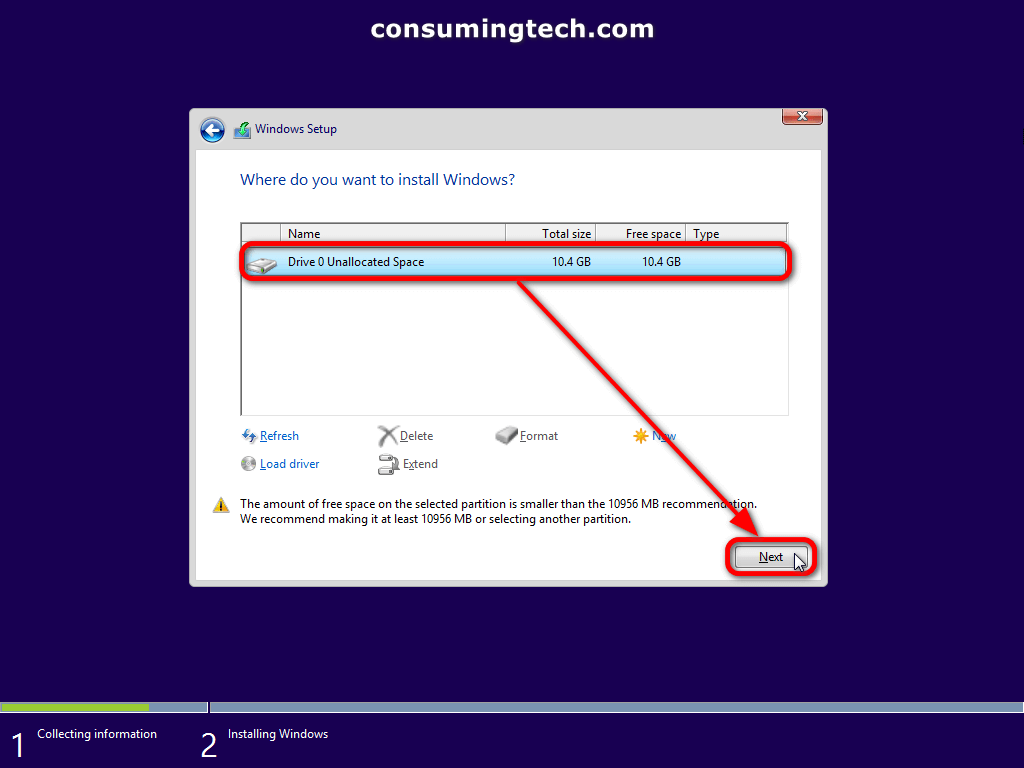
8. Choose the drive space where you would like to install Windows 8.1 and then click on the Next button.
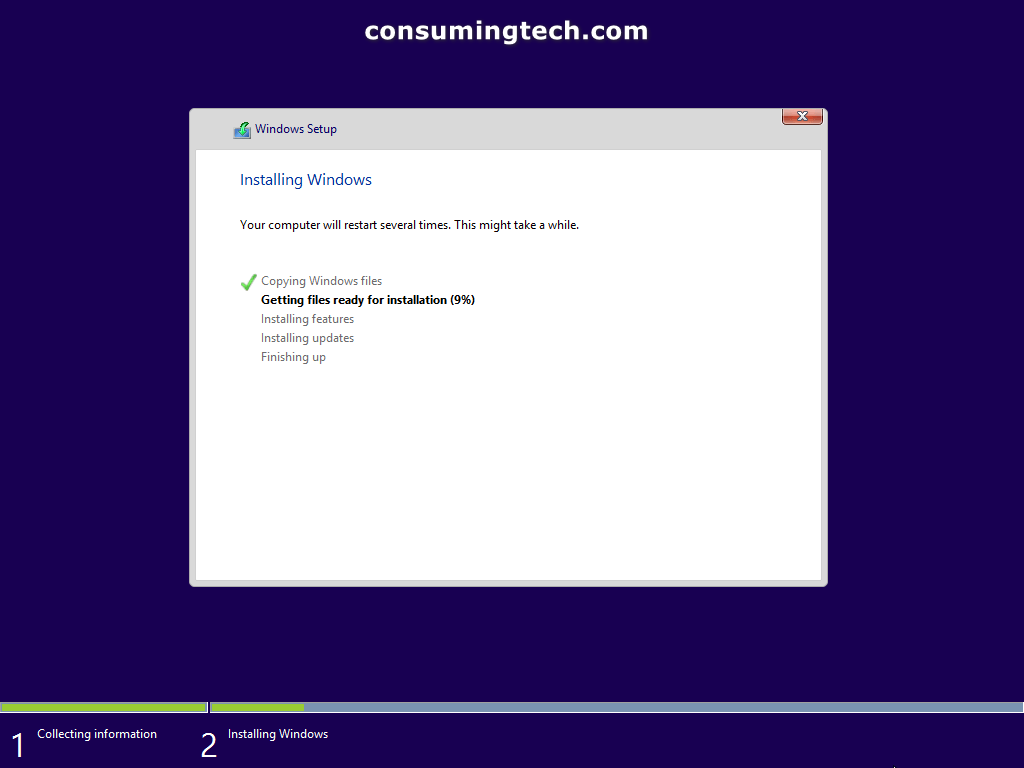
9. Windows setup will then begin installing Windows 8.1. Your computer may restart several times during this process and the overall installation can take a while.
10. Wait for Windows to load.
11. When you get to the Settings page, click on the Use express settings.

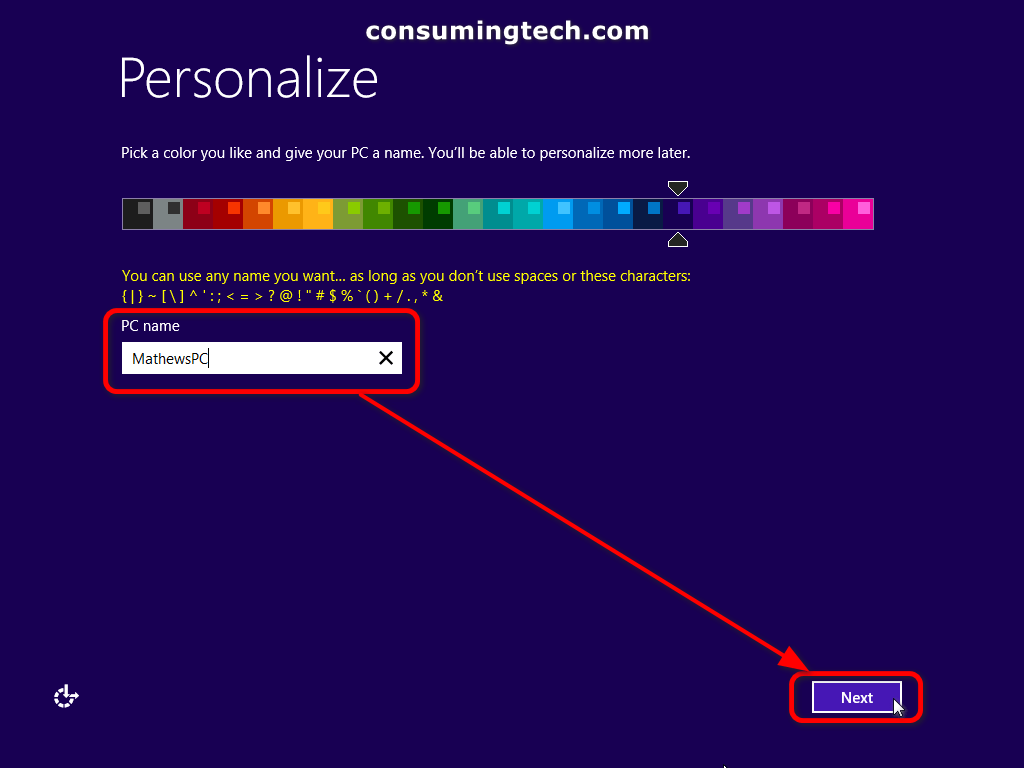
12. In the PC name field, add a name for your computer which will then be used at certain locations around the operating system. Click on the Next button to continue.
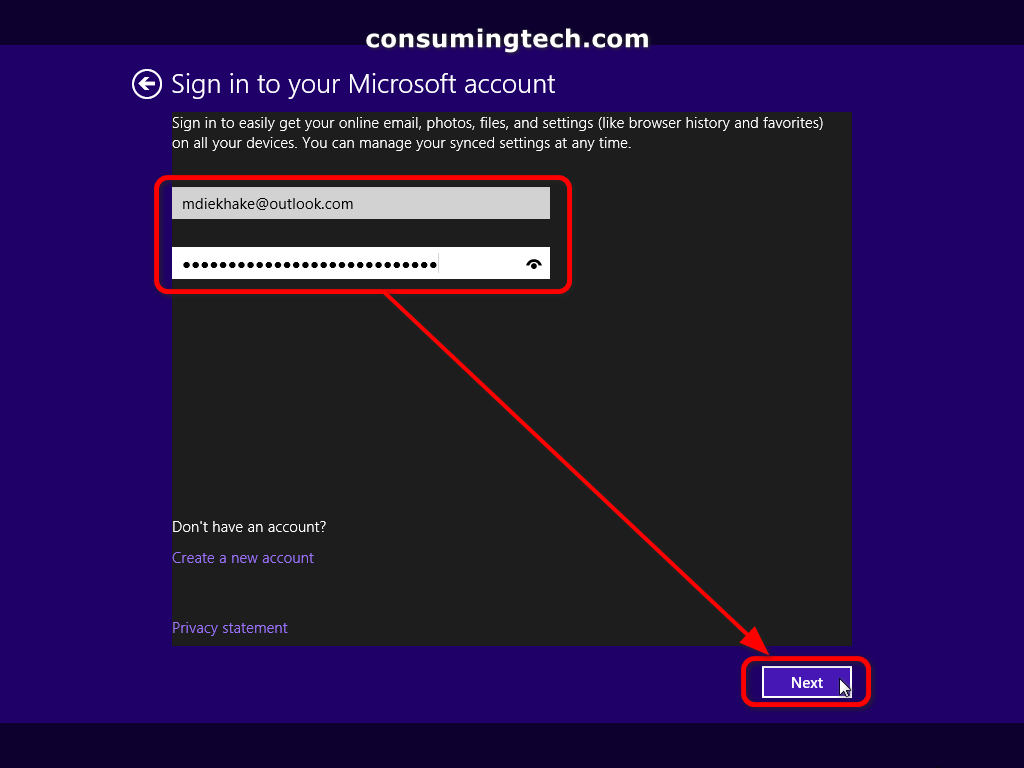
13. Before booting up Windows, it will ask for you to sign in to your Microsoft account. You can also click on the Create a new account link if you do not have a Microsoft account already.
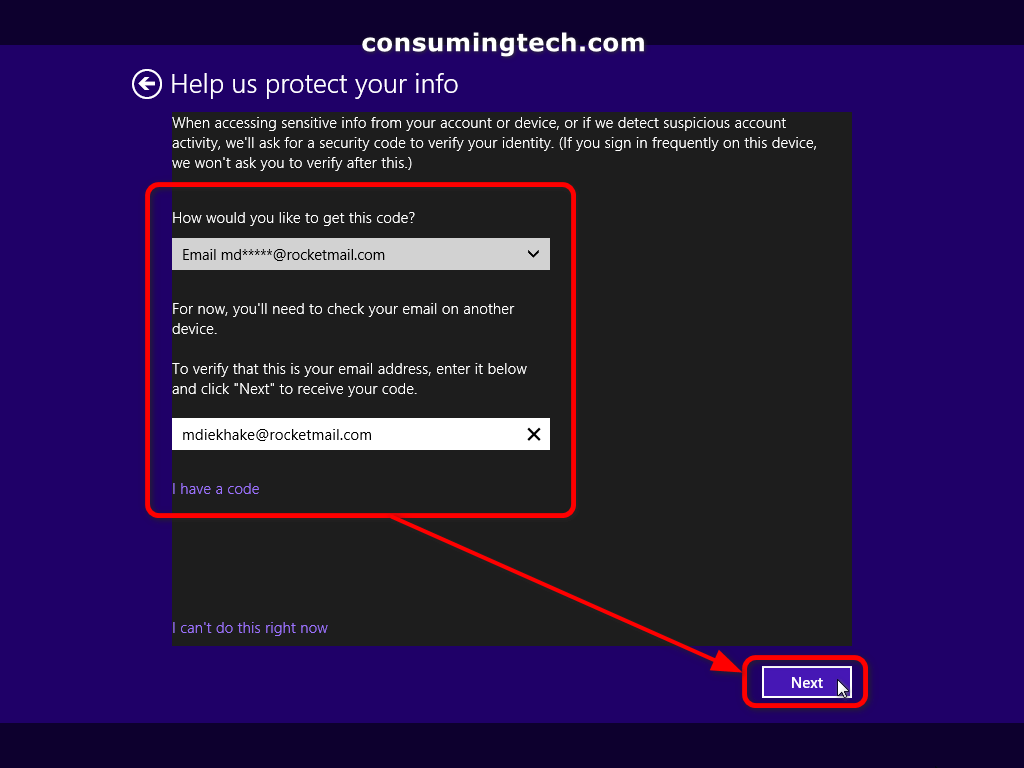
14. Windows will ask for a secondary email for you to be sent the confirmation code. Enter the email address and then click on the Next button.
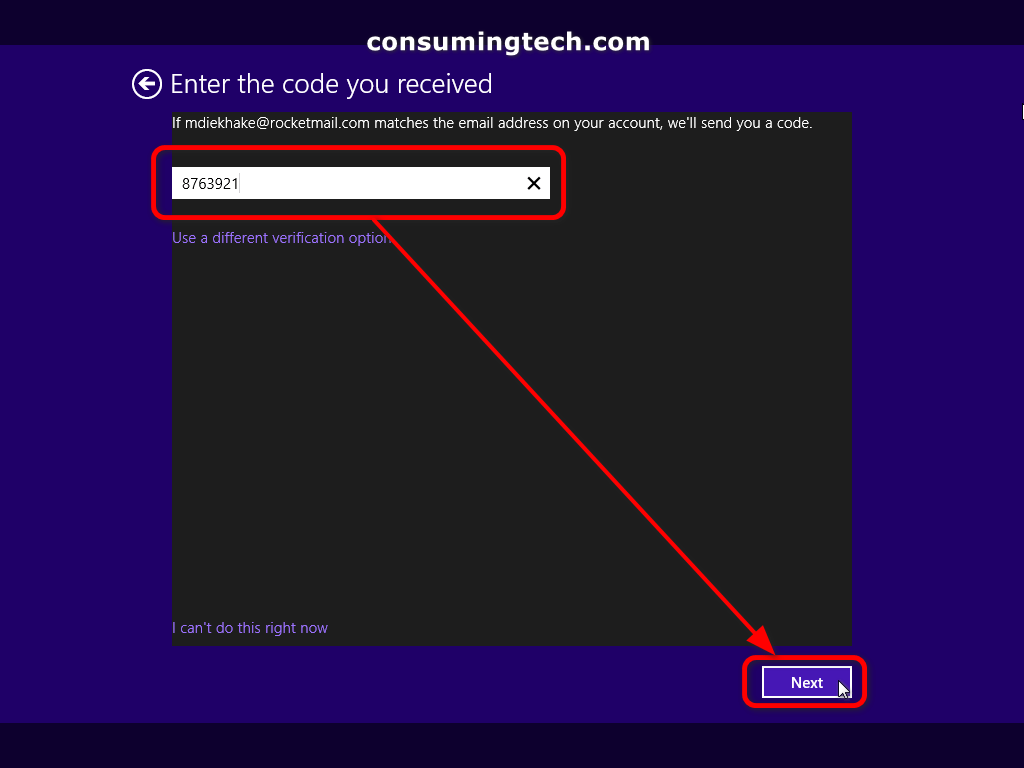
15. Add the verification code and then click on the Next button.
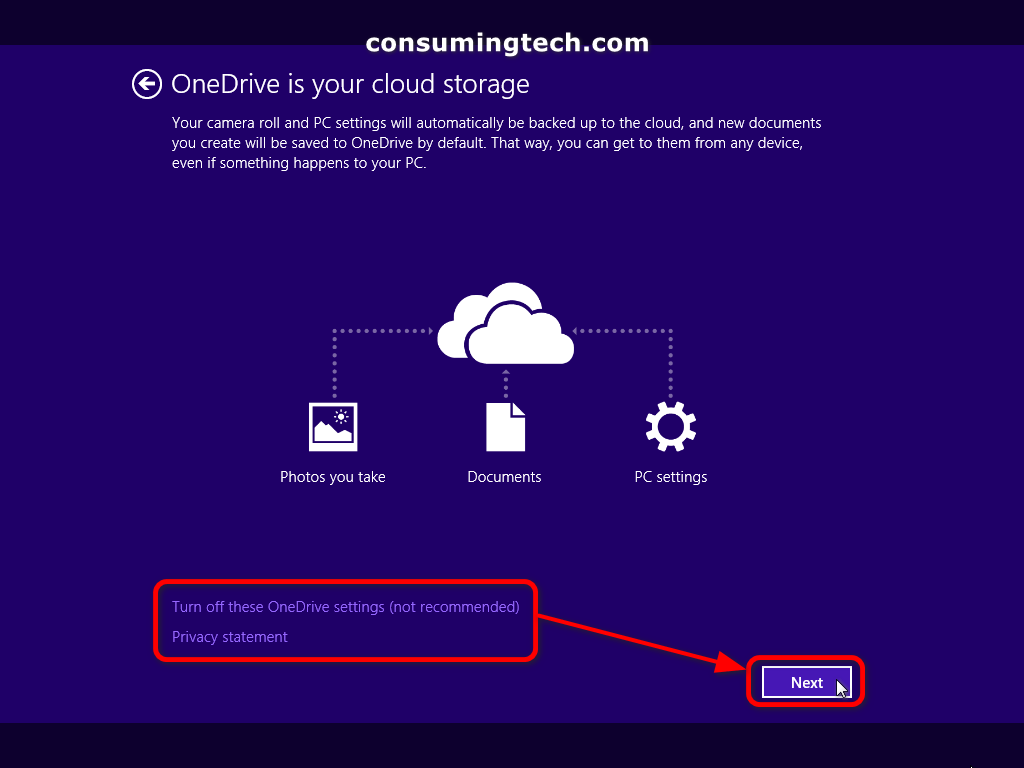
16. The last thing you need to choose is whether or not to activate OneDrive. Microsoft OneDrive is a cloud storage provider that can offer you more storage space for when your hard drive does not suffice. OneDrive can also act as an additional layer of security for your data by offering a secondary location for your things to be stored. OneDrive will be automatically activated when you click on the Next button. To opt-out, click on the Turn off these OneDrive settings (not recommended) link.


In conclusion, that is how to setup Windows 8.1 from an ISO file. You could also use the same tutorial for upgrading to Windows 8.1 if you like.