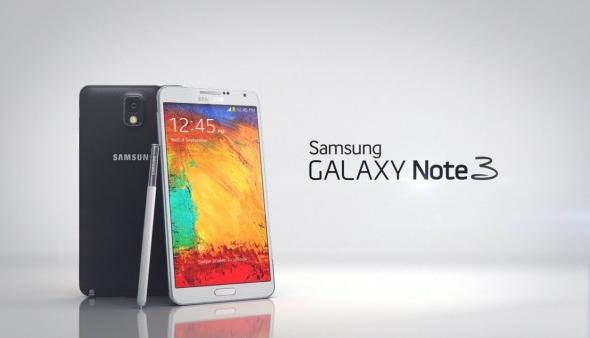
Last Updated on February 17, 2018 by Mathew Diekhake
Do you wish to customize your Samsung Galaxy Note 3 phablet? If you prefer to power-up the performance of your new Sammy phablet, you’ll first want to gain root access to the internal system. Depending on what rooting method you are using and what tool, you might need to install a custom recovery beforehand or after the root access. Either way a custom recovery installed on your device is imperative if you want to gain the full power of the system. Only then can you tweak the performance, increase the battery life, remove the bloatware which Samsung always has so much of on their devices and more. Furthermore, a custom recovery is what you need if you think you might check out some custom ROMs. Loading a new ROM will mean you can change the look of your device and the features. Yes, what you see on the screen now can change.
You see, what you are looking at is made by an official Samsung developer and Android developers who attempt to cater for every person. However, of course we know that is not possible. That’s why we have third-party developers available to create unique looking ROMs so you can enhance your personal experience. You might want to apply a pink theme if you’re a girl, or a new design you prefer. The options are endless with custom ROMs.

Since the Samsung Galaxy Note 3 is a popular device, you can find heaps of ROMs available. In fact, we’ve already covered the best custom ROMs for the Samsung Galaxy Note 3 in a post you might like to read.
The files you need:
- Download the TWRP recovery for the Samsung Galaxy Note 3 N9005 here and N900 here.
- Download the Odin you want to use for the flashing from our page. Choose between Odin 3.04 and Odin 3.07 for the best results.
- Download the Samsung USB Drivers for mobile phones so you can easily connect to the Windows PC and use the Odin tool.
Installing Team Win’s TWRP Recovery on the Samsung Galaxy Note 3 SM-N900 and the SM-N9005
- Unzip the Odin file and the TWRP file of your choice that suits your model number.
- Run the Odin tool by double-clicking the Windows PC mouse over the file.
- Make sure you have the USB Debugging Mode enabled on your Galaxy Note 3. Do that by navigating to the Android’s Settings > Developer Options USB Debugging.
- Some of you won’t see the Developer Options menu there because you haven’t yet unlocked the hidden menu. Do that by navigating to Android’s Settings > About Device > tap the build number seven times or until it counts you down and lets you know the Developer Options menu is now unlocked. Now you can find the Dev menu from the Settings and enable the USB Debugging.
- Turn off the Samsung Galaxy Note 3 by holding in the Power button.
- Reboot it holding these three buttons without letting go until the display changes: Volume Down + Power + Home. Now you should be in Download Mode. if you see a warning screen, press the Volume Up button.
- Connect the Samsung Galaxy Note 3 to the computer using the USB cable.
- Click the AP or PDA button with Odin and browse the desktop of the Windows PC for the TWRP recovery file. You need to unzip the file before you can upload the TWRP file.
- Click the Start button in Odin without adjusting any of the default Settings. Make sure the re-partition box is not checked.
- Soon the TWRP recovery will be flashed on your Galaxy Note 3 N9005 or SM-N900.
- Once you see the pass message on the display, you can unplug the phablet from the computer.
Now you are ready to install custom ROMs.
