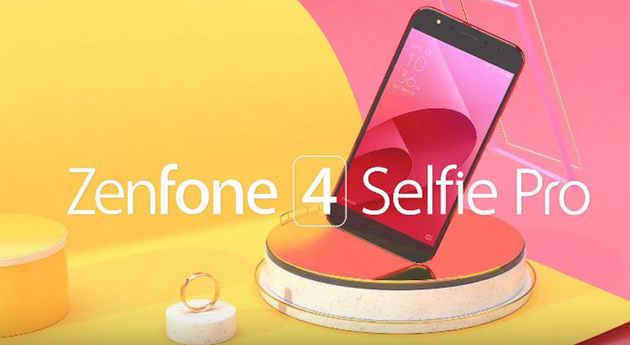
You can now install a custom recovery image on the Asus Zenfone 4 Selfie smartphone, thanks to the work from Team Win. They are the ones who make TWRP (Team Win Recovery Project), and it’s currently, by far and away, the best custom recovery image available to have.
Once you’ve got the custom recovery image installed, you can start thinking about flashing custom ROMs directly from the Recovery mode, or getting root access from the same Recovery mode as well. The difference being that a custom recovery image offers a chance for you to upload these zip files, whereas the stock recovery does not.

This is what you need to install the TWRP Recovery on the Asus Zenfone 4 Selfie smartphone, regardless of what Android version you have it running on.
Details We Should Know
- You need to have the Asus Zenfone 4 Selfie’s bootloader unlocked before you can go ahead and begin this guide to getting the custom recovery image installed on it. This step is important, so make sure you don’t miss it.
- This guide is written with the Windows operating system in mind. If you have either the Linux or Mac operating systems instead, then you’ll need to have set up the ADB for Mac or ADB for Linux that works for those enviroments.
- Following this guide will remove the stock recovery and replace it with the custom recovery instead. It’s always possible to get the stock recovery back on your device by flashing the stock ROM. But you can only ever have one of the two recoveries installed at a time.
Files We Need
- Download the ADB Installer directly on your computer and follow the steps to set it up, so you have Fastboot.
- Download the Universal ADB Driver directly on your computer and install it, so you have the appropriate drivers running before you try connecting your smartphone to the computer.
- Download the TWRP Recovery image for the Asus Zenfone 4 Selfie Pro smartphone.
How to Install TWRP Recovery on Asus Zenfone 4 Selfie
1. Once you’ve set up the ADB and installed the ADB Driver, open the Downloads folder to find your TWRP Recovery image.
2. Copy the TWRP .img file over to the same folder as ADB, so everything is available from the one directory.
3. Pick up your Asus Zenfone 4 Selfie Pro and navigate to the Settings > About and tap on the build number at least seven times to unlock the Developer Options menu. Now press “Back” and open the Developer Options from the Settings and tap to enable the “USB Debugging” mode.
4. Connect the Asus Zenfone 4 Selfie Pro smartphone to the computer with the USB cable.
5. From the ADB and TWRP .img folder, hold the Shift key and right-click the white background and select the “open a command window here” option from the menu.
6. Type the command “adb reboot bootloader” to get the Asus Zenfone 4 Selfie Pro smartphone into the bootloader mode.
7. Type the command “fastboot flash recovery twrp.img” to flash the TWRP image on the Asus Zenfone 4 Selfie Pro so that it has the custom recovery installed.
8. Type the command “adb reboot” or “fastboot reboot” to reboot the Asus Zenfone 4 Selfie Pro smartphone back into the normal mode and hold the Recovery mode key combination down so that it immediately boots into the custom recovery image as soon as the smartphone reboots.
Many smartphones will wipe the custom recovery image during the first boot, so after you’ve done all the hard work, the custom recovery image is not installed. By booting directly into the custom recovery after you’ve flashed it, it will then prevent the stock recovery from wiping over it. You should from then on always find the custom recovery image is installed until you choose to go back to the stock version by flashing the stock ROM.
Now that you’ve got the custom recovery image installed on the Asus Zenfone 4 Selfie Pro smartphone, nothing is holding you back from flashing zip files after you’ve booted into Recovery mode, one of which is the SuperSU that gives you root access to your device. You can now find out what version of SuperSU you need to root the Asus Zenfone 4 Selfie Pro smartphone running on the Android 7.0 Nougat software updates if you’re interested.
You might also be interested in:
- How to Install TWRP Recovery on ZTE Axon 7
- How to Install TWRP Recovery on Google Pixel 2
- How to Install TWRP Recovery on Google Pixel XL
- How to Install TWRP Recovery on Google Pixel 2 XL
You can subscribe to our RSS, follow us on Twitter or like our Facebook page to keep on consuming more tech.