Last Updated on April 1, 2017 by Mat Diekhake
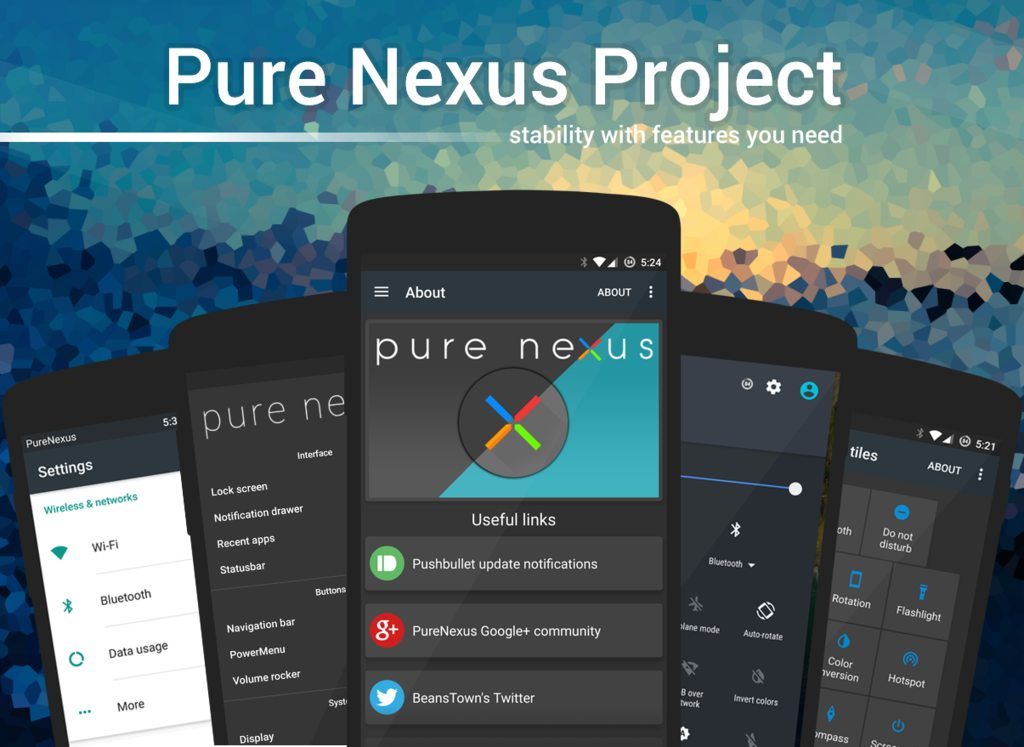
I have been praising the stock ROM that comes with Nexus devices for its purity and not having too much bloatware or system apps on the ROM after we open the devices out of the box. While I still believe that is true, you can still get a purer Android experience by installing the Pure Nexus Project custom ROM — a new ROM that promises at giving your device the purest of all ROMs and it delivers on that pledge. The Pure Nexus custom ROM is the most popular custom ROM for you to install on the Google Nexus 4 smartphone. What is more, the Pure Nexus team also make ROMs for newer smartphones such as the Google Nexus 6P, and it too is the most popular custom ROM to install on that device.
Another advantage of running with the Pure Nexus Project custom ROM on the Google Nexus 4 smartphone is getting your hands on a better battery and efficiency. As our smartphones begin to age, the number one thing we always hate is the battery not lasting as long as it once did. That represents a giant problem because seldom do we feel as though the battery was good enough in the first place when the device was new. That’s one of the reasons I always choose to buy a smartphone that gives the option of a removable battery. Those of you who shop for a smartphone without the removable battery should look to care for the battery from the early stages of your ownership of the device and then install a custom later down the track to maximize what you have left.
Files You Need
- Download the Pure Nexus custom ROM file for the Google Nexus 4 smartphone from here.
- You must have a version of custom recovery installed on the Google Nexus 4 smartphone before you can think about installing a custom ROM on the smartphone using this guide.
- You will need to have rooted the Google Nexus 4 smartphone before you can consider installing a custom ROM on the same device by using this guide.
When we give you the steps for installing a custom ROM on the Google Nexus 4 like during the guide below, we do so assuming you have TWRP Recovery installed because it is the most popular custom recovery image anyone can install. ClockworkMod Recovery used to be popular but it is no longer an active custom recovery and as such far more people are using TWRP thanks to its friendly touch-based user interface. We recommend installing TWRP on the Google Nexus 4 smartphone whenever you get the chance or when it becomes available.
Installing the Nexus 4’s Pure Nexus Project custom ROM
- Download the Pure Nexus Project ROM from the files section above and have it waiting on the desktop of your computer.
- Connect the Google Nexus 4 handset to the Windows computer using the USB cable.
- Copy and paste the Pure Nexus custom ROM file over to the internal storage SD card.
- Unplug the Google Nexus 4 smartphone from the computer you were using and then hold the Power button until the smartphone turns off completely.
- Reboot the Google Nexus 4 smartphone holding the hardware button combination for the recovery mode and then standby until you can see the custom recovery booting up on the screen.
- Tap on the Install button from the main TWRP menu and then follow the guidelines to upload your custom ROM zip file and then install it on your device.
- Choose the option from the recovery menu that says it will now reboot your system and wait for your smartphone reboot back into the normal mode.
In conclusion, that is how to install the Pure Nexus custom ROM on the Google Nexus 4 smartphone by using a custom recovery and a computer to transfer the file. You will see your smartphone reboot and the stock ROM will be wiped for the custom version you just flashed. There is always a way out and way to return the stock ROM if you find out that the Pure Nexus ROM is not what you had hoped. Just be wary of the fact that the way you flash a stock ROM is not the same as the way you flash a custom ROM so you will need to research how to get the stock ROM installed and running on your device again.
Moreover, anyone who doesn’t seem to be able to get the Pure Nexus ROM working on the Nexus 4 smartphone can try making sure that you put the custom ROM file on the first folder and not in one of the subfolders in your SD card. We call the topmost folder the root of the SD card and it is where the file needs to be or else it will not be visible once you boot the smartphone into the recovery mode.