Last Updated on May 31, 2019 by Mathew Diekhake
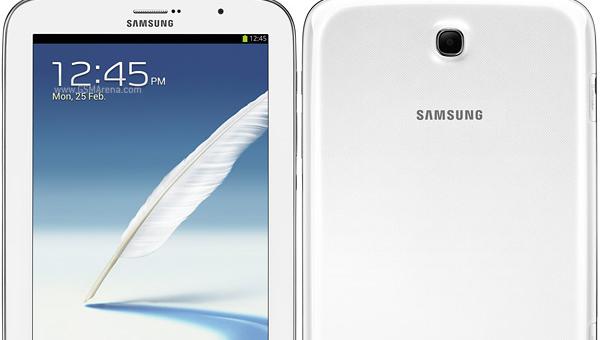
If you want to update the Samsung Galaxy Note 8.0 to the latest Android 5.1.1 CM 12.1 Lollipop custom ROM, you can do that by following the guide below.
As so often is the case, people will install this version of Android 5.1.1 Lollipop because the phone carrier network and OEM refuse to update the device in a timely fashion. If you want to test out what the fuss is about with the final Lollipop version, you can get that done with the help from the CM 12.1 custom ROM guide below.

The following tutorial demonstrates how to update the Samsung Galaxy Note 8.0 GSM (N5100) smartphone to Android 5.1.1 (Lollipop) by using a custom ROM.
Files You Need
- Download the
cm-12.1-20151007-SNAPSHOT-YOG4PAO335-n5100.zipfrom this page. - Download the Google Gapps package that works well with Android 5.1.1 (labelled) from this page here.
- These are the steps to update the Samsung Galaxy Note 8.0 to Android 5.1.1 Lollipop via a custom ROM. Since it’s a custom ROM and not an official software update, you do void the warranty by installing this ROM. You cannot install the ROM without a custom recovery installed.
Updating the Samsung Galaxy Note 8.0 GSM (N5100) to Android 5.1.1 Lollipop with CM 12.1 ROM
- Download the Google Apps and the unofficial CM 12.1 Snapshot stable custom ROM to the desktop of the computer.
- Do not extract or unzip the files.
- Connect the Samsung Galaxy Note 8.0 to the computer where you have the files.
- Transfer the files over to the root of the internal SD card. That means store them in the topmost folder and not in any sub folder or else you will not find them later.
- Boot the Samsung Note 8.0 into the recovery mode. You should find the same keys for stock and custom recoveries work for that: Volume Up + Home + Power after a reboot.
- Take a NANDRoid backup now if you do not want to lose any data. Once you wipe the ROM clean in the next step, you cannot restore any data you did not backup. You may backup with Titanium backup instead of you prefer.
- Hard reset/factory reset the device now by choosing the Wipe option from the menu.
- Select the Install option from the recovery menu and browse the SD card for the Cm 12.1 Snapshot Lollipop custom ROM file.
- Confirm you do want to install that ROM.
- Browse the SD card again and this time upload the Google Gapps file.
- Return to the main recovery menu and reboot the system.
- Now once your device boots back up it will be in the normal mode with the custom ROM installed and your Google stock apps loaded.
That’s all.
This article was last updated on June 1, 2019.
