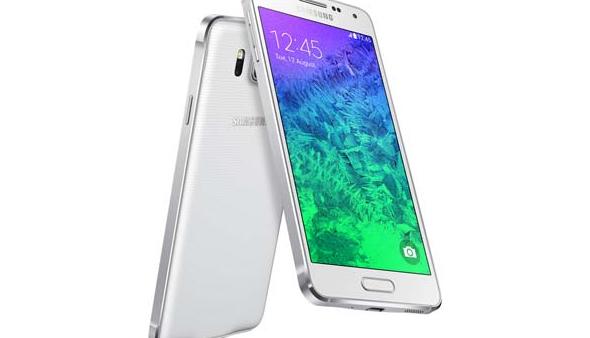
These are the steps to unroot the Samsung Galaxy Alpha SM-G850M smartphone. Unrooting is only useful if you are already rooted. If you don’t have root access, then there is no reason for you to care about unrooting the device.
With that being said, upgrading the stock ROM or just flashing the stock ROM is what we are doing today; thus if you just want to unbrick your device you can follow the same guide. Those with root access at the moment will find that revoked by following this guide. That means after flashing the stock Lollipop ROM, you will no longer be able to use any of those root-requiring apps from the Google Play Store.

The Files You Need
- Download the Samsung USB Drivers for mobile phones. Unpack the drivers on the Windows PC — they are for the computer.
- Down load the Samsung Galaxy Alpha stock Lollipop ROM from this page.
- Download the Odin flashing tool for Windows PCs from this page.
- The following guide only works for the Vodafone variant with the model number SM-G850M. Do not follow this guide unless you have that same G850M model number. You can check your model by navigating to the Settings > About Device on the Alpha.
Unrooting the Samsung Galaxy Alpha SM-G850M (Vodafone)
- Unzip the official Lollipop stock ROM on the computer. Drag and drop the firmware file from inside the folder to the desktop.
- Unzip the Odin tool. Leave the tool in the folder and just double-click to open the tool.
- By this stage, you should have the Odin flashing tool running and the firmware file visible on the desktop.
- Long-press the Power button on the Alpha until it is fully shut down.
- Reboot holding this button combination: Volume Down + Power + Volume Down.
- Do not let go of the three buttons until you see a yellow warning screen on the Alpha.
- Now let go and just press the Volume Up button once.
- Release the Volume Up button and the Galaxy Alpha will get past that warning screen.
- Now find the USB cable so you can connect to the computer.
- Connect the Alpha to the computer where you have the official firmware build and Odin waiting.
- Odin ID: COM port should change color when your device is connected. If you don’t see it, download the Samsung USB drivers; or reboot the computer and try again. Sometimes a Windows PC requires a reboot for the drivers to work.
- Click the AP button and browse the desktop for the firmware file you shifted there earlier. Those of you running an older version of the Odin app will not see the AP button but rather the PDA button. It’s the same thing, Odin just changed the name in later years.
- Click the Start button without adjusting any of the default settings. If you don’t know the default settings, check the re-partition box is empty; the rest are not critical.
Download the root checker app for the Galaxy Alpha from the Google Play Store to check you no longer have the root access.