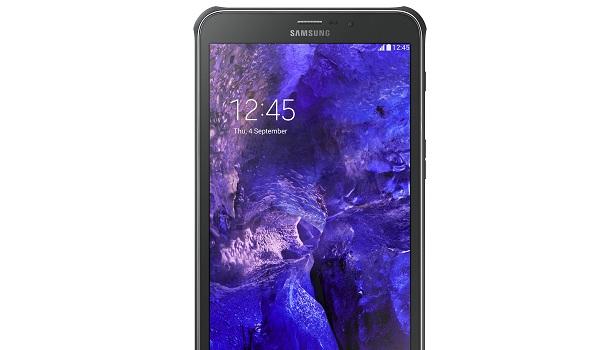
Samsung is starting to spreading its wings in tablet market and released almost all types of tablets whether its 7 inch tablet or 10 inch tablet. Samsung also making tablets for all types of users whether its student or working man. Samsung Galaxy Tab Active is one of them having 8 inch display with 1.2 quad core processor. Today I’ll tell your to root this tab in a very easier way.
First you need to know that rooting is not a legal process. It’s not recommended by Samsung or Google because this process is risky and may lose your phone if you done any thing wrong through this process. Also you lose your phones warranty after rooting your phone so next time you will be charged for technical assistance.

Details of Note
- You need some tools to make this root process successful, you need a windows based PC, a USB cable and an internet connection on your PC. There should not be any antivirus installed on your PC if it have any disable it for this process.
- Your phone also needs to be ready for this process, enable USB debugging on your phone by going to settings > developer options > enable USB debugging option.
- Charge your phone to at least 50% before rooting it because your phone going to restart several times in this process.
- Backup all of your important data from your phone to your PC or any other external drive. To save your contacts you can sync them to your Google account and restore them when you want. Also backup your important media files to your phone’s SD card.
Steps to Root Samsung Galaxy Tab Active LTE SM T365
- Download and install Samsung Kies on your PC to get USB drivers installed on your PC.
- Now download the most important software Odin 3.09 from here and extract it anywhere on your PC.
- At last download the root package from here and extract this also on your PC.
- Now reboot your phone to download mode, turn it off completely and turn it on by pressing and holding power key, volume down key and home key together and when you see a warning screen just press volume up key once.
- On PC launch Odin from and connect your phone to your PC using USB cable, check for the Added message in the message box in Odin.
- On Odin click on PDA and select the CF Auto Root file from the root package downloaded earlier.
- Finally click on start, this will root your phone in no time.
If you see PASS message on Odin that means you had rooted your phone successfully. Now you can do more illegal process like installing custom ROMs or kernels. Do like and share this article with your friends.