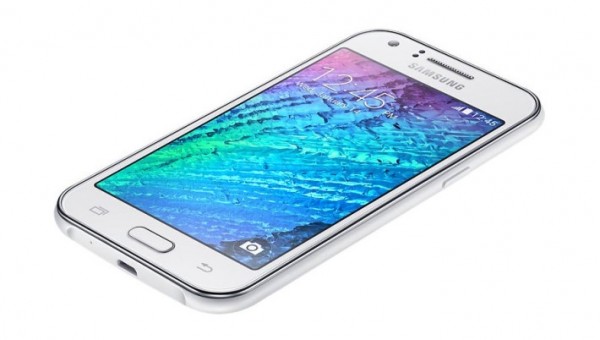
Last Updated on July 19, 2022 by Mathew Diekhake
The only reason we here at Tech Chomps are able to make content every day for you guys is the advertisement revenue on the page you are seeing. With that being said, we also know how much some readers dislike ads on a page.
If you are rooting the Samsung Galaxy J5 smartphone then you’ll want to know about the Adblock Plus for Android application. Without root access you cannot use the Adblock app, although we are seeing a change in recent times with Apple’s iOS. However, that done more on purpose to hurt Google and since Google own Android we doubt anything serious will ever be available from a Google-owned operating system.

These steps will work if you have updated the Samsung Galaxy J5 smartphone to Android 5.1.1 Lollipop.
The Files You Need
- You must unlock the Samsung Galaxy J5 bootloader before you can use this guide or else you will brick the device.
- Download the CF-Root file for the J500G smartphone from this page.
- Download the Samsung USB Drivers for your J5 smartphone from the Samsung developers page on this page.
- Alternatively, you can download the universal ADB driver made by Koush.
- Download the latest Odin flashing tool version from this page.
- Rooting the Samsung Galaxy J5 does void the warranty. It doesn’t matter what software version you are running in regards to the warranty. However, you can unroot the device and it will restore the warranty. That’s only if your device doesn’t come with Samsung’s Knox security.
Rooting the Samsung Galaxy J5 SM-J500G on Android 5.1.1 Lollipop
- Download both the CF-Root package and the Odin package to the computer.
- Since your computer must be Windows, it will end up in the Downloads folder by default unless you have changed the default Downloads location.
- Open the Downloads folder and click and drag both files over to the desktop.
- Once the files are on the desktop, right-click the mouse on top of the files and select the “extract here'” option. Now you may use those files.
- On your Samsung Galaxy J5 smartphone, press the Power button just once and then select the Switch Off option from the Device Options menu.
- Reboot the J5 phone by holding the Volume Down + Home + Power buttons together until the screen changes on your smartphone.
- Press the Volume Up button when it tells you to do so on the display.
- Connect the device to the computer using the USB cable you would usually use for charging the battery.
- Wait for the ‘added!” message to appear in Odin’s message box and the ID: COM port to change colors. These two details mean your drivers are working. So long as the drivers are picked on, this is not a problem in future. Therefore, any flashes that don’t work are likely due to the Odin version. try using a different Odin version number and seeing if that works.
- Click the AP/PDA button from the Odin user-interface and browse the desktop of the extracted CF-Root file.
- Leave all default settings on the Odin user-interface as they are. these are the default settings when you download and run a fresh copy of Odin for the first time.
- Click the Start button and the Odin flashing tool will now flash that CF-Root file on your computer.
You can install the root checker app from the Google Play Store and it will let you know if this guide worked for your Samsung Galaxy J5 smartphone.
