Last Updated on July 20, 2022 by Mathew Diekhake
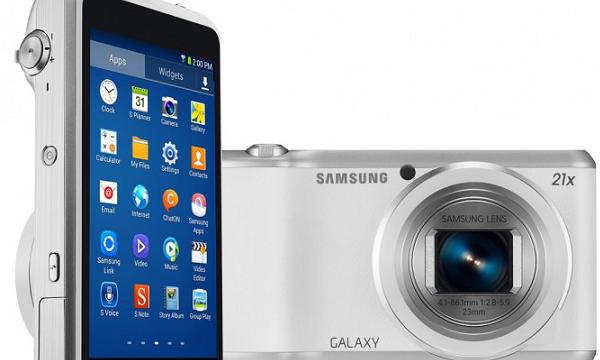
Samsung Galaxy Camera was a big hit and Samsung released its second version in January last year with exactly same specs except the processor which is 0.2 GHz faster and the upgraded Android version. If you have one then today I will tell you how to root yours. This article will guide you through the root process using Odin software, do not skip any step or part of this article or you will end up with a bricked device.
Android rooting comes in handy in may situations, including when you want to customize your device or want to install any custom ROM or kernels. Some apps also need root access of your device’s internal system so it can work properly. Rooting your device is not recommended by Google or your device’s manufacturer. Rooting your device also voids your device’s warranty so root your device at your own risk.

Details of Note
- Make sure you make a backup of all of your important data stored in the device to be confident that if anything wrong happens to your device then your data is secure. Make a backup of your media files on your PC or any other external drive.
- What you need for this root process is a Windows-based PC with antivirus disabled and a USB cable to connect your phone to your PC.
- Also make sure to enable USB debugging mode on your device by going to settings > Developer Options > enable USB debugging. Before going to the steps charge your device to at least 50% battery.
Steps to Root Samsung Galaxy Camera 2 EK-GC200 Using Odin
- First download and install Samsung Kies on your PC which will install USB drivers for your device on your PC.
- Download root package from here and extract it anywhere on your PC.
- Download Odin zip package from here and extract it on your PC.
- Now reboot your device to download mode by turning it off completely and power it on by pressing and holding power key and zoom right key together for 8-10 seconds. When you see a warning screen just press zoom left key once.
- On PC launch Odin and after that connect your device to your PC using USB cable and check the “Added!” message on Odin.
- After your phone has been detected, on Odin click on “PDA” then select the CF Auto Root file from the root package downloaded earlier and click on “Start”.
- After the root package flashed on your device you will see a “PASS” message.
Congratulations! Your device is rooted, now you can install apps need root access and make your camera more powerful than before. And if anything bothering you then don’t hesitate just post them in comment section below right away.
Download our preferred root checker application from the Google Play store. Tap on the new root checker app from your app drawer and verify that it is working.
