Last Updated on July 19, 2022 by Mat Diekhake
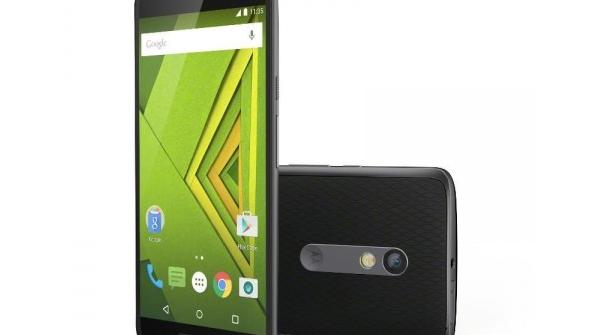
Follow the step-by-step guide below to learn how to root the Motorola Moto X Play XT1562. Before gaining the rooting privileges, we are installing a custom recovery.
ClockworkMod (CWM) and team Win’s TWRP recovery are both available for this device. However, the one we are using today is the TWRP recovery. You can find the CWM recovery file and install it the same way as the TWRP recovery during our guide.
The files you need
- First you must unlock the Motorola bootloader. You can unlock it for the XT1562 handset by following our universal guide here.
- Download the TWRP recovery file you need to install a custom recovery.
- Download minimal ADB and Fastboot. Scroll down the page until you see the Minimal_adb_fastboot_v1.1.3_setup.exe file in the post.
- Download SuperSU and transfer it to the Motorola’s internal SD card. Make sure it’s in the root folder and not hidden in any sub folder.
- Unzip the custom recovery file and the minimal ADB and Fastboot file to the desktop of the Windows PC.
- Transfer the recovery.img file from the recovery folder over to the same folder as the minimal ADB and fastooboot.
How to root the Motorola Moto X Play and install a custom recovery (TWRP recovery)
- Inside the minimal ADB and Fastboot folder should be a cmd.exe file. Double-click that file to open the command prompt window. If you don’t see the file, right-click the mouse on an empty white space in the same minimal ADB folder and hold Shift at the same time. Now open the command prompt window from the menu that should pop up.
- Type the first command to check your device is connected: “adb devices”.
- Type the second command: “adb reboot bootloader”.
- Your device will now boot in the ADB mode, ready for the next step.
- Now type the command: “fastboot flash recovery recovery.img”.
- The above command flashes the custom recovery to your device, which we will now enter to gain the root access.
- Now boot into the ADB mode.
- Completely power down the Moto X Play device by holding the power key.
- Reboot the Motorola Moto X Play holding the Volume Down + Power buttons for five seconds. After the five seconds is up, release the Power button only. You should now be holding the Volume Down button. Soon you will see the ADB mode.
- Launch recovery from the ADB mode menu. You can move up and down the menu using the Volume buttons.
- Tap the “install’ option from the TWRP recovery menu once your device is in the custom recovery.
- Browse the internal SD card for the SuperSU file you transferred earlier.
- Once you install the SuperSU your device has the root access. Now go back to the main recovery menu and choose to reboot the system now from the menu.
Now your device has root access and a custom recovery installed, which means you can download any root-only apps from the Google Play Store and you may flash custom ROMs if you can find them. You’ll need to boot into the custom recovery mode and choose “Install” from the menu, only this time browse the SD card for the custom ROM file that you should have as a zip file.
You can double-check everything worked according to play before advancing with ROMs and rooted apps by installing the root checker app from the Google Play Store.