Last Updated on July 19, 2022 by Mathew Diekhake
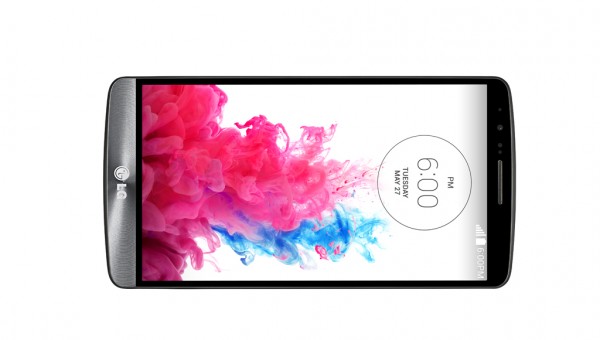
Looking for a better backup solution on your LG G3 smartphone from Sprint? There are a few things you can do if you don’t mind customizing your device. The best solution is to install a custom recovery on your G3 smartphone and then tap the Backup option from the menu which is of course giving you a NANDroid backup. You can even install something like the NANDroid Manager which lets you restore certain partitions and not the full backup. The NANdroid backup coupled with the NANDroid Manager makes the best combination you could ever imagine.
The NANDroid is only useful for hose with a custom recovery, though. Rooted users can have a similar experience with the Titanium Backup app. The Titanium Backup app is like Helium on steroids. If you are over the usual Helium app for your Android, try rooting it and then installing the Titanium Backup app.

Files You Need
- Download the Towelroot app from the official website from this page: http://towelroot.com.
- You are agreeing to void the LG G3 warranty when you follow this guide. You can unroot by flashing a stock ROM back on your device and the Sprint G3 warranty will start working once again.
- You can root the Sprint LG G3 without a PC by following this guide. You do not need to use a computer at all, unlike some of the other rooting methods like KingRoot where you should still transfer the file from the desktop to the SD card.
Rooting the LG G3 by Sprint
- Make sure you have the Unknown Sources option turned on from your G3 Settings by pointing to the Menu > Settings > Security > Unknown Sources.
- Open the Google Chrome web browser on your G3 smartphone and put in the Towelroot URL domain name from the files section above.
- Tap on the Lambda symbol that is on the homepage.
- Save the tr.apk file to your G3 device.
- Swipe from the top of the G3 display and pull down the notification shade.
- Tap over the “Download Complete” notification.
- Tap the “Install” option.
- Swipe from the top of the G3 display and pull down that notification shade.
- Tap on the “Installation Complete” option to open the app.
- Tap on the “Make it Ra1n” button.
- Your Sprint G3 is now being rooted and soon it will give you the notification to let you know it is complete and was a success. It also tells you that you do not need to reboot the device before you can start using your rooted device, so do not worry about rebooting this time.
- Open the Google Play Store and app browse for the SuperSU app.
- Confirm you do want to install the SuperSU app and agree to update any SU binary if it asks.
- You will now have the SuperSU app available from the app drawer. Make sure you do not delete that app until you choose to unroot the device. The SuperSU is blocking access to any malware apps that might try to get access to that root file system. All you need to do is not grant access to that same malware, so always check the app name and do not grant access to any apps you do not recognize.
- Open the Google Play Store app once again and install the root checker app. Open that same root checker app and agree to grant superuser access if it asks. That root checker app will let you know if your Sprint G3 is rooted or not.
Now you are ready to open the Google Play Store once again and start installing your rooted apps like the NANDroid Manager.
