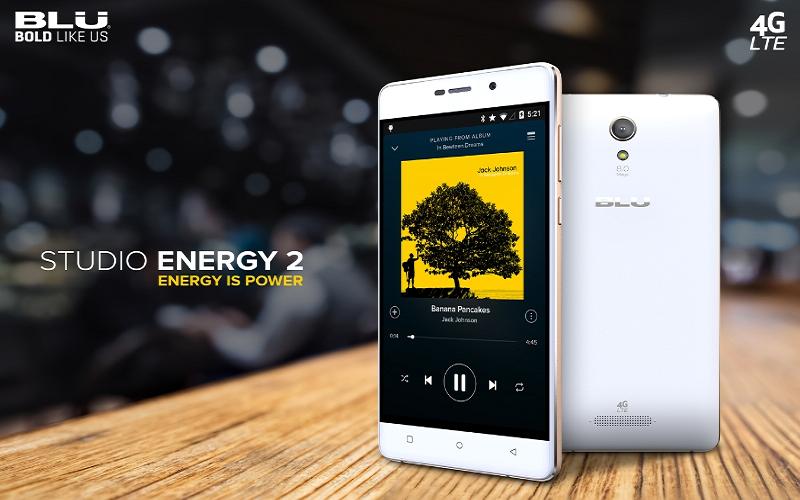
Rooting the Blu Studio Energy 2 is your portal to installing new apps that Google would not let you install from the Google Play Store. Once you have access to the Blu Studio root file system, you can install apps like the Full!screen app to get more screen real estate out of your device. There are hundreds of other useful rooted apps like the Children Tracker app, BBQScreen, FPS Meter, Icon Themer, SoftKeyz and the NANDroid manager.
You’ll need to install a custom recovery before the NANDroid Manager is of any use for your Blu Studio Energy 2 smartphone. Once you have a custom recovery like TWRP recovery we install during this guide, you can take a normal NANDroid backup. With the NANDroid Manager app and root access, you can choose exactly which small partitions you would like to restore.

Files You Need
- Download the MTK Drivers on your computer from this page.
- Download the TWRP recovery that is ported to Gionee M4 from this page.
- Download the SP Flash Tool from this page.
- Download the SuperSU by Chainfire from this page.
- The scatter file from this page.
Rooting the Blu Studio Energy 2
- Open the SP Flash Tool and load the scatter file.
- Click on the ‘Download’ tab from the Flash tool and select ‘download only’.
- Make sure that only the recovery partition box is checked.
- Double-check you have the correct scatter file loaded.
- Double-click the ‘Location’ box and upload the Gionee M4 TWRP recovery.img file to this location.
- Click the ‘Download’ button.
- Once that is complete, transfer the SuperSU package to the root of your SD card. The root of the SD card means keep it at the topmost folder.
- Long-press the Power button until your Blu Studio Energy 2 is completely off.
- Connect the Blu Studio device to the computer with the USB cable while it is off still and do it with the ‘Download’ button clicked.
– you must have the drivers installed on your computer for this to work. - Wait until the SP Flash Tool flashes and you can see a green tick.
- Unplug your Blu Studio handset from the computer and the USB cable and reboot by holding the Power and Volume Up buttons to get in the TWRP recovery you flashed earlier.
- From the main recovery menu, choose the ‘Install’ option and upload your SuperSU file from the SD card.
- Once you have installed the SuperSU file, choose the ‘reboot system now’ option from the main recovery menu.
- Now your Blu Studio Energy 2 smartphone is rooted with a custom recovery installed.
- Open the Google Play Store application once your device reboots and install the root checker app just to confirm it worked.
Now you are ready to start installing the root-requiring apps from the Google Play Store and other third-party sources like the official developer websites. The SuperSU you just installed will keep your device safe from malware. The only way you can get malware on your device is if the SuperSU stop the malware and alerts you about it and you decide to give that malware root permissions on your device. That’s why you should be careful with what you agree to install. Always research the names of the apps that are prompting you for root permissions before you decide to hand over those same root permissions.