Last Updated on July 19, 2022 by Mathew Diekhake
Rooting Android operating systems is like running a command with Sudo in Linux or working with administrator permissions in Windows on your PCs. Without Sudo and administrator permissions we cannot run any program we want and those restrictions can really ruin the experience of the operating system.
The main difference between any computer operating system and having root with the Android operating system is that the extra programs we run on Android are all coming from the Google Play Store in the form of applications. While that doesn’t sound too exciting, apps can do many tasks including wireless tethering, overclocking the CPU for increased performance, removing the stock apps that are bloating your system and giving your device a new ROM. A new ROM is what we call a custom ROM and Samsung Galaxy devices usually have plenty of them available. Most custom ROMs need a custom recovery to work and not necessarily root access. However, some devices need a custom recovery before having root access. All you need to know is what is required for your Samsung Galaxy tab Active and we’ll show you all of that below.

The Files You Files
- You must have the bootloader unlocked before you can root the Samsung device with Chainfire’s CF-Root tool.
- Download the rooting package for the Samsung Galaxy Tab Active WiFi from this page.
- Download the Samsung USB Drivers from this page. It takes you directly to the Samsung Developers page from the official Samsung website.
- Download a different version of Odin from this page if the one in the bundle doesn’t work for your device.
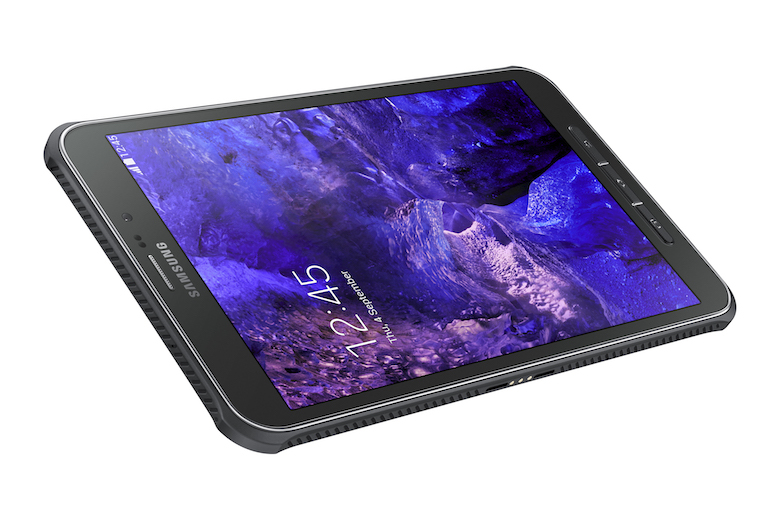
Rooting the Samsung Galaxy Tab Active WiFi (SM-T360)
- Download the rooting bundle to the Windows PC and move it over to the desktop. By default in all Windows operating systems, that file will end up in your Down loads folder unless you have changed the default down load location. Open the Downloads folder and click and drag the SM-T360 rooting package over to the desktop.
- Once on the desktop, right-click over the file and select the “extract here’ option and the file will open with the extracted CF-Root tool and the Odin flashing tool.
- Double-click over the Odin flashing tool and it will open the Odin user-interface.
- Navigate to the Device Option menu and switch off the smartphone. You can long-press the Power button and turn the Samsung Galaxy Tab off that way if it’s easier.
- Reboot the Galaxy Tab Active in the Odin download mode. Do achieve that, reboot it by holding the Power button and at the same time press the Volume Down + Home buttons.
- Keep holding those three buttons and look at the devices display until the screen changes.
- Now press the Volume Up button when it tells you to do so on the devices display.
- Once in the Odin download mode, connect your Samsung Galaxy Tab Active to the computer with the USB cable.
- If your Samsung drivers are working well, you will see the ID: COM port change color to yellow or blue. If the color is not lighting up the ID: COM port, that means any problems you face will likely be due to the drivers and not the Odin version. Conversely, if the flashing doesn’t work but the ID: COM port is lighting up, that suggest downloading a different Odin version from the links above.
- Click the PDA button if you are using the Odin 3.07 version, or the AP button if you are using a later version.
- Leave the default Settings in the Odin flashing tool — these are the settings by default when you download a new version.
- Click the Start button and Odin will now flash the CF-Auto-root file on your device.
- Wait until the Odin user-interface gives you a pass message from the message box and your Samsung Galaxy tab Active automatically reboots.
- Once it reboots, you are ready to start installing root-requiring apps from the Google Play Store. You might want to start with the root checker app.
- You can install any app you like. One of the best apps for a rooted Android is the 3C Toolbox which features many of the best apps rolled into one.
That’s all.
