Last Updated on July 23, 2022 by Mathew Diekhake
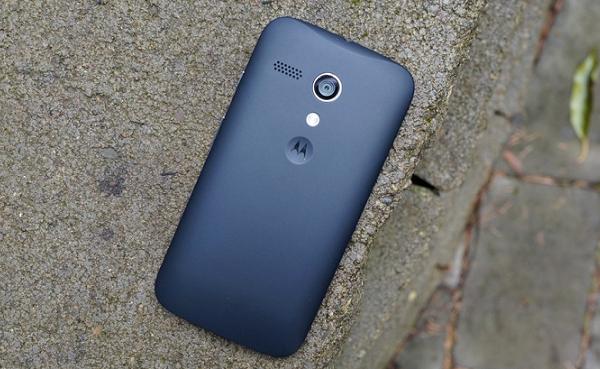
The Motorola Moto G is my personal favorite smartphone for the low-end market since it inherits much of its good looks from the big brother Moto X and much of the functionality too. Yes, it runs slightly slower, the processor can’t handle the same power and it suffers from some browsing lag at time, but for the price you pay its as great a deal as you’ll find. Chances are you know all that already and want to learn how to unlock the OS since you looked up the root guide so I’ll give you the tear down on everything you need to know and get the job done the best way we know by installing SuperSU and TWRP recovery.
Before we get into the nitty-gritty, we must make sure you understand everything that is essential. Firstly, we want you to stopover at the Developer options menu from the Moto G’s settings panel and enable the USB Debugging Mode. Secondly, download and install the latest up-to-date USB drivers by Motorola. You can obtain these by downloading them manually or installing them from the official website. Additionally, some of you will have this working already so there’s no need to fret. If you connect the phone to the PC from time to time with success then you will likely not need to update anything at this time. However, if you find functionality issues, this is the one step to go back to next time.

Details of Note
- While we are talking about the Microsoft software, you must use a Windows-based PC running XP through to Windows 8. Windows 10 will pick up functionality after it’s release. In addition to that, you can use a notebook, laptop or computer so long as there is a working USB port. We ought to use that port for connecting the phone once we start the steps below.
- You had better be an advanced Android user before attempting anything on this page. For some that is impossible and there’s only one place to start. In that case, you must read all of the pre-requisites carefully so you don’t make a mistake.
- Correspondingly, the biggest problem anyone will face is soft-bricking the phone and it doesn’t work. Luckily we know that there are ways around this by visiting the official XDA Developers website and sorting after a fresh guide to help you in that direction. That’s the site where all the developers hang out and post threads on such matters. The second largest problem is losing data that you didn’t back up and save before starting. Nobody expects data loss to occur here. However, it can happen if something goes wrong and the users must initiate a factory reset or a hard reset.
- Reserve 50% of the device’s battery level just in case the USB charging feature is not working automatically when you plug it into the PC. You can view how much battery power is remaining from the status bar icon.
- We understand that most people already backup their devices and have their own personal favorite method. If that is the case yet again, that’s fine by us. However, if you want pointing in the right direction we suggest using several applications available from the Google Play Store coupled with the smartphones internal memory space. Download Helium for Android for syncing the contacts and backing up the market apps. Download SMS backup + to make copies of the important texts from your lover you don’t want to risk losing.
- You have a duty to stop all security programs from running both on the Android OS and the computer. Just bear in mind you ought to switch them back on again before you leave and start browsing the web searching for awesome rooted applications to install.
How to root Moto G Using SuperSU and Team Win’s Recovery
Important: You must first install the TWRP recovery image file from here. Follow the usual steps in place for installing Android SDK, download the file to the same location as the ADB. Enter fastboot mode, open the command prompt within the SDK folder and type fastboot flash recovery twrp -2.7.1.0-peregrine-201407161845.img. the custom recovery image is successfully installed on your G handset.
- Download the toot package from this ChainFire link.
– use the computer’s desktop environment. - Fetch the USB wire from the phone charger.
- Connect the phone to the computer of your choice using the wire.
- Relocate the file from the desktop to the phones SD card.
- Disconnect the mobile from the computer and turn it off completely.
- Boot it up in recovery mode.
- Select “install zip from SD card”.
- Select “choose zip from SD card”.
- Find the root file and confirm the flashing.
- Navigate back to the main recovery menu window and elect to “reboot System Now”.
That’s all.
