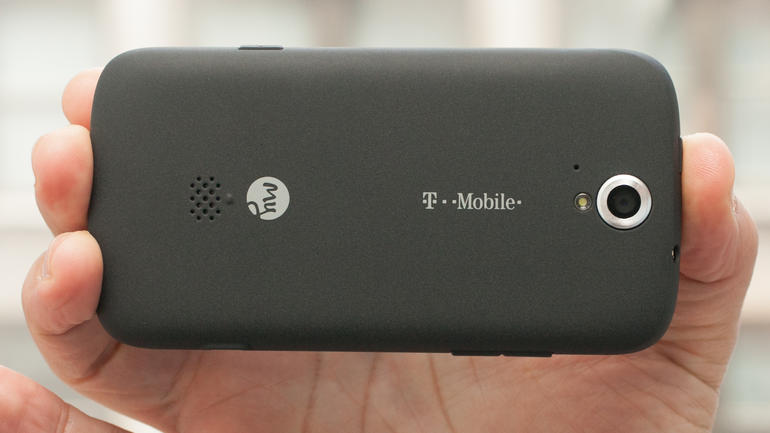
Last Updated on July 19, 2022 by Mathew Diekhake
Once you have rooted the Huawei MyTouch Q by T-Mobile you can remount the system directly read-write. Doing so is how you remove the apps shipped by your phone carrier networks — we refer to this as bloatware. You know how you can have spam on your device from emails? We call spam anything that we don’t want and often it makes other people money. The same can be said for these apps that come shipped on your device by carriers.
In addition to removing apps, root file explorers can let you views all folder on the Huawei smartphone. Some fine examples of root file explorers you might want to install include the ES File Explorer, Root Explorer and the Mount/System/RO/RW. Remember when we tell you there are apps you can use that do much more than just play games? Well this is one example of that.

The Files You Need
- Download the SuperOneClick rooting tool we are using from this page.
- These are the steps to root the Huawei MyTouch Q smartphone for T-Mobile subscribers. You must have the T-Mobile model number of the device to follow this guide.
- Furthermost, the following steps to void the manufacturer’s warranty you get from Huawei. You can unroot the MyTouch Q smartphone to get that warranty working again. You can get that done because Huawei devices do not come with any additional security.
Rooting the Huawei MyTouch Q by T-Mobile
- Download the SuperOneClick package to the computer and shift the file over to the desktop.
- Extract that file now by right-clicking over the file and choosing the extract it here option.
- Make sure the MyTouch smartphone has the USB Debugging Mode on so you can connect it to the computer. Do that by heading to the Settings > Developer Options > USB Debugging Mode.
- Some of you will not see any Developer Options menu. All of those people must unlock it first and then it will appear. Do that by heading to the Settings > About Device and tapping over the build number 7 times or until it says you are now a developer. That’s Android’s fancy way of letting you know the Developer Options is now available from the Settings menu.
- Connect the device to the computer with the USB cable.
- Double-click the SuperOneClick rooting tool.
- The rest is very easy: just click the Root button and it will root your device since this is a one click rooting package.
- Wait until your device is rooted before unplugging it from the computer.
- Now you can install any of the apps that need root access to work. You find those from the same Google Play Store where you find the rest of your apps.
- You might want to start your journey by installing the root checker app. With the root checker, you can check if your device has root access or not.
