Last Updated on July 22, 2022 by Mathew Diekhake
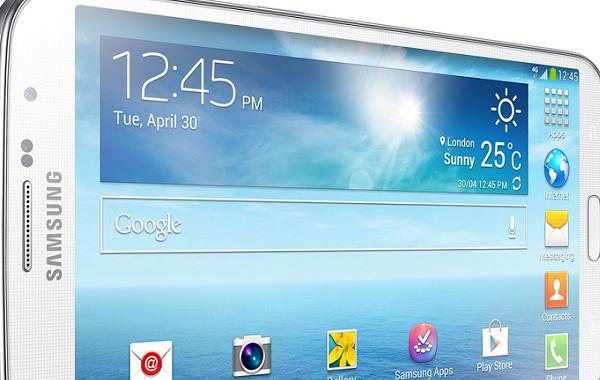
The Samsung Galaxy Mega 2 is a smartphone released around mid 2014. It comes with Android 4.4 KitKat OS out of the box and is exclusive to AT&T. If you want a phone with a big display, quad-core processor, fast 4G mobile data support and a high-resolution display, it’s a great choice for you. However, what if you’ve had it for several months now and the stock bloatware isn’t satisfying you anymore. Well, we are here to let you know all about gaining root access so you can unlock the devices system internals away from the Samsung restrictions in place.
Once you break open the operating system there’s nothing stopping you from installing custom ROMs, downloading extra application from Google Play and boosting the overall performance with things like overclocking the CPU.

We want to list the essentials before starting the guide so you can understand everything you need to know including what you need to get started, what the risks are involved and so forth.
Details of Note
- You don’t automatically lose data after the steps. However, sometimes people have problems and must apply a factory reset. Resetting the device will wipe the data unless it’s stored on the internal or external memory cards. You can use apps to help you backup the data such as helium, Easy backup and G Cloud backup. You can even apply for Google Drive’s service where you can find extra storage space and keep some data in the cloud.
- You can back up the phone contacts a different way by shifting them over to the PC. Most modern-day smartphones have built-in backup capabilities. You can store the data locally instead of using apps or applying for service.
- Once advantage of using apps is they come with premium features such as being able to set up automatic backups so you don’t have to. You must take each backup manually by using built-in services from the phone.
- The one thing apart from the usual phone contacts, music, video and pictures you want to make a copy of is the EFS folder. It’s where the IMEI number is kept. Sometimes the file is wiped by accident and you can’t get it back easily without another copy. The IMEi is important for several reasons. Most people use it to apply for unlocking away from carrier restrictions. Doing so will boots the resale value of your device if you are thinking about putting it up on eBay.
- Download the Samsung EFS backup from if you want to make a copy.
- Make sure you have the up to date USB drivers by visiting the official Samsung developers website or by installing third-party files.
- Enable USB Debugging mode by stopping over at Settings > Developer Options > USB Debugging.
- You must have a working computer, notebook or laptop for applying the following. Furthermore, it must be Windows-based and not a Mac or any other machine.
- You need the USB cable that it comes with out of the box. We are using the cable for connecting to the computer.
- You may wish to apply a hard reset or a factory reset after rooting if something goes wrong and you cannot find a solution for your device. A reset is the easiest way out of trouble. However, it comes with one problem: you lose the data. That’s why it’s important to back up first. You can download the simple factory reset app here.
- The guide is only for advanced Android users. Do not try to unlock the phone unless you have experience with customizing.
- USB charging takes care of most of your battery woes. Those erring on the side of caution will prefer saving up at least 50% battery power. You don’t want the phone shutting down before the guide finishes.
How to root the Samsung Galaxy Mega 2 using Odin
- Download the Odin file here.
- Download the CF-Root file here.
- Use the desktop of the computer for both files.
- Extract the Odin file and run the program.
- Extract the rooting file and leave it on the desktop.
- Boot the mega in download mode.
– Volume Down + Power + Home until the res warning symbol is on the display and let go. - Connect the phone to the computer using the USB wire.
- Wait until Odin says ‘added’ and the ID: COM port changes color.
- Click the PDA button and upload the file from the desktop.
- Leave the default settings.
- Click the start button when you are ready for the flashing.
- Wait for Odin to say “pass” or “fail’ on the display.
- You may need new USB drivers if it fails.
If you are using the unchained device and wish to revert back to the stock Android experience you can do that by one of two ways. The first is by waiting for another official firmware update to arrive. From there you want to flash that file manually by using Odin. Otherwise you can download the root checker and unroot pro app from Google Play and any time unroot the device.
