Last Updated on April 10, 2017 by Mat Diekhake
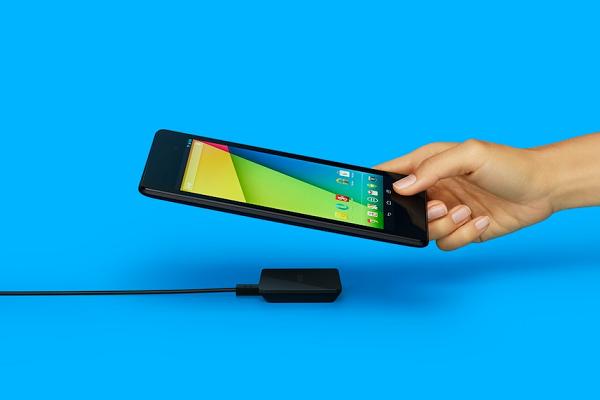
Our favorite Mountain View company you know as Google have just released the factory image for the 2013 edition of the Nexus 7 LTE 4G tablet. The image is updating the device to the final stages of Android KitKat namely 4.4.4 firmware. The build number is KTU84P and we wrote about it last week here. You can find out everything there is to know about the software release on that page. However, when it comes to installing the file you want to come back here and follow the guide we are listing below the fold.
Firstly, its paramount we run you through all of the prerequisites so you know exactly what you are in for. Additionally, so you can learn things you didn’t know and therefore perform the operation smarter which in turn will results in fewer mistakes and a greater success rate.
- You should understand that the Nexus range of smartphones and tablets are the best for customizing and tinkering with the OS. Some say the Nexus comes factory unlocked without phone carrier restrictions so they can install a SIM card from any carrier of their choice without an unlocking fee. Others say that is not true and you need root access to unlock. One thing we can all agree on is that if you are not customizing Google’s own handsets then you need to start because they are fantastic machines for playing with. Furthermore, following the exact same steps listed below here we can restore factory settings with a full factory reset and also un-brick and devices that are suffering from faulty installations. Just remember that you will wipe all of the data stored on the device since opening it up out of the box. That includes phone contacts, market applications, music and audio files, videos, pictures and any other data.
- Nobody can start until the USB Debugging Mode is enabled from the Developer Options menu. Moreover, you must have the USB cable and a computer, notebook or laptop with a USB slot for us to connect with.
- You do not need to have an unlocked bootloader before starting the guide since we provide the instructions to make that happen. It’s fast and easy and won’t require any additional tools. Furthermore, you can use the instruction for future reference whenever you want to unlock. It doesn’t have to be for what we are practicing here today. To install a custom ROM or firmware of any kind you must unlock the bootloader.
- The latest tablet OTA that is out as a notification is the Android 4.4.3 version. That means by installing this file you will be ahead of any over the air release that your carrier and the team out of the Googleplex are dishing out. However, we know many other devices are already running the final stages of the chocolate software so we know what to expect. Inside are bug fixes, a revamped phone dialer app, the fix for the Open SSL security scare and several performance tweaks and enhancements. In the broader scheme of things it is a minor update, although it is something to enjoy until the Android L developer preview is finally released out into the wild for the nexus range starting this November. Don’t think for a moment that is the time it is coming for this tablet, though, since we have waited all this time just for the 4.4.4 build. that means it likely will take a chunk of time after the initial release on this years brand new nexus handsets before it eventually makes its way around to the other ones such as what we are using here today.
- Remember to plug the nexus into the family PC using the USB cable and manually transfer the images by visiting the “my computer” icon and opening up the Drive for the phone. That offers an easy method for making sure you don’t lose any of the images. You can transfer them back onto the phone at a later date when it suits you.
- You can only use a Windows PC for installing SDK. We do not know it is works for Mac OS X or any Linux/Ubuntu style operating system. Therefore, we only endorse the Microsoft variant from the Redmond-based company out of Washington. We strongly recommend updating your future machines to Windows if you are an avid Android user since they often require MS OS for tasks such as flashing files.
- The most notable point is that you require Android SDK installed before starting the steps. You can visit the developers page and download the file from here. Create a folder namely “SDK” and store it in the C: Drive. Users must obtain the fastboot file from platform-tools menu. You will not find it in any other place. Additionally, all users should run the SDK manager. That way you can install the latest drivers and ensure they are up to date and in perfect working order. Doing so eliminates the obvious problems from arising and therefore giving users a better experience that is hassle-free.
Requirements:
razorg-ktu84p-factory-f21762aa.tgz from here.
Flash 2013 Nexus 7 LTE 4G With Android 4.4.4 KitKat Factory Image
1. Start up the Windows-based PC.
2. Download the file listed above to the desktop of the computer.
3. Fetch the USB cable.
4. Initiate fastboot mode on the Nexus 7.
– hold Volume Down and the Power keys at the same time and don’t take your fingers off the button.
– a screen appearing labelled ‘fastboot’ will show up.
5. Focus your attention on the computer monitor.
– you want Windows XP, 7, 8 or the fresh 10.
6. Click the Start button followed by the Run box. Type “CMD” into the run box to open up the command prompt.
7. Now we are going to do some typing in the command line. If you are not familiar with the command line don’t be scared because we will make it easy for you.
8. Type fastboot oem unlock as soon as it opens and press the enter key on the keyboard.
9. The command is not locked in and confirmed. It will unlock the bootloader.
10. Now type “flash-all.bat” as a fresh order and press the enter key on the keyboard once more.
11. Do not touch anything until it finishes by itself. The phone will reboot automatically and this is part of the normal process.
Finally, update your tablet with the Google ID information for your account and it will open up all of your personalized Google services again.