Last Updated on November 16, 2019 by Mat Diekhake
If you are into geeky stuff, you might enjoy using terminal rather than any other way. The classic retro feels it has and its natural way to quickly and easily type in commands to get jobs done simply is hard to beat. An operating system that is known for the command line more so than any other would have to be Linux.
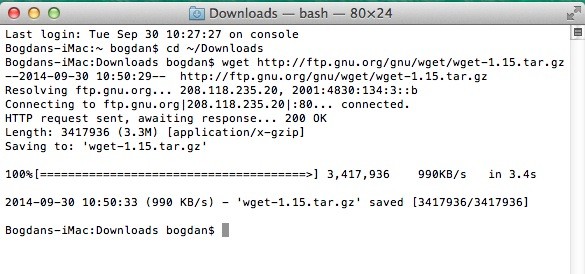
If you use Linux, there’s a good chance you have had a go using the terminal. This terminal has a program which can be used to download files and folders called Wget. Thankfully, there is a way to get Wget on Mac if you are a Mac user rather than a Linux user. Check the guide after the jump to see how to install Wget on a Mac.
How To Install Wget On Mac
Step 1. Head over to the website and get your hands on the source code or use the link. Download and unzip the source code package to your desktop.
Step 2. Now open up the terminal and locate the folder that Wget is inside of.
Step 3. Once you have done that you need to type ./configure inside the terminal. Start a new command to do this. The aim here is to configure it now as the command suggests.
Step 4. That is all you have to do to configure it. Now type make to get the files made up in a single binary.
Step 5. After creating the binary, we now want to put it in the right place on the computer. To do this type sudo make install. Make sure you are logged in as administrator to do this command as it requires administrator permissions.
That’s all there is to it. You should now have Wget installed on the Mac.