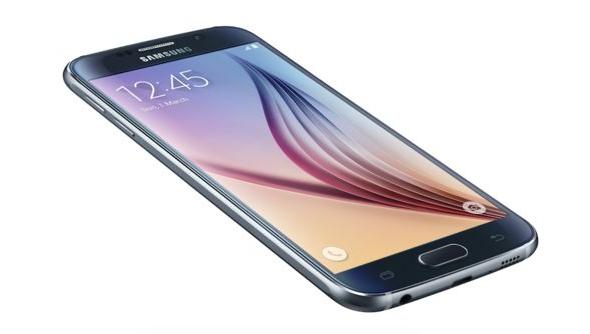
Team Win’s TWRP recovery is one of our favorite custom recoveries because it has a touch user interface. That means that you can touch the display with your hands to choose the options on the display just like you would when using the operating system of your stock Android ROM. However, the other main custom recovery, ClockworkMod recovery, does not have that option. With CWM recovery, you must use the Volume keys to navigate in the recovery and choose your options. That’s pretty much what they mean when they refer to TWRP as touch-based. If you like that idea running on your device, here’s the guide to installing TWRP recovery on the Samsung Galaxy S6 smartphone for T-Mobile subscribers.

The Files You Need
- Download the TWRP recovery file you want from this page.
- Download the Odin flash tool to flash the file on your device from this page.
- Download the Samsung USB Drivers on the computer from this official Samsung website page.
- These are the steps to install TWRP recovery on the Samsung Galaxy S6 model number G925T from T-Mobile. All T-Mobile smartphones come with that model number.
Installing TWRP Recovery On The T-Mobile Samsung Galaxy S6 Model Number G925T
- The TWRP recovery should have downloaded just above the taskbar. Click the small arrow on the right side of that download item and choose to ‘show in folder’.
- If you cannot see that option, your download will automatically end up in the downloads folder or in the folder that your version of Windows is set to download files by default.
- Click and drag that TWRP file over to the desktop.
- Once it’s on the desktop, right-click the file and select the ‘extract here’ option. You should now see the TWRP.img file on the desktop.
- Do the same thing with Odin so that you end up with the Odin file extracted to the desktop.
- Double-click that Odin file you extracted and it will run the tool. Leave it open on the computer.
- Long-press the Power button on your Samsung Galaxy S6 until it shuts down.
- Reboot the Galaxy S6 holding the Home + Volume Down + Power buttons together.
- Keep holding the three buttons until you can see your device is at a warning screen.
- Now let go and press Volume Up by itself.
- Wait until your device goes past that warning screen and connect it to the computer with the USB cable.
- Click the AP button in the Odin tool. if you cannot see AP it’s probably because you have an older version of the Odin flashing tool. Click the PDA button in those cases.
- Now browse the desktop for that TWRP.img file you extracted earlier.
- Click the Start button and Odin is now flashing that custom recovery image file to your Samsung Galaxy S6.
- Do not touch any buttons until it is done.
- You will get a pass message on the display when you do know it’s complete.