If you’ve ever heard the term ‘ADb sideloading’ you might not know that it is done through Team Win’s TWRP recovery. If you click the advanced button from the main TWRP screen, you will see a button for ADB sideloading. That’s how you sideload. Other advanced options you will find in the TWRP recovery include Copy Log to SD, a File manager, reload theme, fix permissions and the terminal command. The terminal command is named similarly to what you would find on Mac or the command prompt windows you would find in Windows. The term ‘terminal command’ probably combines the two of them.

The Files You Need
- Download the TWRP recovery file to your Windows PC from this page.
- Download the Odin flashing tool for Windows PCs from this page.
- Download the Samsung USB Drivers from this page.
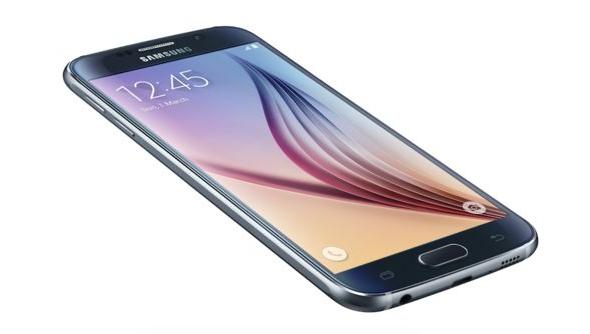
- These are the steps to install TWRP recovery on the Samsung Galaxy S6 with the model number G925F in Europe. All of the European S6 devices have the same model number. Check what that number is on your device before starting by heading to the Settings > About Device menu.
Installing TWRP Recovery On The Samsung Galaxy S6 Model Number G925F (European)
- Download the TWRP recovery and it will show up above the taskbar on the bottom of your Windows display.
- Click the small arrow on the right side of that file and choose the “show in folder” option.
- Drag the TWRP recovery over to the desktop.
- If you cannot see the downloaded file above the desktop, it will automatically appear in the downloads folder on the computer. Click and drag it from there.
- Right-click over the TWRP recovery file on the desktop and choose the “extract here”. Now you should see the custom recovery file separate and unzipped on the desktop.
- Do the same steps for the Odin file so you have the Odin file extracted to the desktop.
- Double-click and run the Odin tool.
- Long-press the Power button and turn off the Samsung Galaxy S6.
- Reboot the S6 in download mode by holding the Volume Down + Home + Power buttons together and wait until you see a warning screen on the S6 mobile.
- Let go of the three buttons and just press the Volume Up button once.
- Now you should be past that download mode warning screen.
- Connect the Galaxy S6 to the computer with the USB cable.
- Click the AP/PDA button in the Odin flashing tool and browse the desktop for the TWRP recovery you extracted.
- Wait until you see the file extension in the AP/PDA area and then press the Start button in Odin.
- The Odin app will tell you a pass message after some minutes and automatically reboot your smartphone when it’s done.