Last Updated on May 31, 2019 by Mathew Diekhake
TWRP recovery lets you use all the same features you expect to have in a custom recovery and then more. using the touch-based buttons on the display, users can select from options such as install, wipe, backup, restore, mount, settings, advanced and reboot. All of these make up way more than what you would find from a stock recovery that comes by default with an Android operating system. The ‘install’ option is the one that most people want to use because it’s here where they install zip files from the SD card. Once you browse the SD card you can swipe to confirm flash on the screen. That will either flash that SuperSU for root access or flash the zip file for the custom ROM you are installing.

The Files You Need
- Download the TWRP recovery file from this link.
- Download the Samsung USB Drivers.
- Download the Odin flashing tool for Windows PCs. You can download any Odin version; however, we recommend one of the newer releases since this is a newer device.
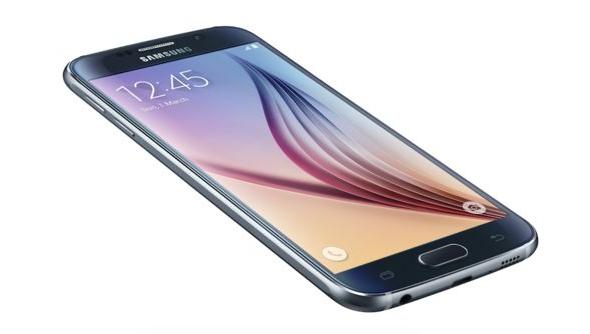
- These are the steps to install TWRP recovery on the Bell Samsung Galaxy S6 model number G920W8
Installing TWRP Recovery On The Samsung Galaxy S6 Model Number G920W8 (Bell)
- Download the TWRP recovery directly to the desktop. It will show up just above the taskbar.
- Look for the small arrow on the right side of that file and click it to get a menu.
- Choose the ‘show in folder’ option.
- You’ll now see the TWRP zipped file in the downloads folder. Those who did not follow that can navigate to the downloads folder and find the TWRP recovery there.
- Click and drag the TWRP recovery file over to the desktop.
- Once it’s on the desktop, right-click over the file and choose the ‘extract here’ option from the menu.
- You should now see an extra TWRP recovery file on the desktop — that’s the file you can use with the Odin tool.
- Do the same thing for the Odin flashing tool as you just did for the TWRP recovery and extract it to the desktop.
- Run the Odin tool after you have extracted it to the desktop.
- Long-press the Power button on the Samsung Galaxy S6 until it’s off.
- Boot it back up, but holding the Volume Down + Home + Power buttons instead of just holding the Power.
- Keep holding the 3 buttons until you see a warning screen and then let go.
- Now press the Volume Up button and wait until you see that warning screen disappear.
- Connect the Samsung Galaxy S6 to the computer using the USB cable.
- Wait until the ID: COM port changes color. No color change means that you need to install the Samsung drivers or reboot the computer.
- Now click the PDA/AP button in Odin and browse the desktop for the TWRP recovery file you extracted earlier.
- Click the Start button in Odin and wait until Odin shows you the pass message.
- The Galaxy S6 should automatically reboot when it’s done.
