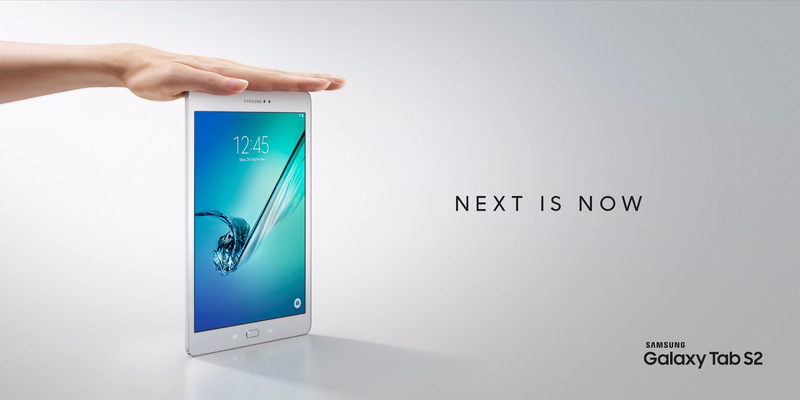
Installing TWRP recovery on the Samsung Galaxy Tab S2 8.0 doesn’t require root access. Rooting is great if you want to install apps from the Google Play Store that require access to the root file system to work, but if you don’t want to install apps, it’s best to skip rooting. Once you install the TWRP custom recovery on your Tab S2 device, you can take full backups with a single tap of a button from the recovery menu. Furthermore, you can flash custom ROMs once they become available on your device. We suspect you guys with the Tab S2 should find at least a few new ROMs coming in your direction pretty soon.

Files You Need
- Download the TWRP recovery image file from this page.
- Download the latest Odin flashing tool for your Tab S2 tablet from this page.
- Download the universal ADB drivers from this page and install them on your computer.
- These are the steps to flash TWRP recovery on the Samsung Galaxy Tab S2 8.0 with model number SM-T710 running Android 5.1.1 Lollipop.
- Installing a custom recovery image on your Samsung Tab S2 device does void the warranty. You can flash the stock recovery back on the Tab S2 and that warranty will work again. However, that’s only if your Tab does not have Knox security.
- You must have a Windows PC to follow this guide. The Odin flashing tool works on a Windows PC running XP and up.
Installing TWRP recovery on the Samsung Galaxy Tab S2 8.0
- Download the universal ADB driver and install it on the computer first. Now your Galaxy Tab can talk to the computer and the Odin flashing tool.
- Download the Odin and the TWRP recovery files and copy them over to the desktop. They should end up in the downloads folder by default. Now just open the Downloads folder and click and drag them over to the desktop.
- Right-click the Mouse over the files one at a time and select the “extract here” option from the menu.
- Double-click the executable Odin file that popped out after you extracted the file.
- The Odin flashing tool user-interface should now be open on your Windows PC.
- Turn off the Samsung Galaxy Tab S2 device and reboot it in the download mode.
– to get your Tab S2 in download mode, press the Volume Down + Home + Power when rebooting it up. - Press the Volume Up button when it says to do so on the Tab S2 display.
- Connect the tab S2 to the computer using the USB cable.
- The ID: COM port should now change color from the Odin user-interface — this means your ADB drivers are working.
- Click the AP button from the user-interface. Those who cannot see AP will see the PDA button instead.
- Browse the desktop for the TWRP recovery executable file.
- Leave the default settings in Odin as they are after you first download a fresh copy.
- Press the Start button and the Odin flashing tool will now flash that TWRP recovery on your Tab S2 device.
- Wait until you see the Pass message from the Odin user-interface message box and you’re done.
- The Galaxy Tab S2 should reboot since the auto reboot box is checked from the Odin user-interface. Manually reboot it if the device does not reboot by itself.
Once you have rebooted, you are ready to use your custom recovery any time you like.
You might want to learn how to boot the Samsung Galaxy Tab S2 into the custom recovery mode so you can start flashing your custom ROMs.
Take Into Account:
Team Win often release several TWRP Recovery files for a particular device. They always recommend installing the latest version of TWRP available to avoid compatibility issues. If you have updated the firmware on the device recently and the most recent version of TWRP is not working, then try downgrading the firmware and trying again.
Some custom ROMs that are newer might not be compatible with older versions of TWRP Recovery. You can fix that issue by updating to the latest version of TWRP also.
You can visit the official Team Win Recovery Project home page and scroll down the list to find your device to get the most recent version if the version available in this guide is not working for your device.