Last Updated on February 17, 2018 by Mat Diekhake
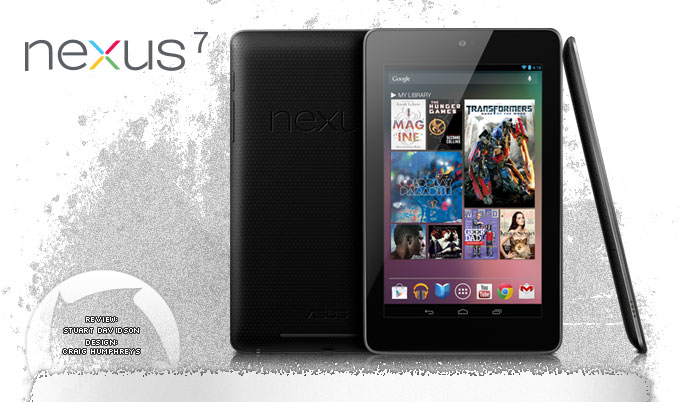
These are the instructions to installing TWRP Recovery on the Google Nexus 7 tablet running Android 6.0 Marshmallow with the build number MRA58K.
Files You Need
- Download the TWRP Recovery you need for the Nexus 7 tablet from this page.
- Download the universal ADB driver you need for the computer from this page.
- Learn how to set up your ADB on the computer so you can issue adb commands from the command prompt. Setting up ADB for Linux, ADB for Mac and ADB for Windows.
Installing TWRP Recovery on Google Nexus 7 running Android 6.0 Marshmallow
- Unlock the Nexus 7’s Developer Options menu by tapping on the Menu > Settings > About Device > Tap the build number at least seven times and you will soon see a message saying that the Developer Options menu is now unlocked.
- Turn on the USB Debugging Mode from the Nexus 7’s settings by tapping on the Menu > Settings > Developer Options > USB Debugging Mode.
- Install the ADB Driver on the computer before you do anything else.
- Set up the ADB on your Windows OS, Linux OS or Mac OS.
- Download the TWRP Recovery file for the Nexus 7 and extract it on the desktop on the computer.
- Drag or copy the TWRP Recovery file over to the same folder as your ADB so you have them in the same directory.
- Boot the Google Nexus 7 in bootloader mode and connect it to the computer. Your Nexus 7 can reach bootloader mode by turning it on holding the Volume Down + Power buttons together.
- Connect your Google Nexus 7 tablet to the computer with the USB cable you use to charge the battery.
- From within the ADB folder, hold the Shift key and right-click an empty area where there is no file.
- Choose to open a new command window from the menu you should see popping up.
- Type your first command:
fastboot flash recovery openrecovery-twrp-2.7.0.0-flo.img - The Team Win recovery is now flashed on your Google Nexus 7 tablet.
- Type the final command: fastboot reboot
- Now your Nexus 7 tablet will reboot back in normal mode.
Your stock recovery on the Google Nexus 7 is permanently replaced with the custom recovery you just installed. Every time you boot your tablet the new custom recovery is able to load with the right button combination from the hardware keys. Furthermore, you can boot it up in the custom recovery mode by using adb commands, or those with root access on the Google Nexus 7 tablet can even install the Quick Boot application from the Google Play Store.
You can now find out how to boot the Google Nexus 7 tablet up in the custom recovery mode if you want to get access to your recovery partition right away.
You can flash the stock recovery back over the custom recovery anytime you want. You can only ever have one recovery running at a time on your tablets and smartphones from any brand. Likewise, there is no limits as to how many times you can continue flashing a stock and custom recovery over one another. The warranty will continue to work in your favor every time the stock recovery is flashed. Correspondingly, you lose the warranty when you flash the custom version of the recovery.