Last Updated on February 17, 2018 by Mathew Diekhake
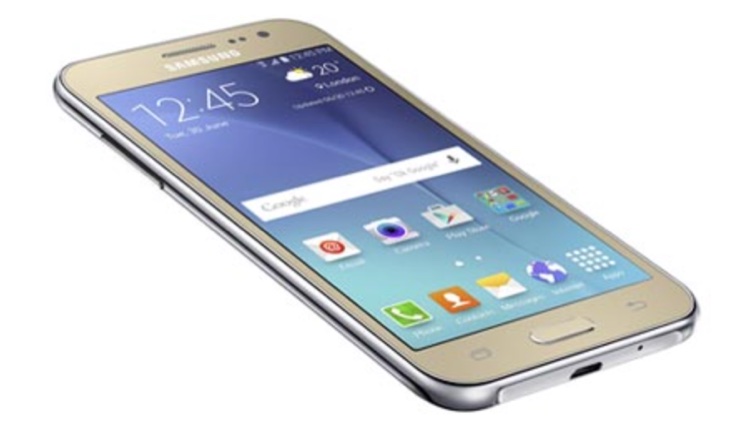
There are many reasons why TWRP Recovery is the main custom recovery to install on your Samsung Galaxy J2 smartphone. Some of the highlight reasons include the built-in file manager that allows you to transfer files from internal and external memory; caching options after flashing a file from within the recovery; the ability to reboot to Android, back to the recovery mode and back to the download mode; the ability to set names for your NANDroid backups when taking the full backup; a working flash queue where you can set up to ten files to be flashed automatically, and the automatic screen timeout so your screen does not burn out during backups.
These are the guidelines to install TWRP Recovery on the Samsung Galaxy J2 smartphone:

Files You Need
- Download the TWRP Recovery file for the Galaxy J2 smartphone from here.
- Download the Odin flashing tool for the J2 from here.
- Installing a custom recovery on the Samsung Galaxy J2 device is voiding the warranty. You can only have a stock recovery or a custom recovery running once at a time. You can flash the J2’s stock ROM back on the device and it should also flash the stock recovery with it at the same time. That’s how to get your stock recovery and warranty working again.
Installing the TWRP Recovery on the Samsung Galaxy J2
- Enable the USB Debugging Mode on the J2 smartphone so you can connect to the computer and flash your new recovery.
- Extract the TWRP file to the desktop of the computer and then do the same thing with the Odin flashing tool.
- Double-click on the Odin executable and wait for the flashing tool user-interface to open on the desktop.
- Remove the tick from the Auto Reboot box and leave all other default settings the same way.
- Samsung Galaxy J2 smartphone in download mode and then connect it to the computer where you have the Odin and custom recovery waiting.
- Wait for a few seconds for the drivers to start working; you should see the green ID: COM port and the added message available from the message box which tells us that your J2 device is now considered detected and connected. Anyone with a detected J2 smartphone will need to install the universal Windows ADB driver and start again.
- Click the AP button and browse the desktop for the TWRP custom recovery file and wait until you can see the file extension loaded in your Odin application.
- Click the Start button and the Odin application will now flash the custom recovery image on the Samsung Galaxy J2 device.
- Wait until the Odin user-interface gives your J2 the pass message and the reboot your device as you normally would.
- As soon as it reboots, you must press the hardware button combination to boot the Samsung Galaxy J2 smartphone in recovery mode. The TWRP Recovery will now boot. Once you have the custom recovery booted, you can immediately boot it back to normal mode if you like.
Sometimes the stock recovery wipes over the top of the custom recovery image if you do not first time boot directly to the new recovery you just flashed. Anyone having problems getting the custom recovery to flash on the Samsung Galaxy J2 smartphone should try installing a new version of the Odin flashing tool. Sometimes people need to try a few different versions of Odin before one eventually flashes.
