Last Updated on September 20, 2024 by Mat Diekhake
 The Android operating system comes with a section called the recovery partition which can be accessed by booting the device that the Android operating system is running on into the recovery mode—it’s that way for all Android devices, regardless of the manufacturer or even Android version. When opening up the conversation to include customization of the operating system, this then becomes the stock recovery mode, i.e., the stock recovery partition.
The reason it then shifts to become the “stock” version is that there is a custom recovery that can be installed. This new custom recovery has been developed by third-party developers, meaning not people who necessarily have any ties to your Android operating system. This is made possible by Android being based on an open source operating system which allows anyone to play around with it. The custom recovery offers added features, most notably the chance to install zip files directly from within the recovery partition after you boot the device into its recovery mode. You wouldn’t find anything of the sort from the stock recovery partition.
Over the years there have been a few different custom recovery images that people could install; these would vary depending on the device. Sometimes you might find ClockworkMod Recovery available for a device, for example, while other times it would be Philz Touch Recovery or TWRP recovery.
Nowadays just about everyone agrees that TWRP is the best custom recovery image to use, and since some custom ROMs—the main reason for people wanting to get a custom recovery installed—sometimes request specific (the better) version of a custom recovery image, the developments of the lesser liked custom reveries came to a grinding halt.
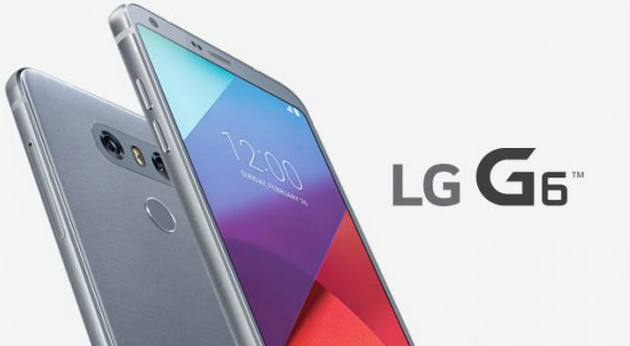
Thus it is really only the TWRP Recovery that has taken the reigns for all custom recovery images these days—it is the one you want to be installing on your mobile devices, and it is what is available here today for the LG G6 smartphone, too.
Files We Need
- Download on your computer the latest version of TWRP Recovery: Primary (Americas) | Primary (Europe).
- Download on your computer the platform-tools from the Android SDK.
How to Install TWRP Recovery on LG G6 Smartphones
Note: If you’ve already installed TWRP recovery on your LG G6 smartphone before, then provided that it was 2.8.4 or higher, you can just boot into the custom recovery and flash the updated version of the zip file directly from recovery mode. For everyone else, follow the guide below.
1. Make sure you’ve installed the universal ADB driver on the computer. That will make it possible for you to use adb commands as well as the LG G6 smartphone.
If you can’t get the G6 smartphone connected to the computer, then you can also download the LG USB drivers instead so the computer has both the ADB drivers and LG drivers installed, then you can’t go wrong.
2. You need to have the platform-tools part of the Android SDK on your computer. From the download link scroll down until you get to the command line tools section and then download the package that is made for your operating system.
3. Once you have the SDK Manager on your computer, check the box only for the platform-tools, so you end up with the adb and fastboot binaries installed on the computer.
You could also install the drivers from there as well if you wanted.
4. Pick up the LG G6 smartphone and navigate to the Settings > About and tap your finger over the build number at least seven times so that the Developer Options menu becomes unlocked. Then go back to the Settings, enter the Developer Options menu and then enable the USB debugging mode.
5. Connect the LG G6 smartphone to the computer by using the USB cable that it comes with.
6. Now on the computer open the Command Prompt and type the following command and press Enter on your keyboard to get the LG G6 smartphone into the bootloader mode and ready for the flashing:
adb reboot bootloader
7. Make sure you have copied the TWRP image file to the same folder as the adb and fastboot binaries. Also when you’re there, change the name of the TWRP to “twrp.img” by right-clicking the mouse pointer on it and selecting the “rename” option from the menu.
8. From the command line type the following command and hit “Enter” on your keyboard to flash the custom recovery:
fastboot flash recovery twrp.img
9. Lastly type the following command and as soon as the LG G6 smartphone reboots, hold down the key combination to boot directly into the recovery mode:
If you don’t sometimes the stock recovery will wipe over the custom recovery you just installed.
fastboot reboot
The custom recovery image for the LG G6 smartphone is now installed, and you are ready to boot into recovery mode and start flashing the custom ROM or rooting zip files.
If at any time you want to start using the stock recovery mode again you can download and flash the stock ROM. Manufacturers often have their own way of flashing stock ROM and their own flashing tool, so you need to research how to flash an LG stock ROM to get that to happen for you. Once you have the stock ROM, the stock recovery will be automatically installed with it. You can only have one of the recoveries installed at the same time though.
That’s all.