Last Updated on May 13, 2017 by Mathew Diekhake
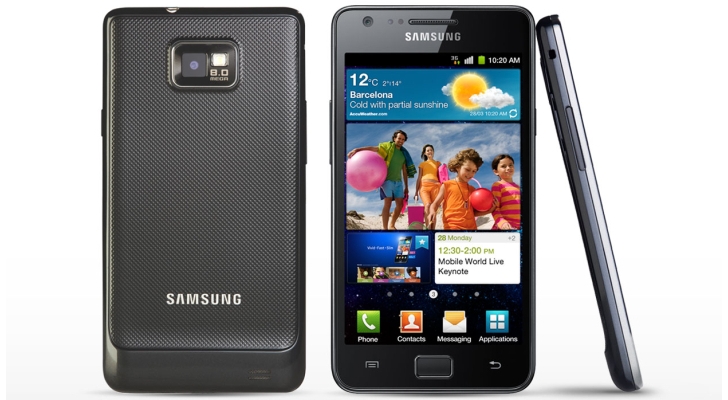
The Revolt JB ROM is a custom ROM that can be installed on the Samsung Galaxy SII i9100. It’s a formidable choice over the last Jelly Bean update the phone was given because that particular ROM didn’t seem to mesh all that well with the Galaxy S2 i9100. It’s understandable too, given the fact that this device did actually start of as a 2.3 Gingerbread device then later updating to the Ice Cream Sandwich which Google took so long to bring out before finally ending up with the Jelly Bean ROM. If you have had enough with your 4.1 Jelly Bean ROM then I highly recommend giving this revolt Jelly bean ROM a whirl. From all reports, it’s meant to be really good for the phone.

The Files You Need
- Download ReVolt JB 2.6 ROM from this link provided. (Direct link).
- Download the following: Mirror 1 Mirror 2 files.
- Before starting this tutorial you must first have gained root access for your SII i9100 device. If you have not yet obtained this there is a few different guides depending on your current Android OS.
Disclaimer: This root process is made for the Galaxy S2 i9100 only. If you attempt this procedure on any other device it could harm your phone and bring irreversible damage. This tutorial is to be followed at your own risk. Mobicuppa will not be held responsible for any damages that may have occurred from following this guide.
Installing The Revolt Jelly Bean Custom ROM On The Samsung Galaxy S2 I9100
- After downloading the file in step 1 copy the ReVolt JB 2.6 ZIP to your i9100 internal SD card.
- You must now turn off your device. Make sure it’s off before continuing.
- Now boot ClockworkMod recovery. Do this by holding volume up, home and power button simultaneously.
- Next perform a NANDroid backup. Do this by backing up your device by entering the backup and restore area.
- Navigate to the main menu because you must now wipe your phone. Do this by selecting Wipe data/factory reset and Wipe cache partition. Make sure to confirm both wipes before navigating to the main menu once again. This time select advance and then select Wipe Dalvik cache. Your device will now be fully wiped.
- Head back ot the main menu once more, this time select Install ZIP from SD card.
- Now click Choose ZIP from SD card, now grab the ZIP file saved earlier and load it. Once done confirm the installation which you will see on the next screen shown.
- Head back to the main menu one final time. This time select reboot system. Once done reboot your device and you’re finished.
