Last Updated on November 14, 2019 by Mathew Diekhake
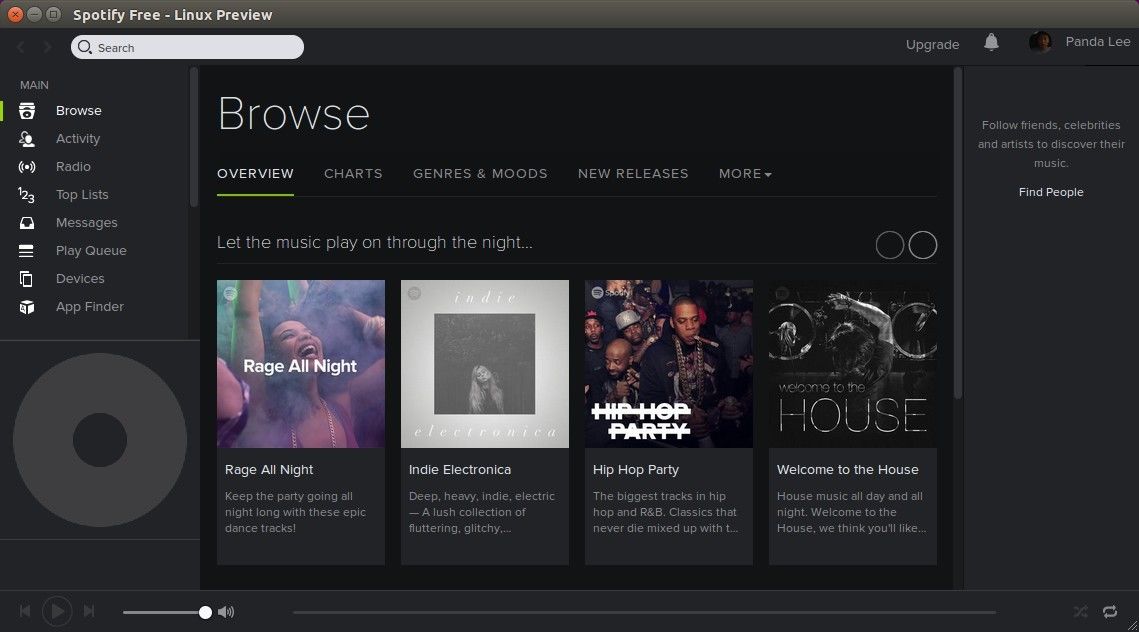
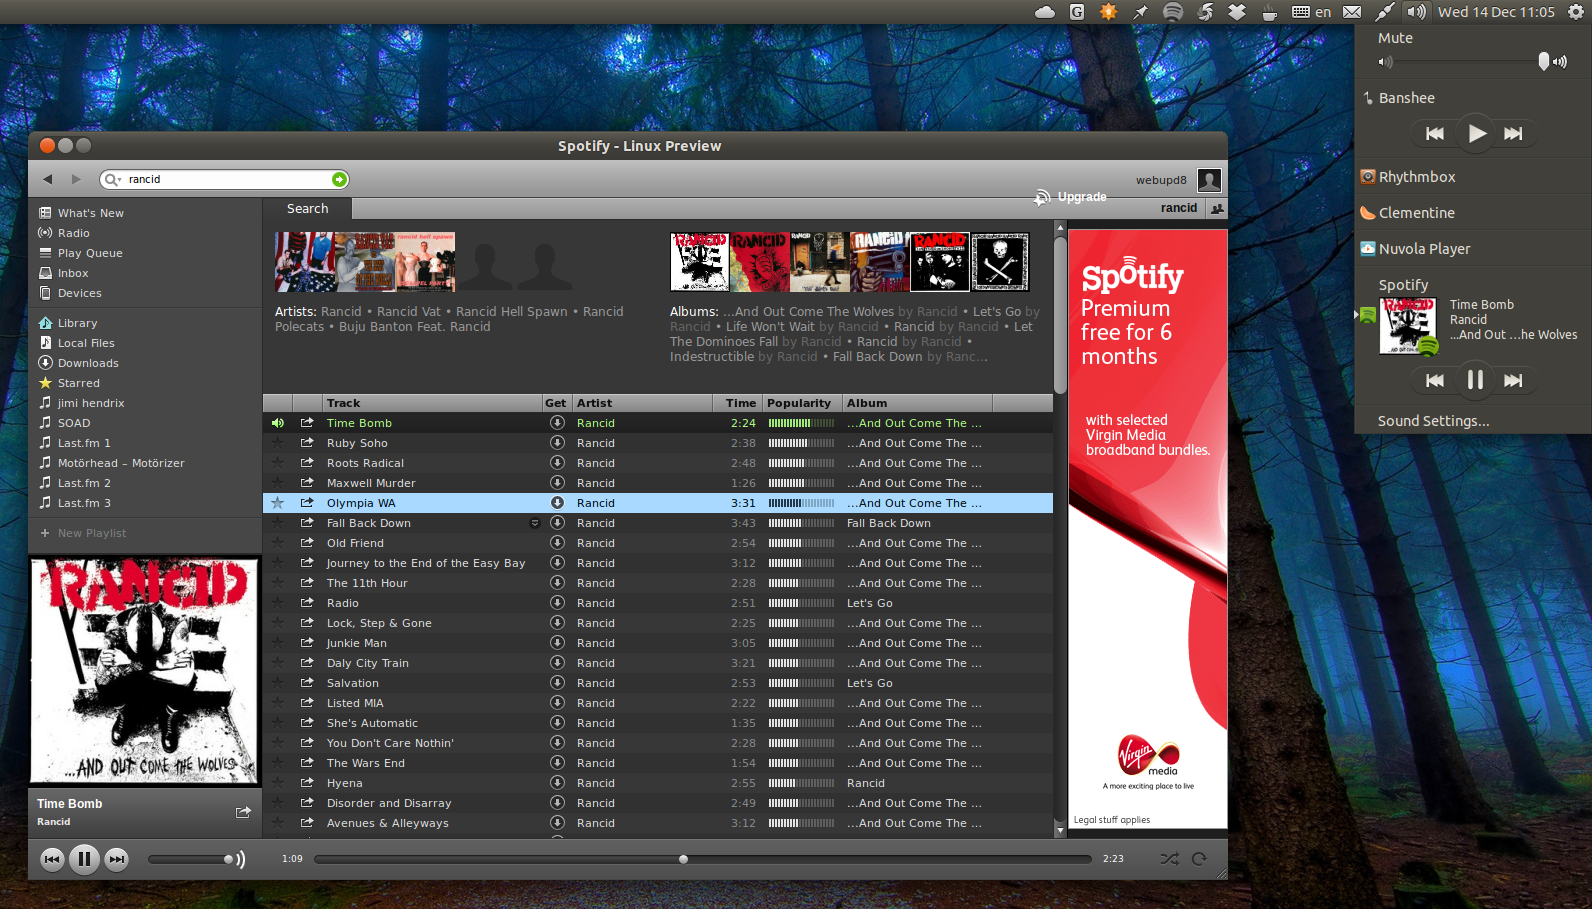
If you are a music lover — like so many of us are — and own a Ubuntu smartphone you are probably wondering what kind of music streams and services there are available for you. Well, I’m pleased to tell you of one in particular — which is also my favorite — that you can use. It’s called Spotify, and if you haven’t heard of it already, it’s a name you won’t want to forget.
Spotify is a relatively new music service that has become available online. The way Spotify works is users either sign up to a paid service or a free service that has ads on it. The ads actually come through the audio, however, they only happen every so often, and it’s always after a song has finished, never in between. Before you click away and start searching for an entirely free service unless you are looking to download a torrent they just don’t exist. So although there are ads now and then, it’s important to keep in mind a percentage of those proceeds go to the actual artists that you are listening to who have signed up to the service which also makes it all possible.
There are other good services available similar to Spotify, such as Sound Cloud that is just as good and arguably even better. In fact, I’m sure many would even prefer the likes of Sound Cloud. For me, where Spotify shines is with playlists and things of that nature. Where you can just log on and pick a category or playlists and leave it on. The other services don’t offer this feature as far as I know and in a party type environment, it can really be a valuable asset to have.
How to install Spotify on Ubuntu 12.10 and 12.04 devices
Step 1. On the left-hand side panel inside the Unity Dash is an icon called “Software Sources,” click on it.
Step 2. Inside software sources is a tab called “other,” also click on it.
Step 3. Look for the add button and a pop up will appear that has a space to enter added text. In that field, you need to install this code: deb http://repository.spotify.com stable non-free
Step 4. Once added finish the task by selecting “Add Source.” This will now add it.
Step 5. Now there is one last thing you need to do. You now need to verify this but adding this code inside a new terminal window:
sudo apt-key adv –keyserver keyserver.ubuntu.com –recv-keys 94558F59
That will verify it, and Spotify for Ubuntu 12.10 and 12.04 should now be working! Now you can launch up the Spotify service from the Unity Dash area.


