Last Updated on March 31, 2017 by Mathew Diekhake
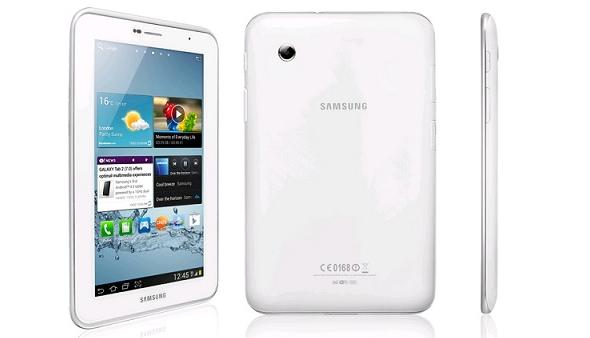
A custom recovery is essential on your Samsung Galaxy Tab 2 if you want to be able to upload zip files and install custom ROMs. A custom recovery is also well-liked for its ability to take a NANDroid backup. With NANDroid backups, you can backup all of the partitions on the device so you save all the data at the one time. ClockworkMod recovery is the most popular custom recovery to install for this tablet. It works by using the Volume keys to navigate and the Power button to confirm commands, just like the stock recovery would. If you have any experience using a stock recovery, you should have no worries using this custom CWM recovery.

The Files You Need
- Download the CWM recovery file from this page.
- Download the Odin flashing tool from this page. You can use any version, but try one of the older versions since this device came out when Odin was new.
- These are the steps to install CWM recovery on the Samsung Galaxy Tab 2 GT-P3100. You should follow this guide using a Windows PC, since the Odin tool doesn’t work for any other operating system.
Installing CWM Recovery On The Samsung Galaxy Tab 2 GT-P3110
- You can install the custom recovery using Odin before or after having root access using the CF-Auto-Root tool by Chainfre and Odin. It doesn’t matter which one you apply first.
- Download and unzip the CWM recovery and Odin files to the desktop.
- Long-press the Power button and wait until the tablet is completely shut down.
- Reboot the Samsung Galaxy Tab 2 GT-P3110 by holding the buttons to get in download mode.
- Check that you have the USB Debugging Mode enabled by pointing the device to the Settings > Developer options > USB Debugging Mode.
- Unlock the Developer Options menu if you do not see it available from the Settings. Do that by pointing to the Settings > About Device > tap the build number.
- Once you are in the download mode, connect it to the computer.
- You should see the ID: COM port in Odin light up and changes color. That means the Samsung USB Drivers are working.
- Click the AP/PDA button and browse the desktop for the CW recovery file.
- Click the Start button and wait until Odin gives you the pass message on the display.
- Once your device reboots, you can take over your Google account and unplug it from the computer.
