Last Updated on May 31, 2019 by Mathew Diekhake
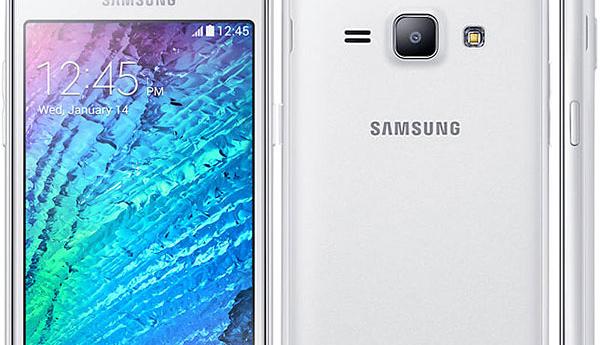
A custom recovery is now out for the Samsung Galaxy J1 so you can install a custom ROM or get root access using SuperSU. Although this J1 handset can expect more software updates in the future, the addition of a custom recovery means you’ll always be able to install future updates via a custom ROM.

The Files You Need
- Download the Odin flashing tool for Windows PCs from this page. You can use any of the later versions of the app found on the page.
- Download the TWRP recovery image file from this link.
- Download the Samsung USB Drivers from Samsung’s website on this page.
- These are the steps to install TWRP recovery on the Samsung Galaxy J100H. It may work on other variants too; however, they are not yet confirmed at the time of writing this guide.
- You must have a Windows PC to follow this guide. The Odin tool does not flash using a different operating system.
Installing TWRP Recovery On The Samsung Galaxy J1
- Download the Odin tool to the computer.
- Download the TWRP recovery file to the computer.
- Once you have both of the files on the desktop, right-click the mouse over them and choose the ‘extract here’ option.
- Run the Odin tool by double-clicking the file after extraction.
- Completely power off the Samsung Galaxy J1 by long-pressing the Power button, or quickly pressing the Power button and swiping to Power off the device.
- Reboot the Samsung Galaxy J1 in download mode.
- Click the AP button in the Odin app on the computer.
- Browse the desktop for the TWRP recovery file you prepared earlier.
- Do not adjust any of Odin’s default settings. Make sure the re-partition option is left empty.
- Click the Start button and the Odin app will now flash that custom recovery on your Samsung Galaxy J1 smartphone.
- You’ll know it’s finished when the device reboots automatically and Odin gives you a pass message on the display.
Additionally, you can follow our guide to learn how to boot the Samsung Galaxy J1 smartphone into the custom recovery mode.
