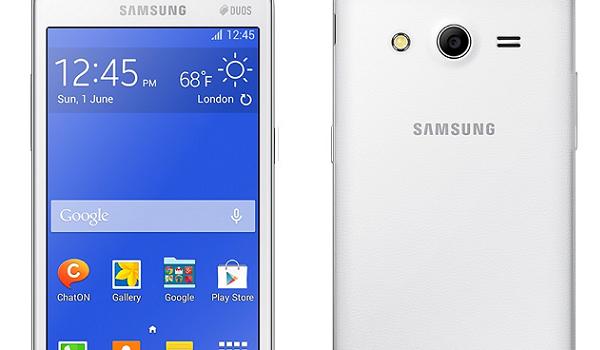
One of the greatest advantages of installing a custom recovery on your Samsung Galaxy Core 2 is that it lets you flash a custom ROM on your device. Unless you’ve been living under a rock, you’d know that what goodies a custom ROM brings to the table. From a whole new user interface to dozens of extra apps, a custom ROM is a perfect choice if you’re sick of your current stock ROM.
If that is what you wish to do on your device, here’s how to install a custom recovery on your device:

Files You Need
1. You need to be running a Windows based computer in order to do this tutorial.
2. Make sure that Samsung USB drivers are installed on your computer. If they are not, install them first.
3. Download Odin to your computer. You’ll use it to install the recovery on your device.
4. Download CWM Recovery to your computer. It is the custom recovery that will be installed on your device.
5. This only works for the SM-G355H model. Do not try this on any other device or you’ll brick it.
Installing a Custom Recovery on the Samsung Galaxy Core 2
1. Extract files from both CWM Recovery and Odin to your computer by right-clicking on each of them and selecting Extract here.
2. Double-click on Odin executable and it’ll launch on your computer.
3. When Odin launches, click the button that says PDA in it and select CWM Recovery available on your computer. Make sure to select the file that has .tar.md5 as its extension or it won’t load in the Odin.
4. Checkmark the boxes that say Auto Reboot and F. Reset Time.
5. Uncheck the Repartition box as it can cause issues with the procedure.
6. Turn off your phone.
7. Turn your phone back on in download mode. You can do that by holding down Volume DOWN, Home, and Power buttons together.
8. Press Volume UP when the prompt appears and you will go directly in download mode.
9. Connect your phone to your computer using a USB cable.
10. Odin should recognize your device and show it on the main interface.
11. Click Start in the Odin and wait for it to install CWM Recovery on your device.
12. When it’s done installing the recovery, your phone should automatically reboot.
13. You’re all done!
Your Samsung Galaxy Core 2 is now rocking the widely popular CWM Recovery and you can now follow our how to root the Samsung Galaxy Core 2 tutorial to root your device using this newly installed recovery.
Furthermore, you can read the best custom ROMs for the Samsung Galaxy Core 2 smartphone.