Last Updated on April 6, 2017 by Mathew Diekhake
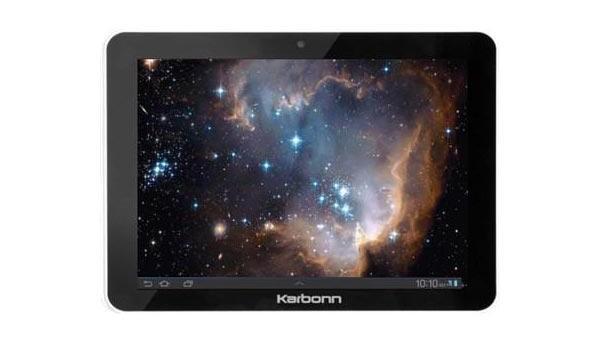
If you’ve rooted your Karbonn Smart Tab 8 (Version 2), you know what root-access can do for you. Now, here’s a chance for you to install a custom recovery on your device that will help you flash custom ROMs and kernels on your device. What these things do is improve the performance as well as enhance your experience with your device.
A custom recovery also helps create and restore full Android backups. So when things go south, you can easily get your device back to the running condition.

Here’s how to install a custom recovery on your device:
Files You Need
1. Your device must be rooted before you can install a custom recovery. Please follow our how to root the Karbonn Smart Tab 8 (Version 2) tutorial and get your device rooted first. Then come back here and continue.
2. Download TWRP Recovery to your computer. It’s the custom recovery that you’ll flash on your device.
3. Download Flash Image utility to your computer. It’ll help you install the recovery on your device.
4. Download Minimal ADB Setup to your computer.
Installing a Custom Recovery on the Karbonn Smart Tab 8 (Version 2)
1. Extract files from all the archives that you have downloaded to your computer. To do that, right-click on each of the archives and select Extract here.
2. Enable USB debugging on your device by going to Menu->Settings->Developer options->USB debugging.
3. Connect your device to your computer using a USB cable.
4. Copy TWRP Recovery .img file from your computer over to the SD card storage on your device. Make sure to put it into the root directory.
5. Launch a Command Prompt Window in your current directory by holding down Shift and right-clicking on any empty space on your screen and selecting Open command window here.
6. Type in following command and hit Enter:
adb shell
7. Then, issue the following command:
su
8. You should now have shell-access. Type in the following command and press Enter:
cd/sdcard
9. And the following command installs the recovery on your device. Type it in and hit Enter. Make sure the recovery file name is correct.
flash_image recovery recovery.img
10. When the recovery is flashed, reboot your device.
11. You’re done!
You’re now rocking the world famous TWRP Recovery on your Karbonn Smart Tab 8 (Version 2). It should help you flash various custom ROMs and custom kernels on your device for a better Android experience.
There are two things you can do when you want to customize a device (assuming both of the mare available to you). One of them is to root the device, so you are in control of the root user account which then allows you to install lots of additional apps and the other thing is to install a custom recovery. The custom recovery is sperate to rooting and is mainly wanted for installing custom ROMs or custom kernels. Many people think that installing a custom ROM requires a device to be rooted but in fact, that is not true. A custom ROM can be installed as soon as you have unlocked the bootloader (when required) and installed the custom recovery. Rooting the Android operating system is referring to getting access to the root user account on the version of Android that is running on your device now or the version of ANdorid after you have installed the custom ROM.

March 25, 2017 @ 07:13
I am tying to find a custom rom for the Karbonn Smart Tab 8 but there is no custom rom. Please give me the custosm rom otherwise you give me the step by step process to flash this recovery from PC .Please give me the flashing tool link and drivers and flashable firmware. Sorry for any spelling mistakes. Because I’m Indian and my English little week
Pllzz pllzz pllzz
March 25, 2017 @ 08:15
There is a custom ROM available for the Karbonn Smart Tab 8 Version 2 that you can find available from this page: https://forum.xda-developers.com/showthread.php?t=2105692
Flashing the custom recovery image using the minimal ADB is done on a computer using the Command Prompt.