Last Updated on May 31, 2019 by Mathew Diekhake
There are three main things you can do from the Android system recovery that comes stock on your device. They include wiping the cache partition, wipe data and factory reset, and applying updates from ADB. As you can see, those options don’t help us when installing a custom ROM since there is no access point for that ROM. That’s where a custom recovery comes into play.
With a custom recovery, we can install zip files from the SD card. Therefore, all you need to do is download the custom ROM zip file, transfer that to the internal SD card on your device and then apply that file from the custom recovery. We would do this from our stock recoveries if Google let us, but they did not.

Just like how there are three main things to do from a recovery, there are three main custom recoveries to install. The newest recovery is the Philz touch recovery which is a touch-based version of the original ClockworkMod recovery. The other custom recovery made by third-party developers is the TWRP recovery (Team Win Recovery Project).
The Files You Need
- Download Recovery file from here.
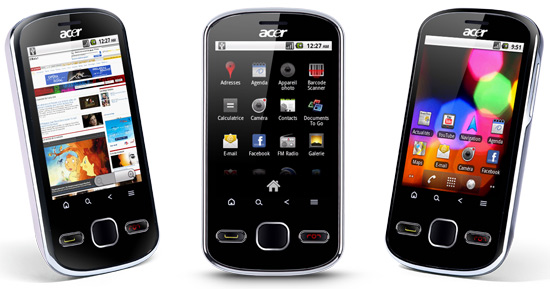
- You can only install the custom recovery on the Acer beTouch if you have rooted the device.
- The following guide only works for people with a Windows PC. Furthermore, you cannot use it for some Microsoft Surface tablets that run Windows RT since those tablets only let you install files using the Windows app store. You can get around that by learning how to jailbreak Microsoft Windows RT tablets.
Installing a Custom Recovery on the Acer beTouch E140
- Download the recovery file from the files section above to your Windows PC.
- Move the file over from the default Downloads location and have it on your desktop.
- Once it’s on the desktop, right-click over the File and select the “extract here” option.
- You should see the amx_recovery_install.cmd file pop out on your desktop.
- Long-press the Power button on your device and turn off the device.
- Reboot it holding the Volume Up + Volume Down + Power keys at the same time and keep holding them until you see the next step.
- Release the buttons after about 5-6 seconds when you see your device is in the Fastboot mode.
- Connect the Acer beTouch E140 to the computer using the USB cable.
- Click the amx_recovery_install.cmd file and it will run the tool to install the custom recovery on your device.
- Finish after the quick instructions on the display and you are done.
Now that the custom recovery is installed on the Acer device, you must learn how to boot your device into that recovery mode or else you cannot use it. There are a few ways you can do that. You can find out how to boot Android devices into the custom recovery mode by reading that article.
