Last Updated on November 4, 2017 by Mathew Diekhake
The recovery mode is available for any Android smartphone or tablet is a place where users can flash official software updates and perform a factory reset. As the name suggests, you can recover your device from a frozen or black state where it isn’t working by taking the reset option. It should always be a last resort, however, because it wipes your ROM clean. That means everything that isn’t backed up is instantly wiped by going ahead with this guide.
Entering the recovery mode doesn’t require you to back up the device. However, if you are accessing the bootable partition to wipe the data with a hard reset, you should backup before you start. Do that by using the built-in backup feature or by installing a third-party application from the Google Play Store.
If you are into gaining root access, you should know that you cannot open the system internals without a custom recovery. The custom variant is different to the stock version. Furthermore, you cannot be running as stock recovery and have root access. Therefore, you want to learn how to access the custom recovery such as TWRP or ClockworkMod during this guide if you have root access.
All the people reading the post who do not have root access and just have a stock device how they bought it should follow the steps for accessing the stock recovery. That means getting it done through Android SDK.
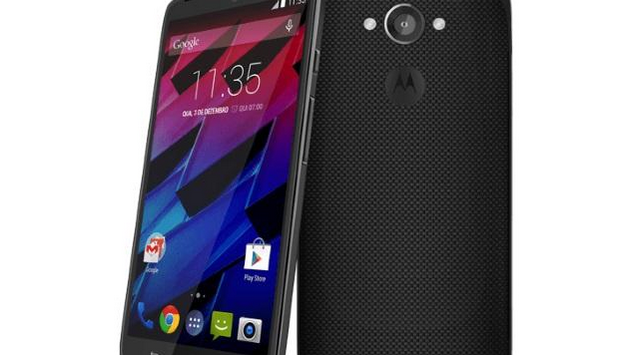
How to Enter Recovery Mode on Moto Maxx with ADB
1. Install ADB and fastboot on your Windows computer here.
2. Open the ADB folder
3. Right-click the mouse and press the Shift key down from the keyboard.
4. Choose to open the Command prompt Windows from the menu.
5. Type “adb reboot bootloader” and press enter.
6. You are now running in bootloader mode.
7. Choose the recovery option from the bootloader menu.
How to Enter Recovery Mode on Moto Maxx with Quick Boot Application
1. Navigate to the Google Play store on your Android Moto Maxx
– choose from the app or do a Google search from any web browser.
2. Type the name “quick boot” into the search bar from the Play Store.
– or download the link directly from here.
3. Confirm the installation.
4. You may need to sign in to your account.
5. Wait for the app icon to finish loading before tapping on the same.
That’s it. We showed you two simple ways to enter the recovery mode. There are some advantages of installing the custom recovery over the stock version such as taking a NANDroid backup. A NANDroid is available from the menu inside, whereas you cannot do anything except flash firmware, factory reset and wipe cache options from the stock version.

