Last Updated on December 26, 2022 by Mat Diekhake
VLC is one of the world’s most popular open source video players. It is available on Windows, Max OS X, Linux and most other well-known desktop operating systems for you to have installed so you can watch your video content. However, the VLC Media Player is not the default option when you are running Windows 10 on a computer.
Windows operating systems used to have the Windows Media Centre as the default option for your videos to open. However, the Windows 10 operating system has dropped the Windows Media Centre and gone with the Films & TV app to be the default player instead. As always, there will be plenty of people who don’t like the move and wish that they could change the default media player. There is a few options for users to choose from out there, but we think the VLC Media Player is the best of the lot, so here is how you can install it on your computer running Windows 10.
Changing the default Windows 10 Video Player in Windows 10
Download the VLC Media Player from its official website where it says “Download VLC” if you want to set it up that way or skip past the first couple of steps (which we recommend doing) if you prefer installing it directly from the Microsoft App Store instead.
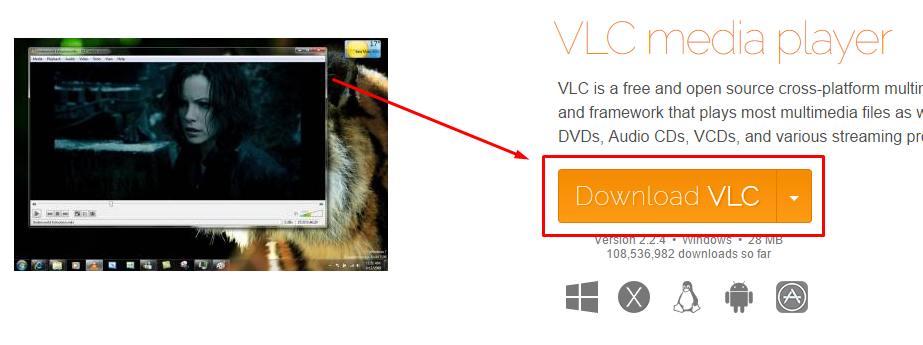
The download will begin in a few seconds if it doesn’t get started right away. Once the download completes, then you can find it above the taskbar and click on it like your regular downloaded files to open it up. Once you have it installed on the computer, you can then set it as the default media player the same way we are showing later in this guide.

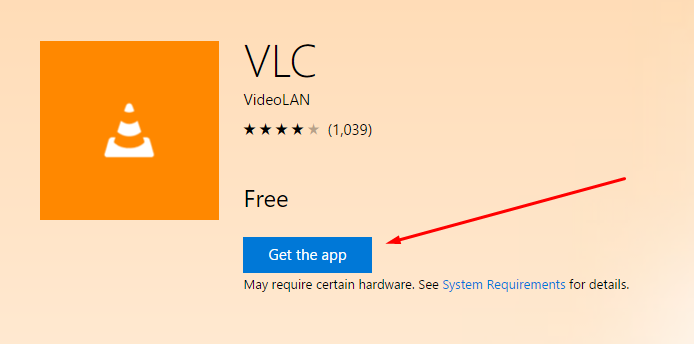
Click on the Microsoft Store link and download it from there if you past up on the first method. When on the page, click on the “Get the app” blue box.
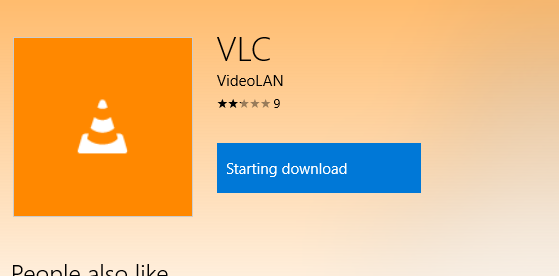
It then shows a message stating that it is “starting download.”
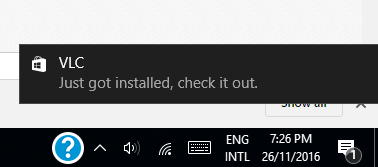
In a few minutes, it then gives a message above the system tray that “VLC got installed, check it out” (by clicking on it).
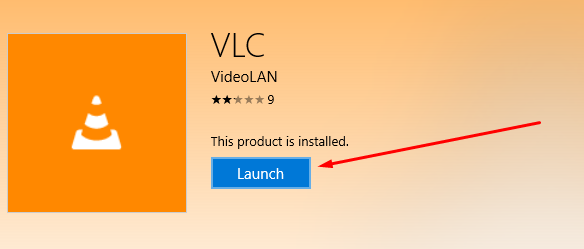
Alternatively, you can close the web browser and find the “Launch” button to launch the app that way instead.
As soon as the app launches, it will give you a message letting you know that it could not find any videos if you are anything like me and don’t have any videos on the computer yet. But this tutorial isn’t about running the VLC media player, so don’t worry about the movies at this point.
 Click on the Windows “Start” menu button and then click on the “Settings” icon from the left side pane.
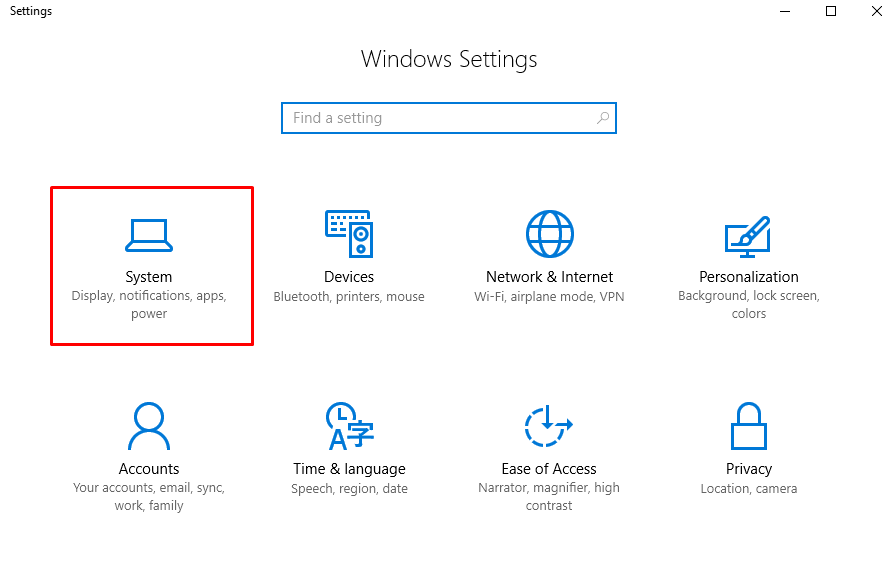
You are then directed to the Windows Settings page. Click on the “System” button.
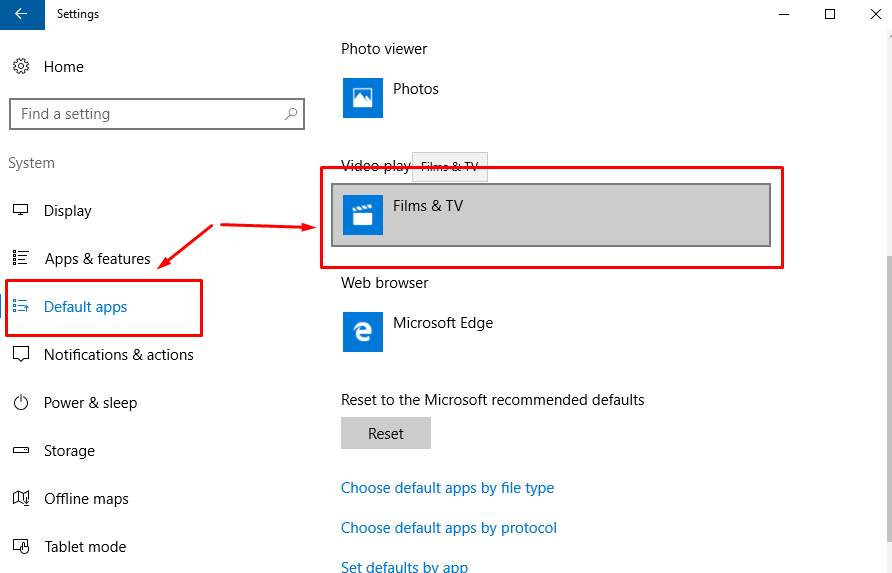
Click on the “Default apps” from the left pane and then scroll down until you see the “Video Player” heading that shows the “Films & TV” as the current default player.
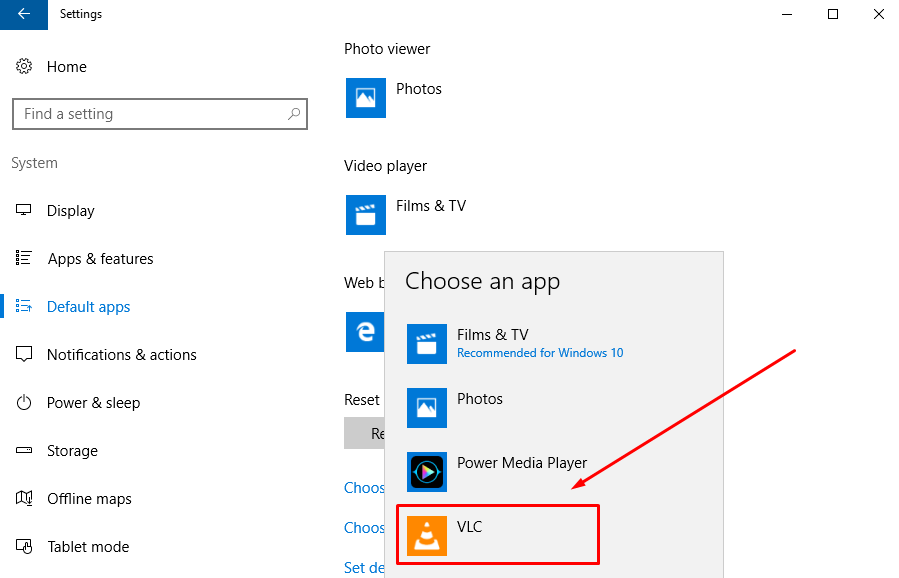
After clicking on the Films & TV heading, it gives you the chance to choose an app. Since you have installed the VLC Media Player, you will see it there at the bottom of the menu. Click on where it shows you the VLC.
That is everything you need to set the VLC Media Player as the default video player in the Windows 10 operating system. You can enter the same Default apps area from the Windows settings menu and choose to change the default media player anytime you see fit. For as long as you don’t change it after making your selection, it will continually be set on the VLC as the default player.
You might also be interested in:
- How to View Recently Used Files from Programs in Windows 10
- Change Number of Items in Jump Lists with Windows 10
- How to Disable Lock Screen on Windows 10 Anniversary Update with LockScreenGone
Have something to say? You can contribute to this tech article by leaving a comment below.

