Last Updated on June 9, 2022 by Mat Diekhake
This is what you need to install Sony Xperia stock firmware files onto your Sony device by using the Sony Mobile Flasher tool and a computer.
Make sure you’ve got enough battery charge on your device before you get started with the flashing. Even though you’re going to likely be using USB charging on the computer, you still want your device to be efficiently charged up to give yourself the best chance at avoiding problems during the flashing. We recommend having at least 75% battery before you begin.
Why Reinstall Stock Firmware?
Did you think you may need to restore the stock firmware on your device? Here are some of the things that you can achieve with stock firmware files:
- Upgrade or downgrade the version of Android on your device
- Fix common mobile device-related problems, such as unbearable bugs in the software
- Remove custom recovery images such as TWRP
- Unroot the Android operating system, regardless of what method/tool you may have used to get root access
- Unbrick your smartphone or tablet
- Reinstall the operating system
- Fix invalid IMEI problems
How to Flash Sony Xperia Firmware
1. Download and install the Sony USB driver on the computer. (This is only required if you’re using a Windows operating system. Mac and Linux users can skip this step.)
2. Find your source online for the Sony Xperia stock firmware file that you want flashed onto your device with the flashing tool and extract the file.
3. Download the Sony Mobile Flasher application that works for your operating systems. (If you use a computer that runs on Windows, then download the latest version for Windows, etc.)
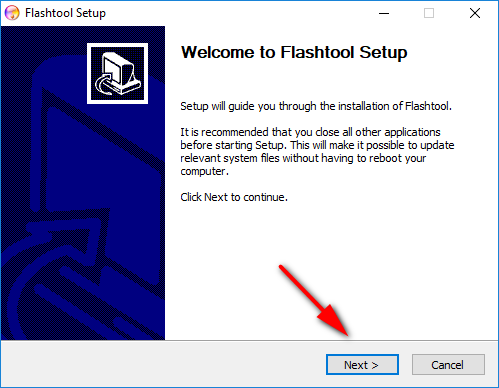
4. Once you click on the file, you’ll get an installation wizard that you need to run through. Click on the “Next” button to begin.
5. Choose where you want the flash tool to be stored on the computer.

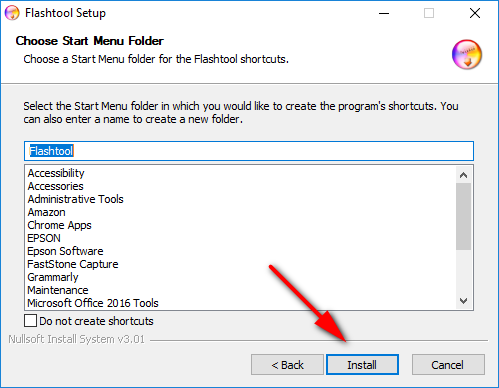
6. Choose a Start menu folder for the Flash tool or just check the box where it says “Do not create shortcuts.” Click on the “Install” button after you’ve made your selections.
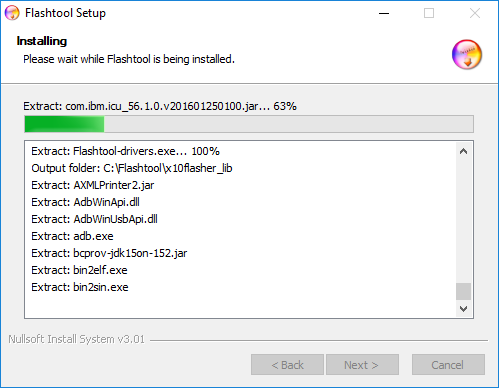
7. Wait for the Sony Mobile Flasher to be installed.
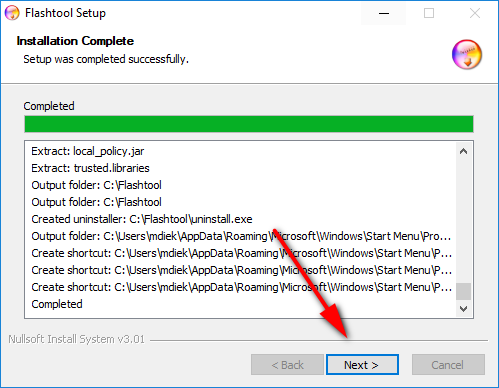
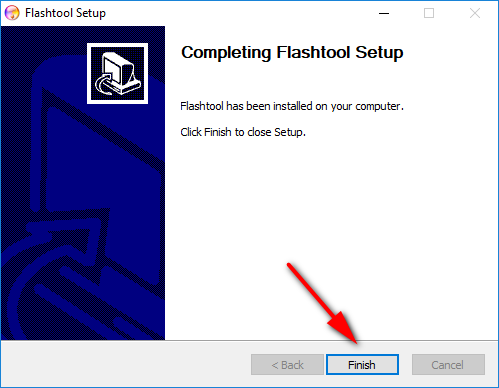
8. Click on the “Next” button when it says that the installation is complete.
9. Click on the “Finish” button when you have completed the Flash tool setup.
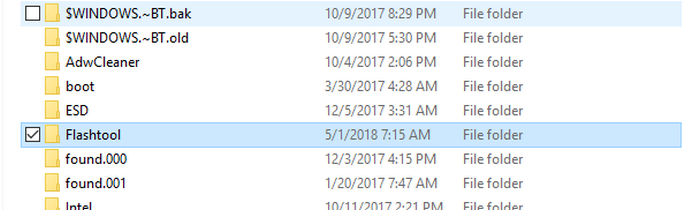
10. The application doesn’t open from the folder directly if you kept it on the default installation location. Instead, you need to head to C: drive > Flashtool.
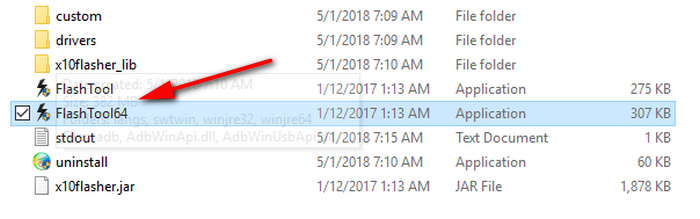
11. Open the folder, and you’ll see the FlashTool application that you need to click on to open it.
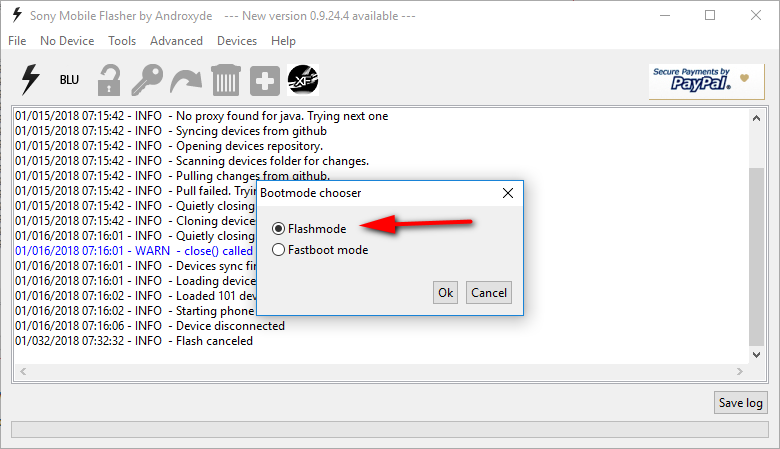
12. Click on the “Flash” button that looks like lightning.
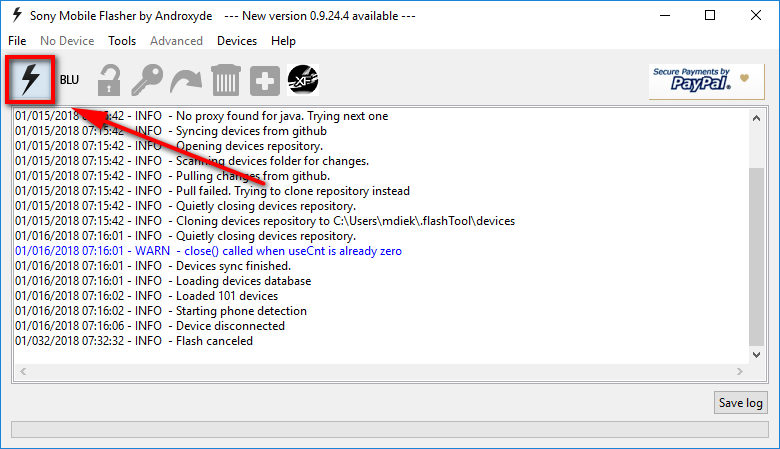
13. Select “Flashmode” and then click on the “OK” button.
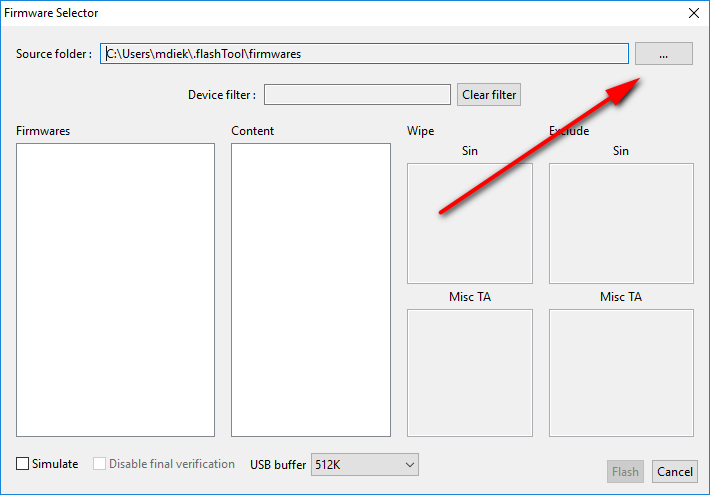
14. Click on the “three dots” to browse your computer for the stock firmware file that you downloaded and then upload it to this location.
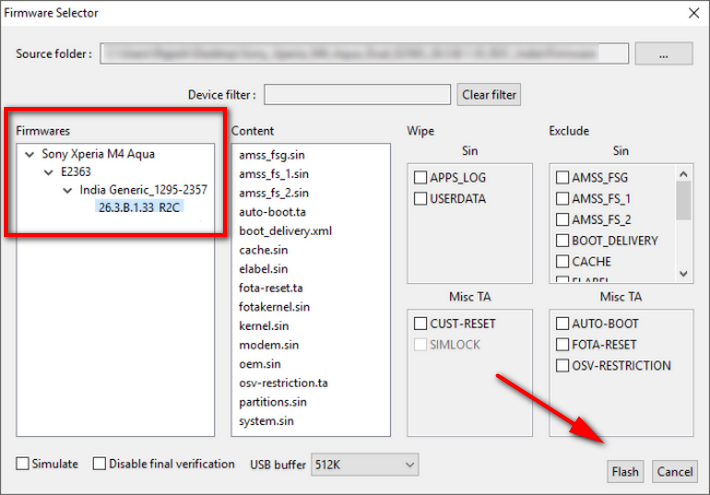
15. Make sure that you have the actual firmware selected from its folder and then click on the “Flash” button.
16. Turn off the Sony device and then connect it to the computer with it USB cable while holding the “Volume Down” button.
17. When done correctly, you’ll see a message from the Sony Mobile Flasher that your device is now connected.
18. The flashing of the firmware file now starts automatically. It can take 10 to 15 minutes for the firmware to complete its flashing process and during that time your device may reboot a few times. Just leave it there until you see the flashing has completed from the flash tool’s interface.
Take Into Account
Backup Data: You should always back up your data before going ahead with firmware installations. You’ll still have most data—pictures, music, video, documents, etc.—after you have finished, but applications that you’ve installed from Google Play and contacts will be gone. Make sure you back up your apps and contacts so you can restore them again later.
Xperia Firmware: If you need to find your stock ROM files, you can head over to our Sony Xperia firmware page.
Universal ADB Driver: You can install the Universal ADB driver instead of the Sony USB driver if you can’t get the Sony one working and it should allow for the flashing to work just the same.