Last Updated on September 1, 2024 by Mathew Diekhake
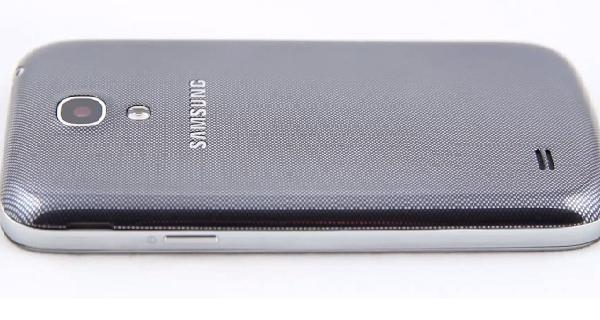
The lesser of the two mini’s in terms of stature has also received the 4.2.2 Jelly Bean update. The only difference between the Mini I9190 and the Duos is that this one is not dual SIM. It still packs the same punch in terms of other features. That doesn’t mean that you can simply install the same firmware on both devices, however, because you can’t. Each requires a unique version which also comes with a different code. Be wary of that in the future when you own a similar device. In most cases it will not be compatible with whatever it is that you are doing.
The S4 Mini I910 gets an upgrade to the XXUAMF7 firmware. Just to confuse you more, this will result in exactly the same 4.2.2 Jelly Bean at the end of the day. This is an official firmware update which Samsung has rolled out.

- Having the USB debugging mode enabled by going to: Menu > Settings > Applications > Developer Options are required to complete this guide. if Developer Options is not listed within the Settings menu we must unlock it by tapping on the build number seven times from the About Device menu. Otherwise we cannot establish a connection with the Odin app effectively because it cannot detect the phone.
- If you fancy saving the data you should try using the helium application from Google Play. Once download, you can save the phone contacts, lots of data and more. In addition, the unsurpassed way to save all those text messages is with SMS backup.
- Check the smartphone’s battery level just in case the USB charging feature is not working. When fully operational the phone will have no problem charging when plugged into a notebook, laptop or computer. however, sometimes it doesn’t work. In those cases make sure there is at least 505 battery power saved up before getting stuck into the steps below. You can turn the mobile device on and look at the status bar for the battery icon to take a look at what it says.
- Disable Samsung Kies if you use it for the Drivers and any security programs such as spyware, malware and antivirus protection.
- You should know that having a custom ROM installed will result in a wiped system partition so backing up is never more essential. Furthermore, the root access is revoked and the device no longer unchained until you decide to open it back up again at a later date. be wary that often that requires a fresher guide than the one you used last time.
- The Galaxy S4 Mini I9190 USB drivers are essential for this task. You can download and install these from the Samsung website.
Install XXUAMF7 Android 4.2.2 official firmware On The Samsung galaxy S4 Mini I9190
1. Download the Android 4.2.2 I9190XXUAMF7 here to the desktop of the computer and extract the file. Once you have done that, also download the Odin v3.07.
2. Download mode is now required.
– Enter by pressing Home + Power + Volume Down keys synchronized together.
3. Run the ODIN, which you downloaded and then connects the S4 to the computer. If you run into issues here it is most likely due outdated USB drivers.
4. Now inside ODIN are different buttons. All we do here is grab the files from the extracted firmware you did in step 1.
– Select the PDA button and upload the code file.
– Select the phone button and upload the modem file.
– Select the CSC button and upload the CSC file.
– Select the pit file and check if there is a pit file. If there isn’t just leave it out.
The same can be said by any of the other files which have a tendency to go missing. If they aren’t in there, simply leave it out. The worst thing you can do is use another one from another location. Don’t ever do this.
All of you will need to check the Auto Reboot and F. Reset Time options. People using a pit file will also need to check the re-partition box.
5. Click the start button.
Once it has finished it will need to reboot. Soon after you will see it is finished and now it is time to take out the USB cable so it is free from any connections and away you go with it.
It is possible to look at what it is now running so you can check by navigating to: Settings > About phone > Android & Baseband Version. Taking a look at this screen will now match up with the current numbers given in this post. If it is still displaying the old software code, then it did not work, in which case, it will need re-installing.
Sometimes problems can arise due to caching. When an operation is performed on a bit of technology sometimes the screen is showing something different to what it should be: this is caching. All Android’s have a certain amount of caches which should be cleared and then this will solve any issues. All of them are accessed from recovery mode, including wipe data/factory reset and the Wipe Cache Partition option. Just be sure you have pressed the button to confirm these two operations once you get there or else it will not have wiped anything yet.
