Last Updated on December 26, 2022 by Mat Diekhake
Windows 10’s April 2018 Update, codenamed and known as the Redstone 4 update for the months leading up to its release, brought about heaps of new features.
Some of the highlights include the Timeline feature for showing activity lists, Nearby sharing for easy wireless file sharing, a diagnostic data viewer for seeing what your operating system sends off to Microsoft, Bluetooth device quick paring, Windows Store progressive Web apps, faster Windows software updates, an option to manage fonts in the Settings app, improvements to Microsoft Edge, Cortana features, My People settings, HDR video, graphics settings for multi-GPU settings, Focus Assist replacing Quiet Hours, new app permission options, language packs coming to you from the Microsoft Store, display and DPI scaling options, HEIF image support, password-free logins with Windows S mode, among other things. Arguably the best feature of all though was the Sets feature that allows the combinations of different apps to be grouped much like you group tabs in a browser.
Assuming you’ve got Sets enabled—it originally started off only available for a small group of Windows Insiders while Microsoft continued to perform AB testing in Windows 10 Build 17063 and can at anytime be enabled or disabled from the Settings app, as shown in the guide below—you can sync them between devices, thanks to the Cortana integration they will receive.
Sets started off compatible with Microsoft Store apps only, but has since expanded to include Win32 apps, which means you now get the added bonus of using Sets for classic desktop apps.
The Idea Behind Sets
Microsoft has added a new feature to its Microsoft Edge web browser called Sets (it may be named something else in the future; Sets is the official name when it arrived to Windows insiders). You can use Sets to group together everything that is related to your task: you may have multiple webpages, documents, applications, so forth, that are all related to what you’re working on. With Sets you can connect them all together so they’re all available to you in a click.
Here’s what you need to enable or disable the tab Sets when you’re using a version of the Windows 10 operating system from the Windows 10’s April 2018 Update and onward.
How to Enable or Disable Tabs (Sets) in Windows 10
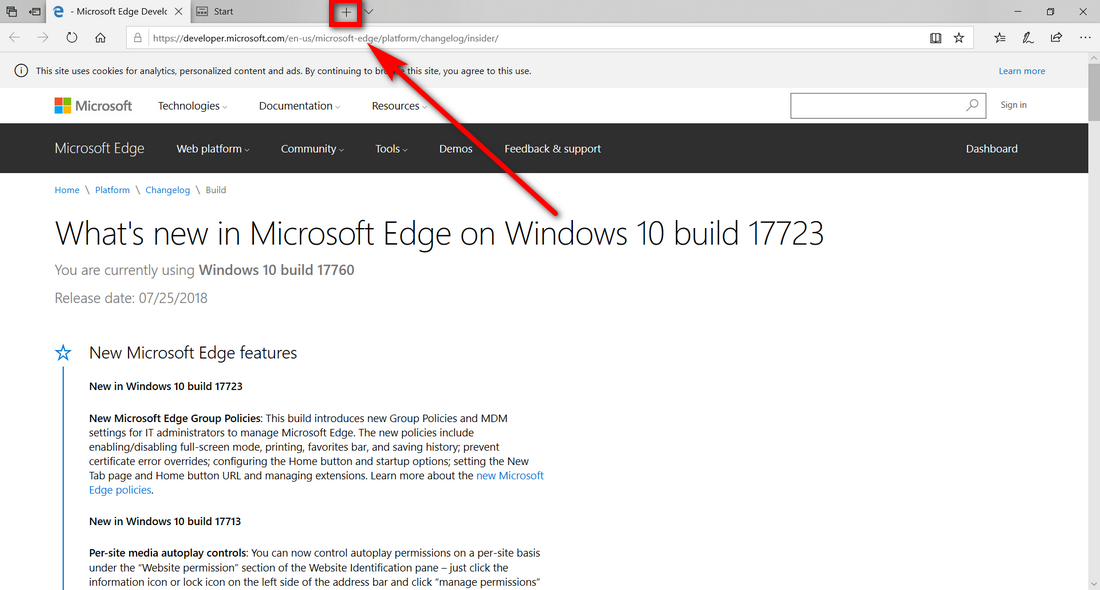
Note: Sets still might not yet be enabled for your computer, as it’s still a relatively new Windows 10 feature. To find out if yours is available, you can open the Settings application (Start menu > Settings gear icon) and then check to see if you have a “+” symbol next to your tabs.
Get started by heading to the Start menu > Settings app.
From the Windows Settings menu, select “System” and then “Multitasking” from System’s left pane.
Scroll down the right pane until you can see the “Tabs in apps” heading and check the box next to where it says “Allow new tabs to be created in my windows (preview feature).
That’s it.
Update: As of Windows 10 Build 17639, there is now a toggle switch, located in the same Multitasking section, called “Tabs in apps” that you can toggle on and off.
Update: The final version of Sets that comes with Redstone 5 is now automatically enabled in Microsoft Edge and there is no longer any toggle to turn it on and off.
Related Tutorials
- How to Disable Cortana in Microsoft Edge in Windows 10
- How to Enable/Disable Adobe Flash Player in Microsoft Edge in Windows 10
- How to Rename URL for Favorites in Microsoft Edge in Windows 10
- How to Cast Media to Device in Microsoft Edge in Windows 10
- How to Import Favorites from Microsoft Edge to Chrome in Windows 10
- How to Backup and Restore Microsoft Edge Favorites in Windows 10
- How to Create a Microsoft Edge Shortcut in Windows 10
- How to Turn On/Off the Favorites Bar in Microsoft Edge in Windows 10
- How to Add/Remove Favorites in Microsoft Edge in Windows 10
- How to Uninstall and Turn Off Extensions in Microsoft Edge in Windows 10


September 19, 2018 @ 19:29
Sets is now available for everyone as standard (without the need of being an Insider) already.
There are some keyboard shortcuts that you can use with relation to this new so-called Sets feature:
Win+Ctrl+Tab – Switch to the next tab
Win+Ctrl+Shift+Tab – Switch to the previous tab
Win+Ctrl+1 through 8 – Switch to a specific tab
Win+Ctrl+9 – Switch to the last tab
Ctrl+T or Win+Ctrl+T – Open a new tab
Ctrl+W or Win+Ctrl+W – Close the current active tab