Last Updated on December 3, 2020 by Mat Diekhake
For years website owners have often incorporated “lazy loading” to help make webpages load quicker for the reader. They would do this by only loading the particular element after others, or only when the reader scrolls down the page to the point where it is requested. This method won’t shave down the overall load time, but it still gives readers everything they can see on the screen at one time quicker due to the rest of the page not needing to load.
Most good quality websites put in a lot of behind the scenes work to help make webpages load quickly. You can spend months learning the techniques required before implementing them, or you can spend hundreds or even thousands of dollars to get someone else to apply them for you.
A lot of the performance you see as a reader comes from the website and its web server, but it’s not the only thing that alters the performance. You still need a good web browser to help in this department as well. Google Chrome is in the upper crust of web browsers out there on the market, and it works wonderfully without you needing to change any of its default settings. That said, though, some default settings can be tweaked to enhance the user experience as well to help eek out even more performance. Lazy loading is one of them.
You can enable lazy loading in the Google Chrome web browser so that only the images that would be in a position to load on your computer’s display will do so. The rest will load later once you begin scrolling. This helps you get delivered the content that you want to see quicker because it doesn’t need for the entire page to load before some of those elements that would be on your computer’s display.
The default setting in Google Chrome disables lazy loading because things can get technical and it’s considered better for most people to leave Chrome without it. For example, having the images and video content of lazy webpage loading can sometimes result in people scrolling past the position of where an image or video would have been. And more to the point, if lazy loading weren’t enabled, the image would have been seen.
Your experience with lazy loading will depend on what elements are loading lazily. In Google Chrome’s case, this is the images and video content from a webpage. So if your main goal is to read content on most webpages that you visit, then this might be a good setting for you to enable. For everyone else, it may be best to leave it disabled for now.
How to Enable Lazy Loading in Google Chrome
1. Open the Google Chrome web browser by clicking on the “Chrome” desktop icon or by typing “Chrome” into the Cortana search field. Now copy and paste the following text and past it into the address bar and hit the “Enter” key: chrome://flags/#enable-lazy-image-loading
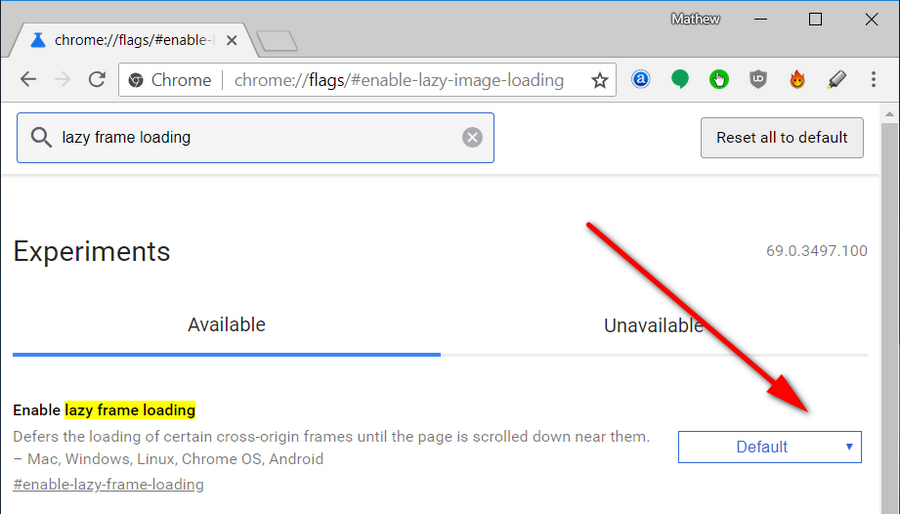
2. You’ll now see the Chrome flags page open up with the relevant setting at the top of the page.
3. The Lazy Loading flag is disabled by default, so to enable it you’ll need to switch it from its default settings over to the enabled option.
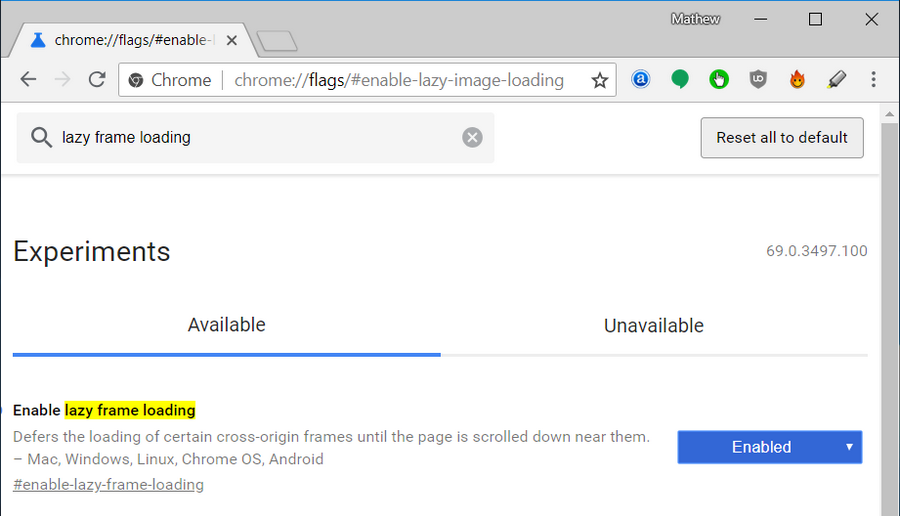
4. Click on the button and then choose the “Enabled” option from the menu.
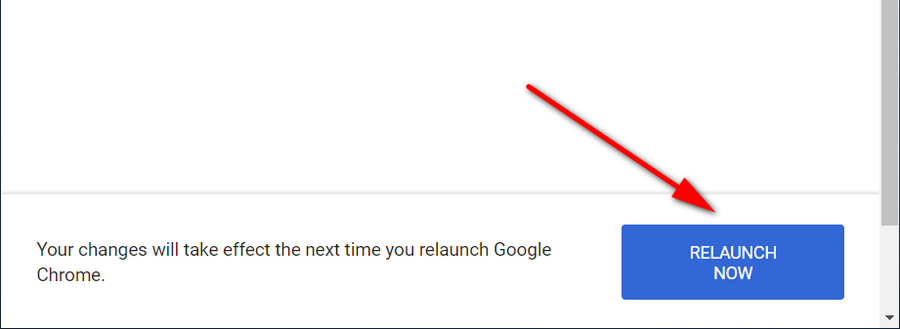
5. From the bottom of the same window, click on the “Relaunch Now” button for the changes to take effect.
That’s it.
Related Tutorials
- How to Enable/Disable Native Google Chrome Notifications in Windows 10
- How to Make Google Chrome Faster in Windows 10
- How to Set Google Chrome as Default Browser in Windows 10
- How to Disable Hardware Acceleration in Windows 10 Photos App
- How to Manage Audio Focus Across Tabs in Google Chrome
- How to Enable Rich Search Suggestions in Google Chrome
- How to Disable Not Secure Badge for HTTP Web Sites in Google Chrome
- How to Enable Picture-in-Picture Mode in Google Chrome