Last Updated on February 25, 2024 by Mat Diekhake
The Advanced Host Controller Interface, otherwise known as AHCI, makes Native Command Queuing and hot-swapping possible when you use SATA Serial-ATA host controllers.
Most of the computers you get today come with AHCI available by default, but sometimes people set up the Windows operating systems to feature IDE instead. If you are one of those individuals who set up IDE when you first set up your version of the Windows 10 operating system, you don’t need to go to the trouble of reinstalling Windows 10 or anything of that nature. Instead, you just need to make some changes to the Windows registry which anyone can do—no matter what your version of Windows like Home, Pro, etc.—from the Registry Editor in Windows.
Here’s how you can turn on the AHCI feature after you’ve finished installing the Windows 10 operating system.
How to Enable AHCI in Windows 10 After Installation
Hit the Windows logo key + R on the keyboard to open up the “Run” dialog box and then type “Regedit” and click on the “OK” button to open the Registry Editor app.

Navigate to the HKEY_LOCAL_MACHINE\SYSTEM\CurrentControlSet\Services\iaStorV key.
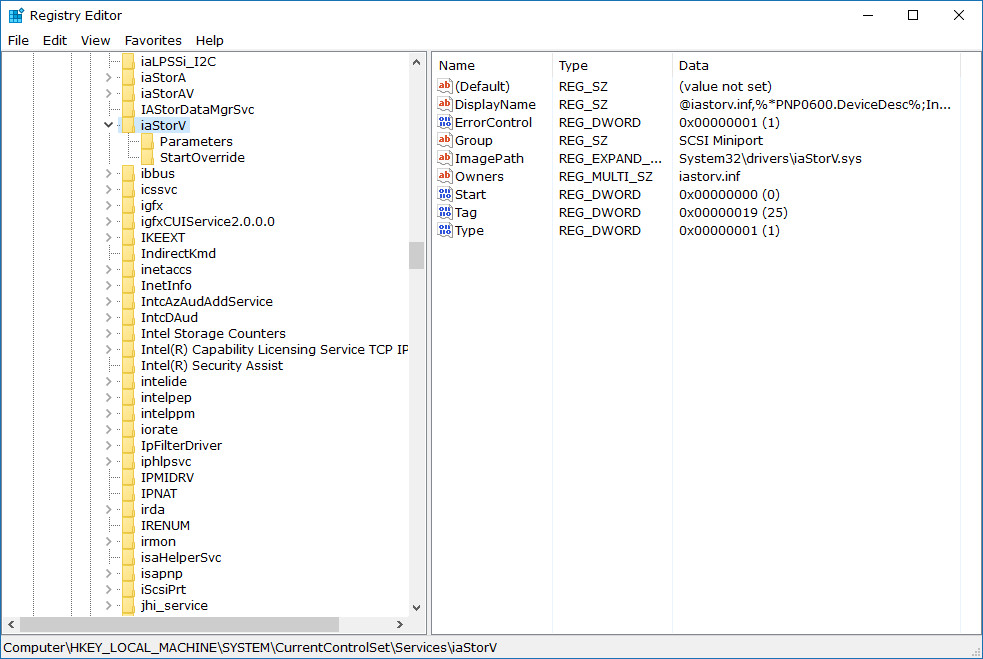
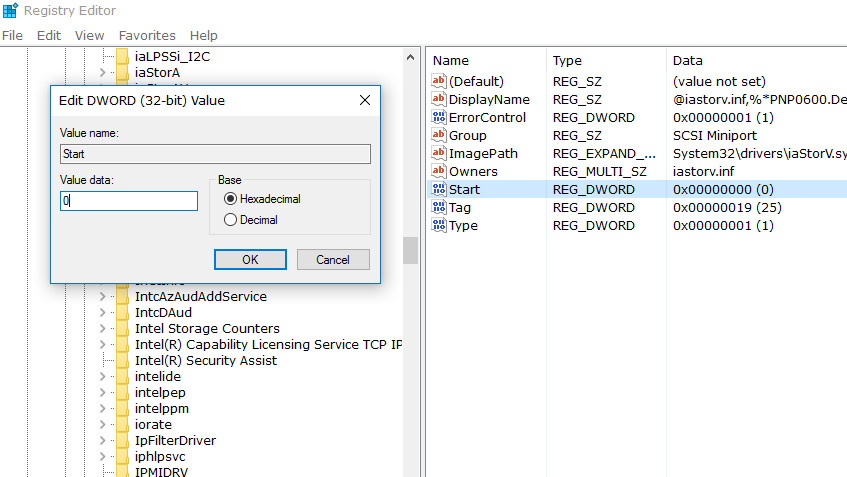
Double-click on the “Start” entry that is available in the right side pane to bring up its dialog box.
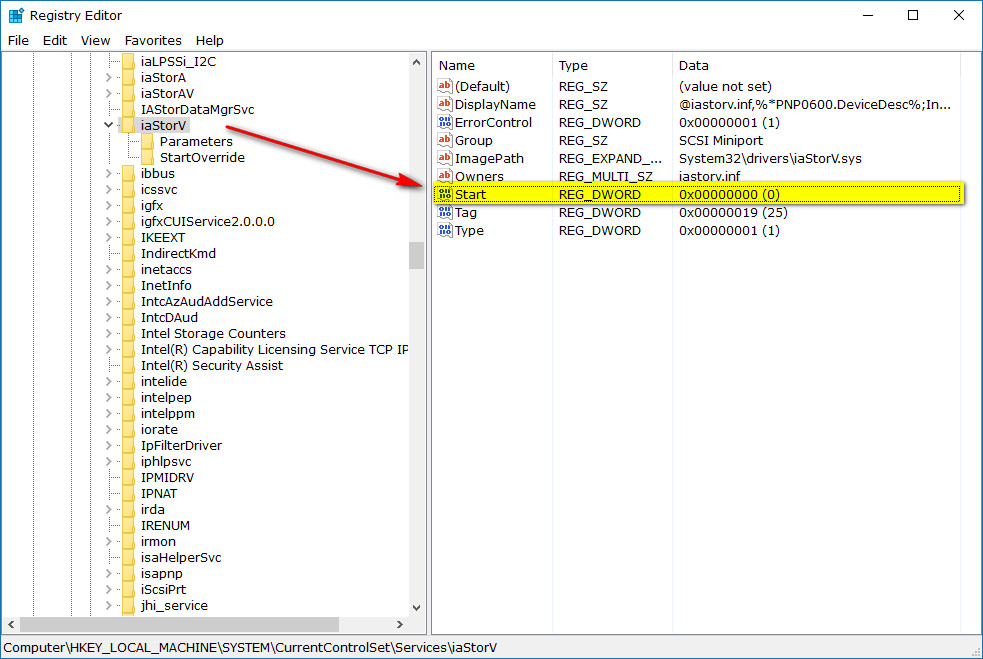
Edit the DWORD value to show zero from the “Value data” entry.
Next, close the key that you had open, so you don’t get confused. You can do that by clicking on the same keys that you initially clicked to open them. When you no longer see the keys expanded, head to the HKEY_LOCAL_MACHINE\SYSTEM\CurrentControlSet\Services\iaStorAV\StartOverride key.
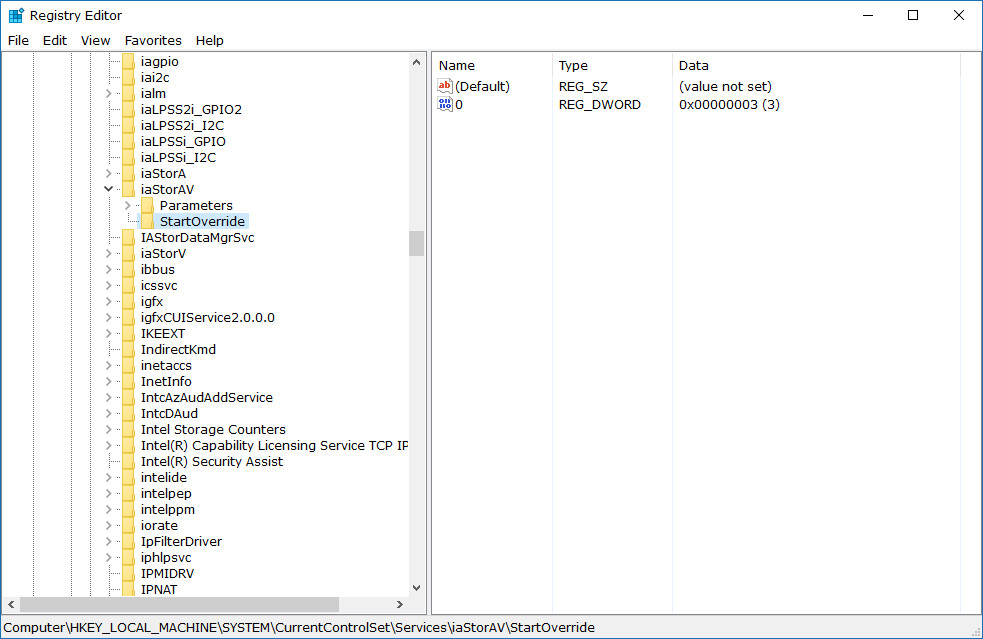
Double-click on the “0” that is available in the right side pane to open up its “Edit DWORD” dialog box.
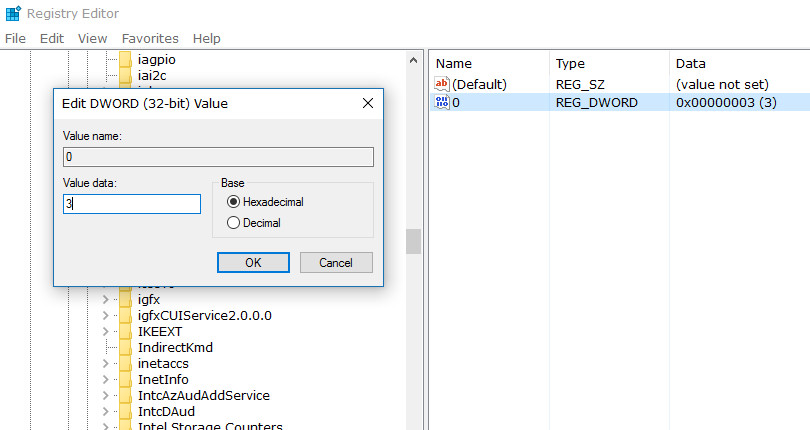
Next, change the “Value data” from three to zero. Finish by clicking on the “OK” button again, so the dialog box closes.
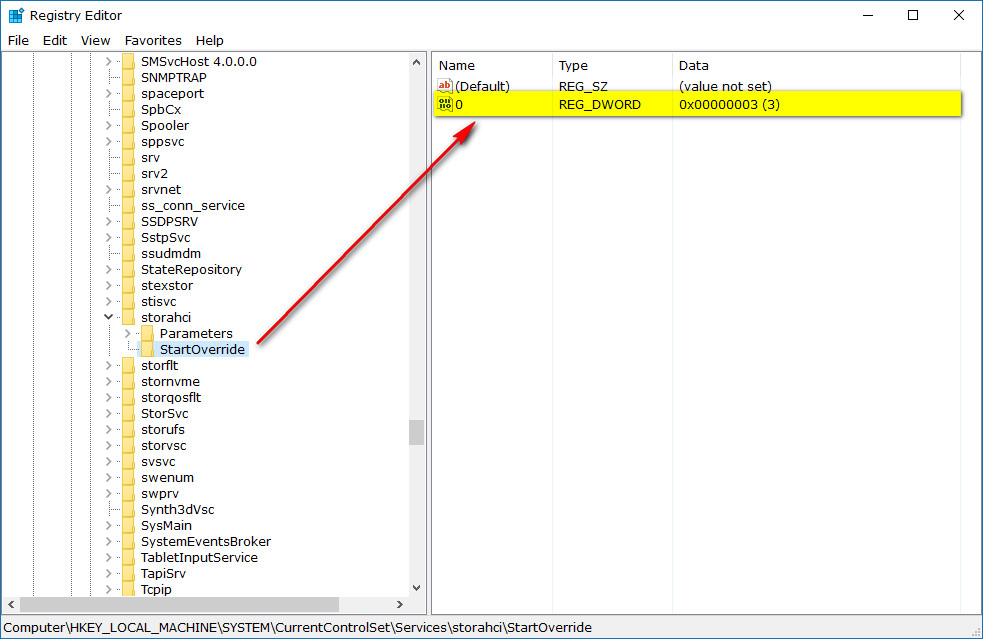
Close the old key once more, and then head to the HKEY_LOCAL_MACHINE\SYSTEM\CurrentControlSet\Services\storahci key and click on the “Start” entry that is available in the right side pane.

Change the “Value data” to zero and then click on the “OK” button to close the dialog box.

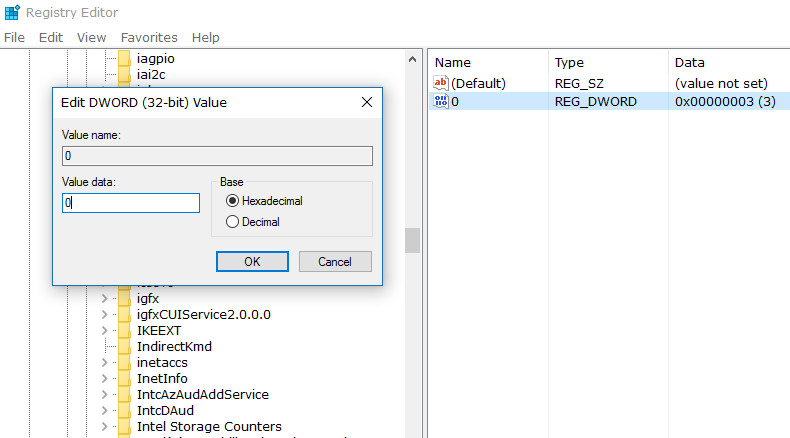
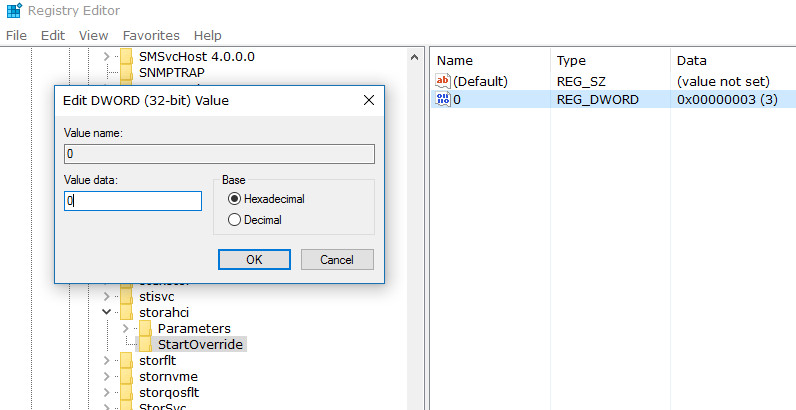
Close the old key in the right side pane once again, and this time open up the HKEY_LOCAL_MACHINE\SYSTEM\CurrentControlSet\Services\storahci\StartOverride key instead. When you get to the end, look for the “0” in the right side pane and double-click on it.
Change its “Value data” from three to zero.
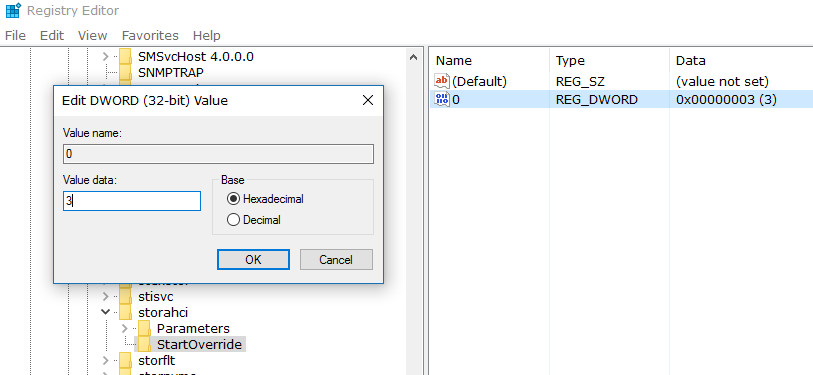
Close the dialog box by clicking on the “OK” button.
You can now close the Registry Editor on your version of the Windows 10 operating system and then boot the computer to the BIOS or UEFI settings. The only thing you need to do now is enable the AHCI from the BIOS or UEFI and then save and exit. When done, reboot the computer, and all the necessary changes are made. The first time Windows starts up again, it is going to install the AHCI drivers now automatically, and you’ll notice this on the computer’s display. Don’t be alarmed because it is a regular part of what happens. Once the drivers are installed correct, the computer then reboots itself once more time, and it’s complete.
You might also be interested in:
- How to Change Shortcut Arrow in Windows 10
- How to Add/Remove Frequent folders and Files from Quick Access in Windows 10
- How to View Product Key in Windows 10
- How to Change Lock Screen Background in Windows 10
You can subscribe to our RSS, follow us on Twitter or like our Facebook page to keep on consuming more tech.