Last Updated on November 12, 2024 by Mathew Diekhake
One of the coolest things that came with the macOS Sierra was Siri. Apple announced Siri, its virtual assistant, for the first time for Macs with the latest version of its OS for the Macs called macOS.
If you have updated your Mac to this latest version of the OS, you would have probably seen the Siri icon in the menu bar of your Mac (you can remove the Siri icon from the menu bar though if you wish). That’s where you can trigger it, and it will start responding to your questions. While many people jumped onto this latest update for the macOS and got Siri on their Macs, later they realized Siri was not for them for many reasons. Maybe they did not like how it worked, or maybe they had their own reason for not keeping the Siri on their Macs.
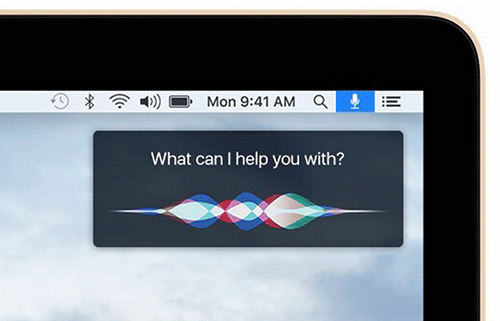
So, if you are on the latest version of macOS and you have got Siri, but you don’t like it, you can have it disabled easily on your system. Apple knew not all the users are going to like it and that is the reason they have added an option in the OS that lets you quickly deactivate the Siri from your entire system.
Once Siri has been disabled on your Mac, it will no longer function, and you will not be able to trigger it from the menu bar of your Mac. Of course, since it’s gone from your system, there really won’t be any option that can help you trigger it – unless you enable it again from the settings panel.
So, if you are one of those users who dislike Siri and want to get rid of it from their system, here’s how to do that:
Disabling Siri on Your Mac running macOS Sierra or Later
The procedure below will only work if you are running macOS Sierra or later on your machine because that’s the version of the OS that Siri first came with to the Macs.
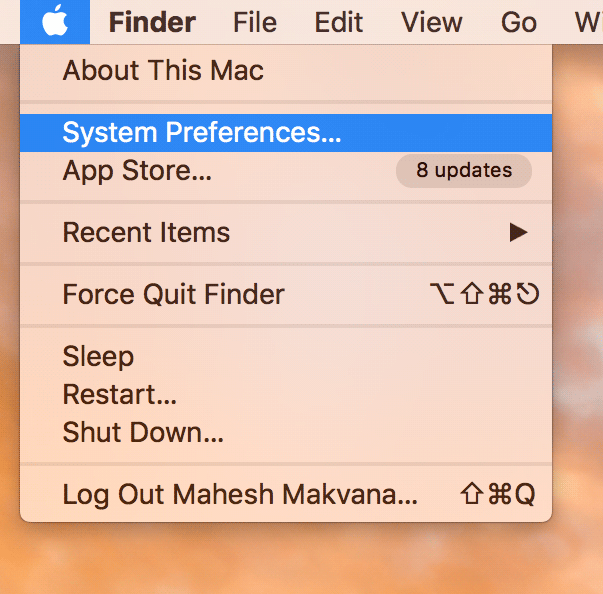
Click on the Apple logo in the top-left corner of your screen and select “System Preferences.” It will take you to the preferences panel for your Mac from where you can change all the settings related to your system including Siri.
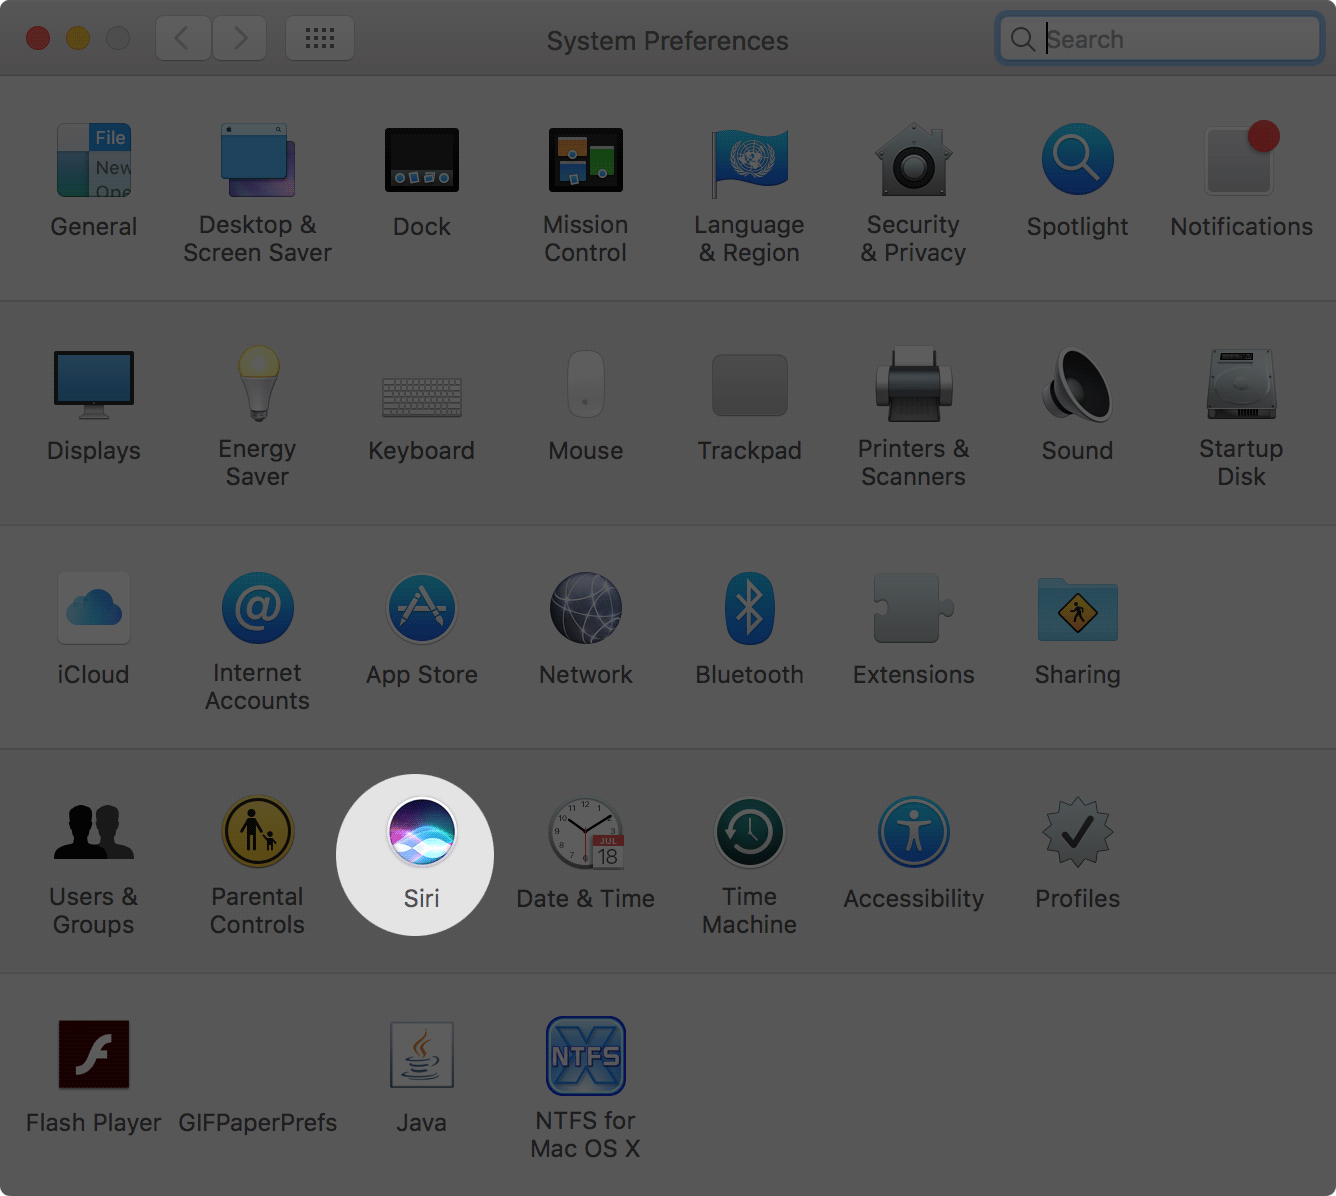
When the preferences panel opens, find and click on the option that says, “Siri.” If you do not see it, you are not running the version of the OS that is compatible with Siri.
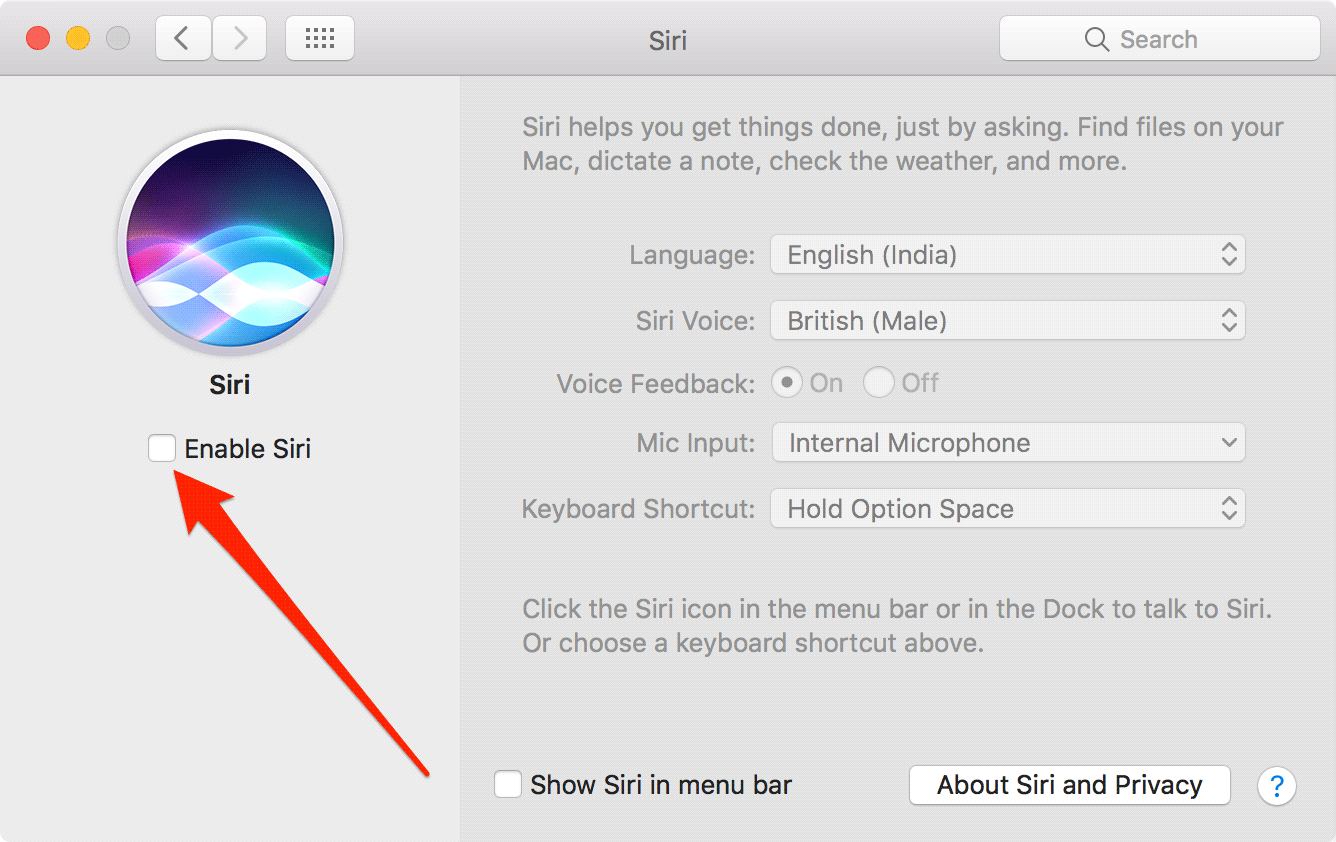
Clicking on the Siri option in the preferences panel will take you to the Siri settings panel from where all the Siri-related settings can be adjusted.
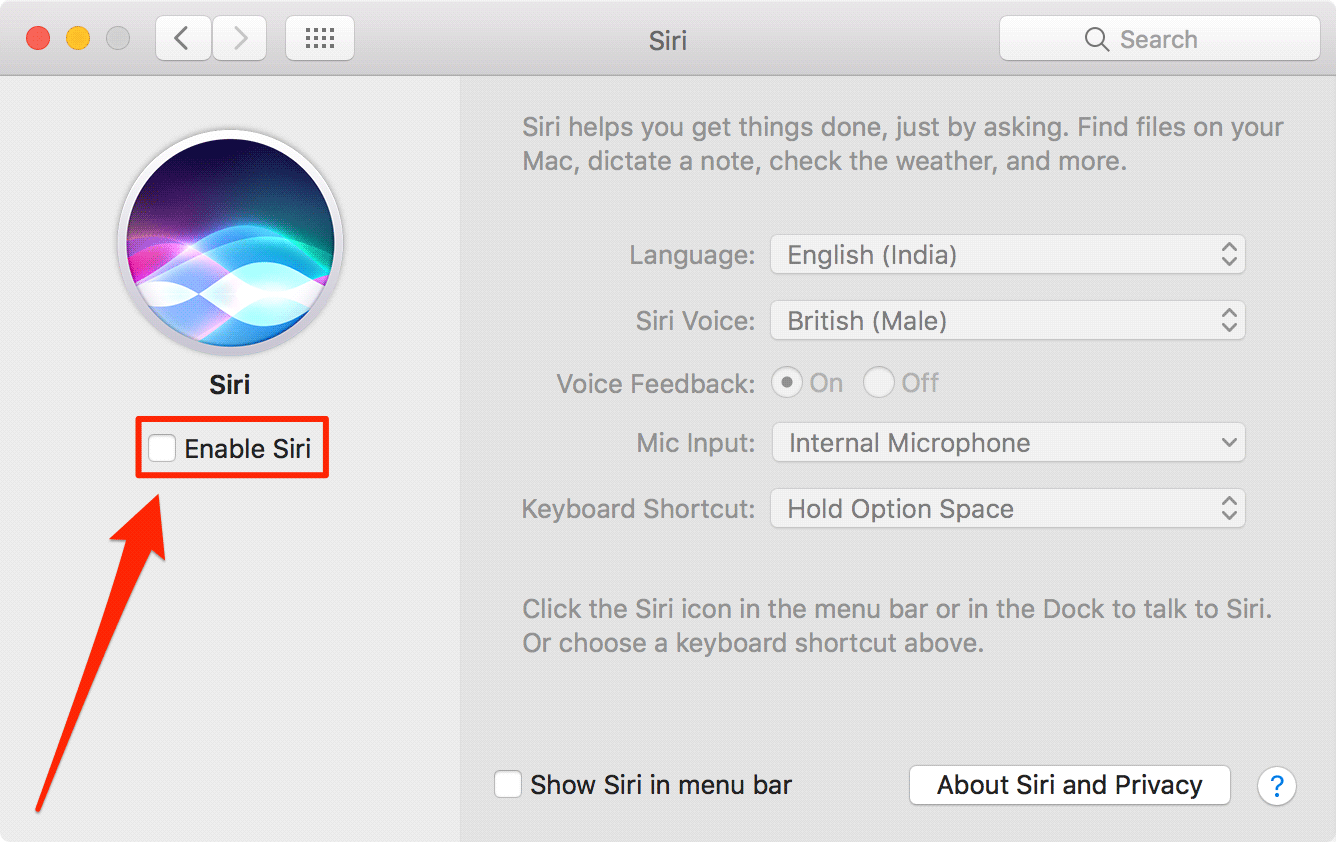
You should now be on the Siri settings panel. Here, what you need to do is find the option that says “Enable Siri” and uncheck it. By unchecking the option, you are telling your system to disable Siri system-wide on your Mac. A checked option means Siri is enabled and an unchecked option means Siri is disabled.
As soon as you uncheck the option, Siri will be disabled on your entire system.
From now onwards, you will not be able to trigger Siri from any of the options you used to trigger it. It has just been completely disabled on your machine, and it won’t run until you turn it back on from the settings panel.
In future, if you ever make your mind to get Siri back on your Mac, then you can do by following the following steps on your machine:
Enabling Siri on Your Mac running macOS Sierra or Later
This also uses the preferences panel to enable Siri on your Mac.
Click on the Apple logo in the upper-left corner of your Mac’s screen and select the option that says “System Preferences.” You will be taken to the system settings panel for your Mac.
When the settings panel launches, find the option named “Siri” and click on it to open it. It will open the Siri settings panel on your screen.
You will find that the “Enable Siri” option is unchecked which means Siri is disabled on your Mac. So, to enable the Siri, what you need to do is just checkmark the option and Siri will be enabled.
You will get the following prompt on your screen when you checkmark the box. The prompt says that Siri sends some of your information including contacts and location data to Apple to process your requests. What this means is that when you ask a question related to either contacts or location services to Siri, it needs to get this information from your Mac and send it to Apple servers to process your requests.
You can’t enable Siri without agreeing to this prompt. So, if you are okay with what’s shown in the prompt, click on “Enable Siri” and Siri will be enabled on your Mac.
Siri should now be back up and running on your Mac and you can now launch it from the menu bar just like how you used to do before.
You might also be interested in:
- How To Unhide And Make The Library Folder Visible In macOS Sierra
- How To Easily Create A macOS Sierra Bootable USB Installer
- How To Share The Screen Of Your Mac With Others Using Messages
- How To Speed Up The Mail App On Your Mac
- How To See What Apps Are Using The Webcam On Your Mac
Have something to say? You can contribute to this tech article by leaving a comment below.

