Last Updated on April 6, 2017 by Mathew Diekhake
Apple’s iOS 8 doesn’t look much different to iOS 7 once you update the operating system via a software update. You can accept the software update automatically by navigating to the Settings > General > Software Update if you haven’t done it already, or you can plug the Apple smart phone or tablet into the computer (Windows or Mac) and install the latest version through iTunes. Once you are using the new software, you are able to use the camera features we are mentioning in this post.
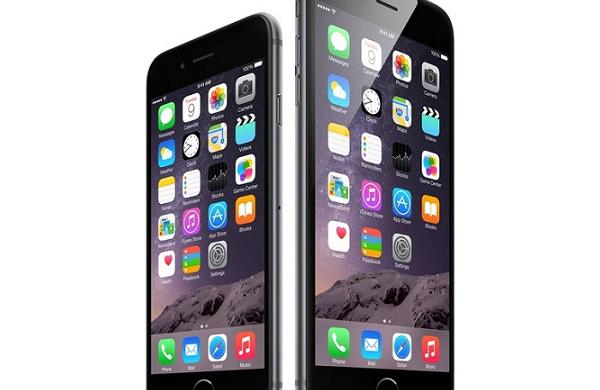
You can use the iPhone 5, 5S, iPhone 6 or 6 Plus for best results from a smart phone. Likewise, iOS 8 doesn’t run for all the iPad versions because the older generations can’t handle what the operating system is asking. I’m using the iPhone 4S now and it works well. However, they say to skip the 4’S for greatest performance.

Those of you working with the iPhone 6 have a camera capable of producing 8 megapixels on the rear and 1.2 megapixels on the front facing shooter. You also have a bevy of features including the Back-illuminated sensor, Face detection, Touch to focus, Phase detection auto-focus, Auto-focus, Burst mode, Panorama, Geo tagging, High Dynamic Range mode and Exposure compensation. That’s a great deal of features you are likely taking advantage of without realizing it. It goes without saying we love taking pictures from our modern-day smartphones, but what about deleting them?
Well, with the thanks to the following guide, you’ll find it easy to group delete a bunch of photos at once. That way you don’t have to keep tapping on the screen until your finger gets sore.
How to delete many of the iPhone photos at once
- Turn on the iPhone of your choice (must be running iOS 8).
- Tap your finger on the photos application.
- Tap on the Moments view.
You’ll see Moments as a heading between Collections and the Select buttons. - tap the Select button once inside the Moments folder.
- Tap ‘Select’ for each group of pictures you don’t want any more.
- It remember and marks each photo or group with a blue “tick.”
- Now tap the Bin icon from the bottom right corner of the screen.
- Confirm you wish to delete all the photos selected earlier.
– it does this in case you accidentally tapped the bin icon. - Now you are rid of all the pictures at once.
How to delete photos using a Windows laptop, notebook or computer
- If you are around a computer you might prefer connecting the smartphone to the computer with the USB cable.
- Wait for the iPhone to be detected by Windows.
- Navigate to the “My Computer” icon
– you’ll see My computer from the desktop or by navigating to Start . My Computer - Now click the dedicated iPhone drive that is appropriately named with the name of your iPhone. In my case it’s “Mathew’s iPhone.”
- Click the folder inside that contains all of the pictures you want to delete.
- Now hold down the “CTRL” button on your keyboard and click the mouse on each photo you want to delete.
