Last Updated on December 24, 2022 by Mat Diekhake
I need to install the AzureAD Powershell module but don’t understand how to download it or what I’m even supposed to download to get it on my computer. Resolution:
The following tutorial demonstrates how to install the AzureAD Powershell module when using a version of the Windows operating system.
PowerShell comes with modules which are Windows PowerShell functionalities, put together into a unit. Many unique modules are popular among Windows developers, such as the exchange online PowerShell module, azure PowerShell module, SQL server PowerShell module, and the active directory PowerShell module, just to name a few. So naturally, there are also times when developers wish to find out the PowerShell module version of each of these units, which is what is outlined in the tutorial below.
How to Install AzureAD Powershell Module
You can install the AzureAD Powershell module by copying and pasting the latest module command from the PowerShell Gallery link into the command line on your computer and following the install instructions or by just using the common command that installs the generally available version of the public preview release. Here is how to do that:
Notes:
- The PowerShellGet module requires PowerShell 3.0 or newer and requires Windows 11, Windows 10, Windows 8.1 Pro, Windows 8.1 Enterprise, Windows 7 SP1, Windows Server 2016 TP5, Windows Server 2012 R2, or Windows Server 2008 R2 SP1.
- The PowerShellGet module also required Net Framework 4.5 or above.
1. Open the elevated Windows Terminal app and then select the PowerShell shell from the menu. See this tutorial for how to open the elevated version of the Windows Terminal app: How to Open Elevated Windows Terminal as Administrator in Windows 11 [Tutorial].
2. To Install General Availability Version of Module
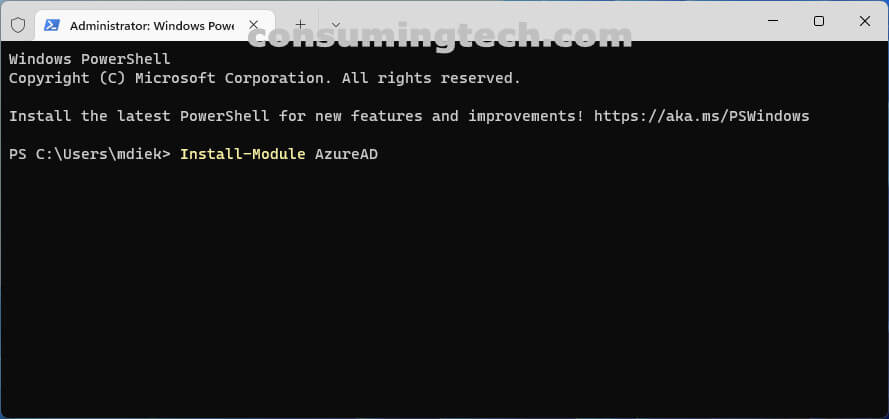
a. Type Install-Module AzureAD into the command line and press the Enter key on your keyboard to execute it.
3. To Install Public Preview Release Version of Module
a. Type Install-module AzureADPreview into the command line and press the Enter key on your keyboard to execute it.
In conclusion, that is how to install the AzureAD Powershell module in Windows.
Related Tutorials
- How to Use Grep Command in Windows [Tutorial]
- How to Fix Windows 10 Black Screen with Cursor Before/After Login [Tutorial]
- How to Get Powershell Module Version [Tutorial]
- Powershell: Get Windows Version/OS Version [Tutorial]
- How to Comment in Batch File [Tutorial]
- How to Add New Line in Powershell String/Variable [Tutorial]
- How to Use get-childitem in PowerShell [Tutorial]
- How to Change Bash Colors [Tutorial]
- How to Use Cat Command for Windows [Tutorial]

