Last Updated on July 20, 2022 by Mathew Diekhake
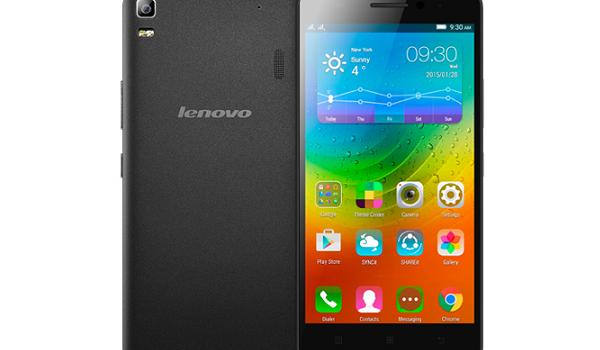
Rooting the Lenovo A7000 is darn easy as long as you have a custom recovery running on your device. Once you’ve gotten a custom recovery, you can use it to flash the SuperSU archive to achieve root-access on your device.
Once rooted, you’re the master of your device. From changing the home-screen appearance to going as far as to modifying build.prop, you will be able to do literally everything once you have gained root-access on your device.

So for you folks, here’s how you can gain root on your Lenovo A7000:
Files You Need
1. Your device must have a custom recovery installed on it. If it doesn’t, please follow our how to install a custom recovery on the Lenovo A7000 to get one installed on your device.
2. This should flash the SuperSU archive to achieve root-access on your device.
3. Download SuperSU to your computer. Do NOT extract it, just leave it as is.
Rooting the Lenovo A7000
1. Plug in your device to your computer using a USB cable. Make sure it’s in data transfer mode.
2. Copy SuperSU from your computer over to the SD card storage on your device.
3. When SuperSU is copied, unplug your device from your computer.
4. Turn off your device.
5. Turn your device back on by holding down Volume UP+Volume DOWN+Power buttons at the same time.
6. Your device will reboot into recovery mode.
7. Once in recovery, select install zip from sdcard.
8. Select choose zip from sdcard on the screen that follows.
9. Tap Yes when prompted and wait for it to install the selected archive on your device.
10. When it’s done installing the archive, reboot your device by selecting reboot system now from the recovery menu.
11. You’re done.
Your Lenovo A7000 is now rooted and the same can be confirmed using Root Checker.
Ohk, so you’re rooted, finally. It’s that point of time when you’re so excited because you’ve got the freedom that you’ve never had before to customize your device. So go ahead and get that beast customized the way you want!
