Last Updated on April 9, 2017 by Mathew Diekhake
The Samsung Galaxy S4 Google play Edition is receiving the Android 5.0 Lollipop OTA. Those preferring to not flash the file automatically or wait for the official system notification can follow the steps below and complete the process manually. There’s little risk involved in manually installing software updates for your Samsung smart phone.
The Android 5.0 Lollipop isn’t the latest firmware under the candy name any more. We know 5.0.1 is rolling for many of the Nexus range. Nevertheless, Sammy are deciding to give those running the stock Android from the Google Edition handset a taste of the first ever Lollipop build. We can only assume it’s on purpose. Perhaps those into the stock Google ROM want to experience each software update. We’ll know more on that when the next version rolls out for the same.

You’ll notice one of the main complaints with 5.0.0 is the lag. Yes, just like any other large jump up between names, the first installment of Lollipop does come with some lag. However, those times seem more likely on the smartphones with bloatware and not the Google Edition. Other manufacturers such as Samsung, Motorola and HTC have their own default applications pre-installed with the latest software that we call bloatware. The GPE devices don’t have that. It’s plausible to think that’s one of the reasons why the Mountain View company is rolling with the first update.
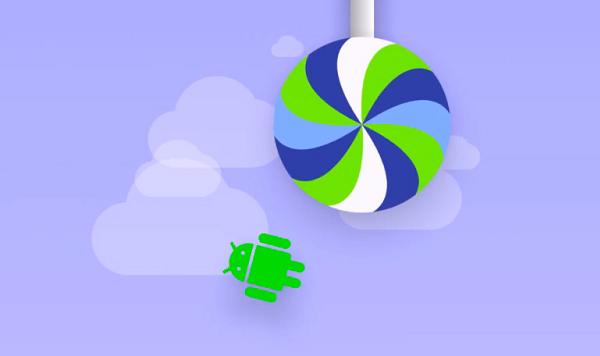
5.0.0 Lollipop comes with powerful Android Beam, screen pinning, new print UI, Smart Lock Bluetooth trusted devices, Smart lock with trusted places, Chrome tabs available from the app switcher, a new Easter Egg for Lollipop, Tap and Go restores, Ambient display, smart notifications with “do not disturb” interruptions and more. Our favourite feature is the new Easter Egg you find by going to About Device and tapping on the build number until it shows up on the display. At first it’s all about changing the color of the Lollipop. From there you start seeing a moving screen with a cloud and it turns into a game similar to Flappy Bird. Since I love Flappy Bird but was too silly to download the app before the developer took it from the App store, I don’t have it on my device. Thank you Google for bringing some of that fun to Android!
- You don’t automatically wipe the data during an official over the air or manual installation. However, we still recommend you backup the device. You can use the stock backup and restore feature from Samsung, or you can download apps available from the Google Play store. One of the advantages with applications is you can set them to automatically backup in future if you forget. However, the default feature by Android is lacking that option. You must manually remember to create the backup before changing anything. The downside with apps from Google Play is that they are created by third-party developers who are looking to make a profit from most premium feature. That means you’ll be paying a price for most of them.
- Allow permissions for the USB Debugging Mode. You find the mode coming from the Developer Options which comes from the Settings app. You must enable the mode or else connecting to the computer is unsuccessful.
- Furthermore, you must have the up to date USB drivers or else you won’t be able to connect to the computer either. You may download and install Samsung Kies for the drivers.
- Remember to disable Kies before starting the guide because the utility can interfere with the installation.
- Optional: Backup and restore the EFS with this app from Google Play. It’s available for Samsung devices. The app must have root access for it to work. If you are not planning on opening up the system internals away from the manufacture restrictions you can still backup the EFS through a custom recovery.
- You must setup ADB and fastboot or use the minimal ADb/fastboot tool. You must have a good understanding of how to use the one you choose.
How to update the Samsung Galaxy S4 Google Play Edition with Android 5.0 Lollipop
- Download the official OTA file here.
- Download the ADB files to the computer and extract the contents.
- Open the ADB folder and right-click the mouse while pressing the shift key to open the command line.
- Connect the Nexus to the computer with the USB wire.
- Reboot the nexus in recovery mode.
– enter recovery manually by pressing the keys or install the Reboot Manager app. - Enter ADB Sideload from the recovery.
- Type:
– abd sideload example.zip. (Replace my example with your file name).
Noticing a progress bar is also noticing progress on your end. That means it’s working. - Reboot the device after the flashing finishes.
Flashing takes some minutes and so does the first boot process after finishing. Don’t switch off the device or think that something gets stuck. It’s likely still loading. Turning it off before its complete can brick the device. Always use the hard reset to get yourself out of trouble. It’s the same as applying a factory reset. You can apply the factory reset from most Android devices by entering recovery mode and selecting wipe data/factory reset. Alternatively, there is a series of key commands for hard resetting. As usual, there’s an app for that if you need it: Simple factory Reset. However we always recommend keeping your number of apps down to help battery life and reduce bloatware.
