The Galaxy S5 Mini is still making it’s way to an eventual word-wide release later this year and some people updated the firmware to the latter stages of Kitkat via a Custom ROM. If you did this and want to go back to stock Android 4.4.2 Kitkat firmware you can do so by installing the build, namely XXU1ANG1 firmware by following the guide I am presenting below.
As usual there’s a few things you need to notice before starting. Given it’s returning to stock there’s also a few additional pieces worth mentioned. Firstly, understand that anybody can install this whether you are using a custom Rom and recovery system with root or you are using stock firmware as we speak.

Furthermore, if users do have a Custom Rom it will wipe and need reinstalling after we finish. We also lose root access and rooted apps unless people backed up the data with apps such as Titanium or took an NANDroid backup before starting the guide.
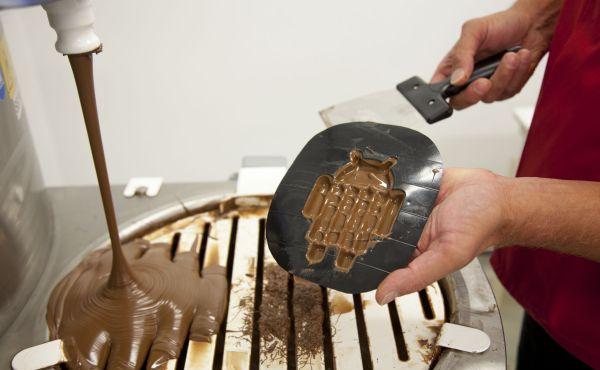
The S5 Mini variant starts with Android 4.4 Kitkat that is the beginning of the chocolate variety. What we have here today is a newer variant of the same chocolatey flavor and with it comes some great features. Some of my favorites include selecting a default application for messaging, white status bar icons, color Emoji, performance boosts, improved Samsung Keyboard, cloud printing, wireless printing, full screen album art and much more. It is the best update, users can have because we saw the most feature updates in it compared to the rest. To be honest, it’s all downhill from here and the latter versions such as Android 4.4.3 and 4.4.4 don’t offer much support at all except a few minor tweaks and security enhancements.
The S5 mini comes with 16 GB built-in storage space and if that isn’t enough another 64 GB of external space is available via the SD card options ranging from MicroSD microSDHC and microSDXC. It is important because we want to use the internal space top backup our personal data and settings. Make copies of the photos, videos, music files including albums, songs, contacts, call logs, SMS texts and more. If there isn’t enough space, then you may want to buy the memory card that slots in the phone. If you don’t have a lot of stuff and you would rather just make copies of the contacts, then try using an app such as helium available from the Google Play Store. I also like to recommend checking out Google Drive, a cloud-based data hosting service that is currently offering up to 15 GB free space for people who sign up. No, I don’t work for Google and I understand doing that can seem scary because you fear they will trap you into making payments, but it really is a great service that’s user-friendly.
Furthermore, security apps cause interruptions and we want to avoid that as much as we can. temporarily disable any antivirus program on the computer, such as AVG, Trend, Panda, Kaspersky, Avast, Norton, Quick Heal, ESET, McAfee, Microsoft Security Essentials, BitDefender or any other security program you might be using such as Avira.
Moreover, everyone has to visit the Develop Options from the Settings menu and enable USB Debugging Mode.
Correspondingly we want the up to date USB Drivers from Samsung to help make sure we connect cohesively and without and worries.
How To Install XXU1ANG1 Android 4.4.2 Kitkat On The Samsung Galaxy S5 mini Smartphone using OTA firmware
1. Download the firmware filehere.
– have it on the desktop for easy access or the C: Drive if you plan on keeping it for longer than a day.
2. Download the freshet Odin 3.09 here.
– follow the same rules as they other file, remember that a build up on the desktop results in slow loading times.
3. Start with the smartphone off.
4. Boot it into Download Mode.
– press Volume Down + Home + Power keys.
– watch the screen change and display a ne Android logo.
– now release your fingers from the buttons.
5. have the USB cable handy.
– look in the phone charger if you can’t find the wire.
6. Run the Odin app so it is open on the Windows-based PC.
– we want to do it now so it can pick up the device in a moment.
7. Plug the USB wire in the computer system unit and the smartphone.
– most system units have several USB ports, find one that works or use the one you normally use when connecting headphones.
8. Look for the “added” message and a blue ID: COM port.
9. Click the AP button and upload the tar.md5 file.
10. Leave the default settings and boxes marked as they are.
11. Do not check the re-partition box unless there is the pit file in use.
12. Wait until a “pass’ message shows up on the screen.
12. Close down the Odin program.
12. Visit the system tray in the taskbar and stop the USB Mass Storage device.