Last Updated on April 12, 2017 by Mathew Diekhake
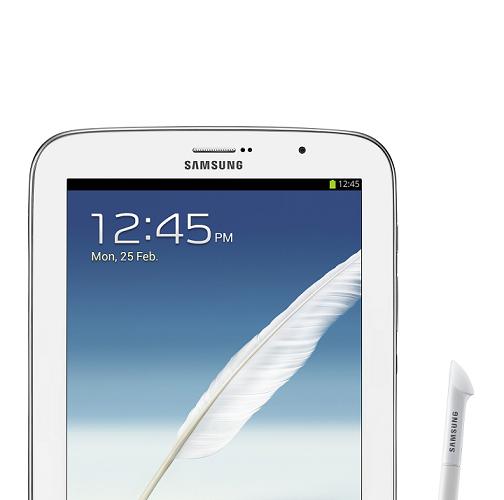
The OTA update we are mentioning here, namely XXDND8 that upgrades the Samsung Galaxy Note 8.0 to a fresher version of Android 4.4.2 Kitkat finished rolling out a long time ago. However, that doesn’t mean it’s not sitting in your Settings waiting to be unlocked because if you choose to put the installation on hold when the official notification came through it won’t Pingback until you manually check it out. If you prefer updating it OTA then head to Settings > More > About phone > Software updates > Check for software updates and take a look if it’s there.
In the same fashion as the others we cover, the 44.2 Kitkat is one of your favorites updates in the chocolatey type because it comes with many features that make it a larger update in comparison to the rest. Inside it you will find immersive mode, new Location menu, transparent status and navigation bars, wireless printing, color Emoji support, full screen album and media art, a camera app icon available from the lock screen for taking photos without it needing the owner unlocking the handset first plus a bunch more.

In addition, the Note 8.0 is an AT&T exclusive tablet that comes with am Android 4.1.2 Jelly Bean TouchWiz UI OS out of the box. Equally important, it received the Android 4.2.2 Jelly Bean firmware next and now we have a great build in the lead up of Android L that we are witnessing the Develop Preview of now.
In the light of wanting to create storage space for people, Samsung gave 16 GB of internal space. The same space is great for backing up provided you have enough of it left. if there isn’t and you need more Sammy also gave up to 64 GB with microSD, microSDHC and microSDXC memory cards. Furthermore, the Mountain View company providing the operating system has their own sercv9ce called Google Drive that gives an extra 15 GB of free cloud storage space for data.
Furthermore, once you have worked out which road to go down, backup the contacts, call logs, SMS texts, MMS messages, video files, photo galleries, music albums and any other sensitive data you don’t want to risk losing. The worst case scenario is a factory reset. if we need to perform a factory reset it will wipe the data.
The guide uses a tool called Odin that is made by the official Samsung Developmental team. The tool is only made for WIndows-based PCs and won’t work for Mac OS X or Linux. It is possible to flash Android-based firmware with a different tool for those machines, but it isn’t done by following this guide.
Moreover, the battery provides a whopping 4600 mAh capacity. Make sure the battery has enough power to see through the entire operation without shutting down. If the USB charging feature isn’t work then you will want to have at least 60% battery power remaining. Check the device’s battery icon in the status bar to see how it is going.
Comparatively, check that the USB Debugging Mode is enabled by going to the Develop Options and marking the box so it represents being in the ‘on’ position. Likewise, have the up to date Samsung USB Drivers ready in case you don’t have them already. people can use the ones available from Samsung Kies, or use the option from the link provided.
How To Setup Android 4.4.2 XXDND8 firmware On The Samsung Galaxy Note 8.0
1. Download the N5100XXDND8_N5100OXADND8_XEO.zip firmware file here.
– use the C: Drive or the desktop
2. Download Odin 3.09 here.
– Store it on the C: Drive for next time or delete it from the desktop after use.
3. Turn the tablet off.
– hold the power button in for 15 seconds.
4. Have the USB wire handy.
– check the phone charger cable if you can’t find it here.
5. Boot the device in Download Mode
– press Volume Down + Power + Home keys simultaneously.
6. Connect it to the PC
7. Watch Odin displays the message “added” and the ID: COM ports changing to blue.
– if that didn’t happen then update the USB Drivers from another source.
8. Click the AP button and upload the tar.md5 file.
9. Do not adjust the default settings
– one option is Auto reboot
– the other option is F Reset Time
10. Click the start button to flash the file on the device.
11. Wait for it to say “pass” on the screen.
– the ID: Com port will change to a favored colour too!
12. Disconnect the tablet from the computer by visiting the “safely remove hardware” icon in the system tray
– put a stop to the USB Mass Storage device.
