Last Updated on February 25, 2024 by Mat Diekhake
Windows 10 users can sign up to be Windows Insiders and receive preview builds of future versions of the Windows operating system. These preview builds offer users the chance to use upcoming features and design tweaks, but the builds are less stable because Microsoft is relying on the group of Insiders to relay information to the FeedBack Hub which helps Microsoft get the builds ready for a final release to the public. This means Insiders can expect to find the odd bug or two, so it’s best left off computers that you rely on for daily work or activities.
Getting enthusiasts for an operating system to test the builds is not a new concept. Apple users have been doing it since the beginning of iOS to help better the final releases of iOS software before it rolls out to public smartphones. Funnily enough, not only do people help Apple create an operating system that contributes to making the billion dollar company wealthier, but they even have to pay a fee to be a “developer.” With Microsoft, that is not the case—you can sign up to be a Windows Insider for free if you want to help Microsoft better their software.
Only sign up to be a Windows insider if you know how to do necessary troubleshooting procedures, if you know how to backup and restore the Windows 10 operating system, and if you feel comfortable installing Windows ISO files. Your computer manufacturer is probably not going to enjoy fielding your questions and offering support for bugs if you’re signed up to the Insider program because those bugs are to be expected and what you signed up for.
Up until now, the Windows Insider program hasn’t been very fine-tuned. If you already signed up to be an Insider, it was quite difficult to opt out of future updates. So difficult in fact that when you followed the procedure to no longer receive updates, it would tell you that you had opted for slower updates rather than no updates at all.
As of Windows 10 build 18312, there is a new toggle available from the Settings app that makes it easier to pt out of future Insider updates. Now all you need to do is toggle off the option for “Opt this device out of flighting when the next major release of Windows 10 is installed.”
The following tutorial demonstrates how to start and stop receiving the Windows Insider builds on your computer for versions of the Windows 10 operating system running build 18312 and up.
Method One: How to Start Receiving Windows Insider Preview Builds in Windows 10 Using Settings App
Here is how you can start getting Windows Insider Preview builds from the Settings application:
1. You can start getting the Windows Insider preview builds for a computer that runs on a version of the Windows 10 operating system from the Settings application.
2. Open the Settings app and click on Update & Security from the main Windows Settings menu.
3. From Update & Security’s left side, click on Windows Insider Program and then under the Get Insider Preview builds heading in the right side of the same window, click on the Get started button. (click to enlarge screenshot below)

4. Under the Pick an account to get started heading, click on the Link an account button. (click to enlarge screenshot below)

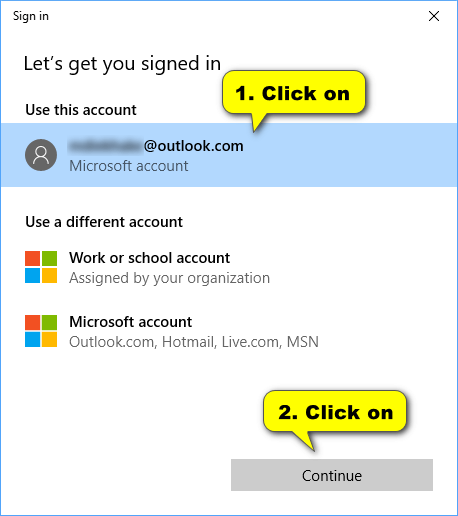
5. Under the Let’s get you signed in heading, click on the email account associated with the account that you want to use and then click on the Continue button. (click to enlarge screenshot below)
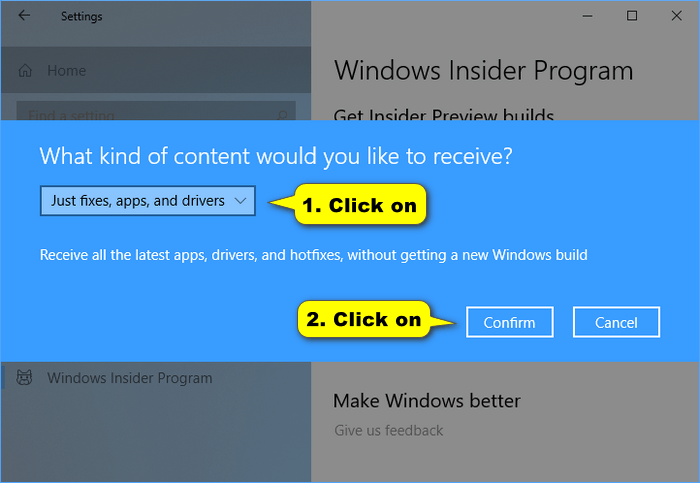
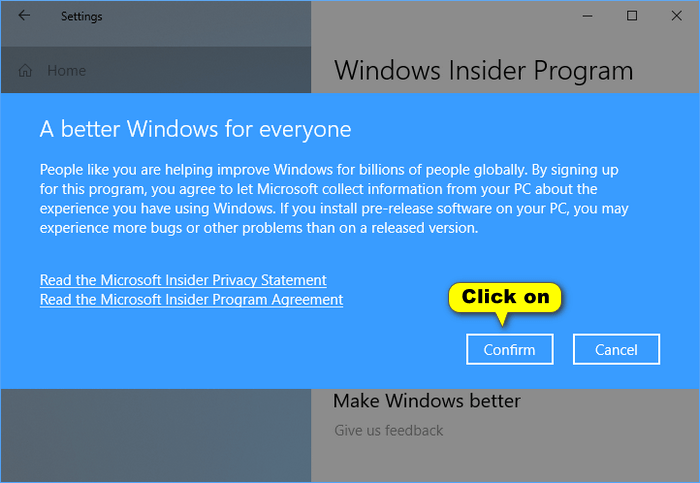
6. Under where it asks What kind of content would you like to receive, choose between one of the three options and then click on the Confirm button.
a. Select Just fixes, apps, and drivers and then click Confirm. (click to enlarge screenshot below)
b. Select Active development of Windows and click on Confirm. (click to enlarge screenshot below)

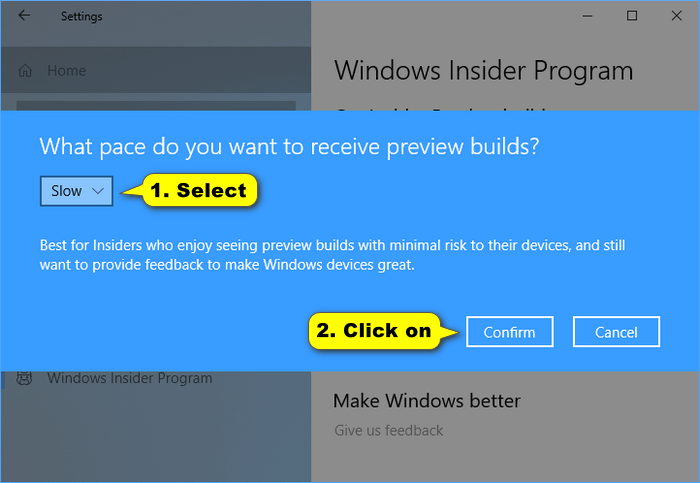
Choose between Slow and Fast from the drop-down menu depending on what pace you want to receive the preview builds. (click to enlarge screenshot below)
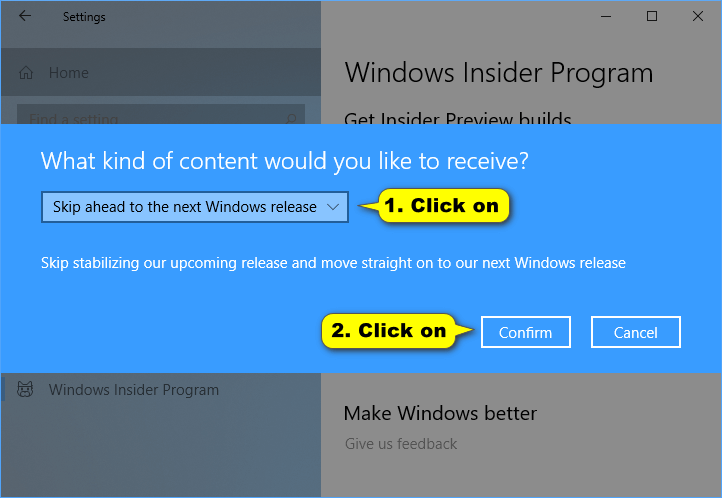
c. Select Skip ahead of the next Windows release and click Confirm. (click to enlarge screenshot below)
7. After making your selection.selections, click on the Confirm button. (click to enlarge screenshot below)
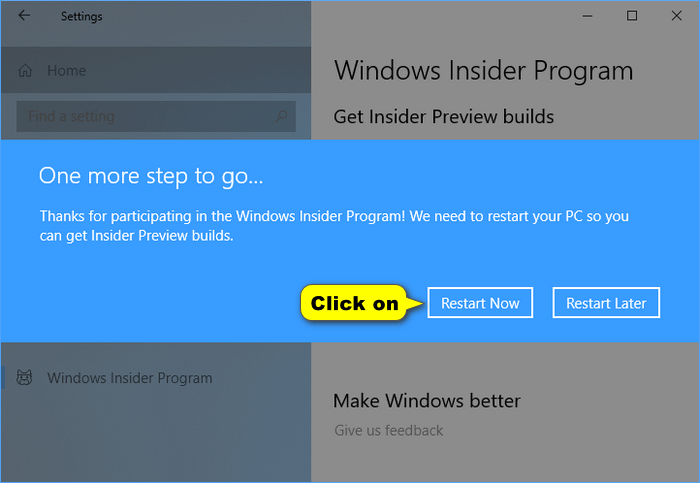
8. Click on the Restart Now button to restart the PC so it can start getting the Insider builds. (click to enlarge screenshot below)
9. The Settings app will now close and the computer will reboot. Sometimes over the next few days to a few weeks, you can expect to get an update that puts your PC on the Insider builds.
Method Two: How to Stop Receiving Windows Insider Preview Builds for Your Windows 10 PC Using Settings App
Here is how you can stop getting the Windows Insider preview builds for a computer that runs on a version of the Windows 10 operating system from the Settings application:
1. Open the Settings app and click on Update & Security from the main Windows Settings menu.
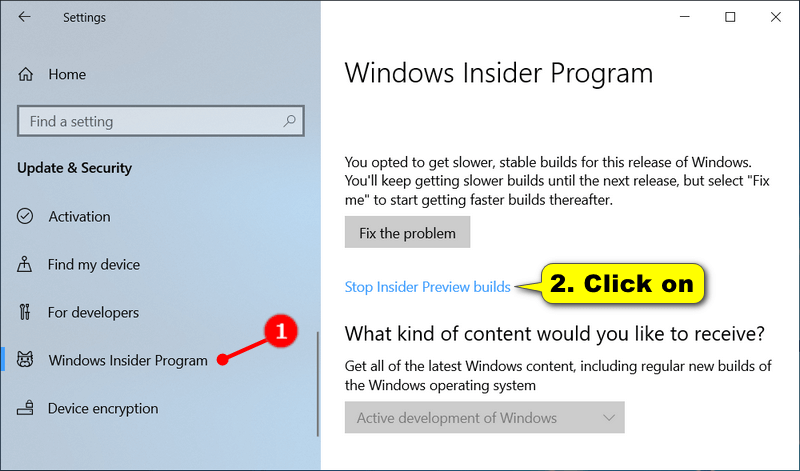
2. From Update & Security’s left side, click on Windows Insider Program and then under the Get Insider Preview builds heading in the right side of the same window, click on the Stop Insider Preview builds link. (click to enlarge screenshot below)
3. Click on the link that says Need to stop getting insider builds completely? (click to enlarge screenshot below)
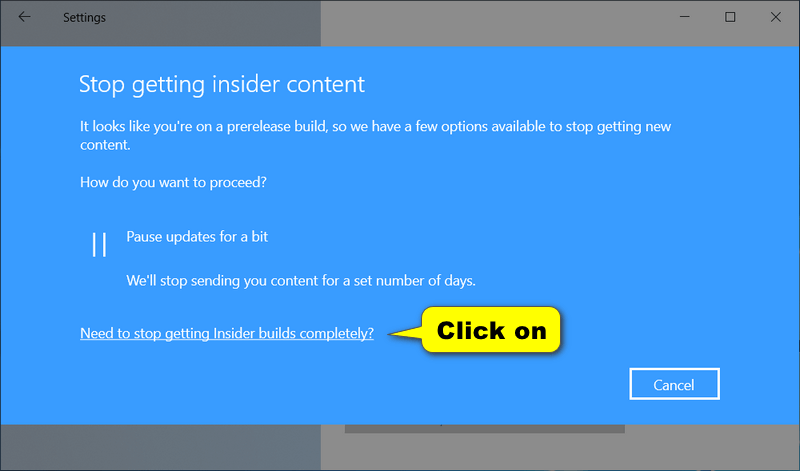
4. You will be directed to a Microsoft webpage with more instructions.
Method Three: How to Enable/Disable Windows Insider Preview Builds for Your Windows 10 PC from Local Group Policy Editor
Here’s how you can enable or disable the Windows Insider preview builds for a computer that runs on a version of the Windows 10 operating system from the Local Group Policy Editor:
Note: Using the Local Group Policy Editor to enable or disable the Windows Insider preview builds will override any settings you might have done with the first two methods above.
1. Open the Local Group Policy editor.
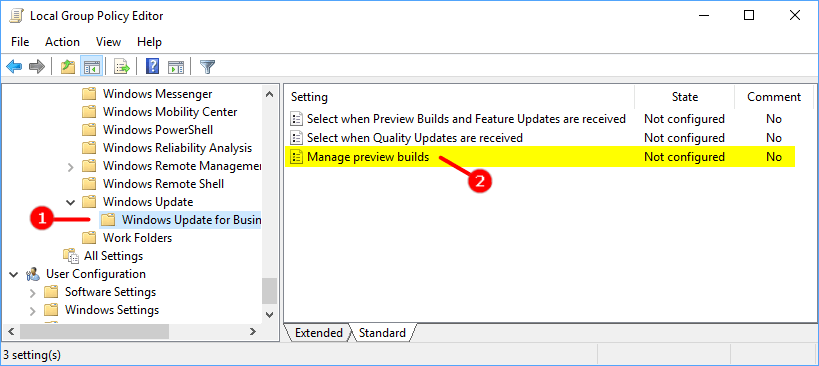
2. In the console tree of the snap-in, navigate to the following path:
Computer Configuration\Administrative Templates\Windows Components\Windows Update\Windows Update for Business
3. In the right pane after expanding Windows Update for Business, click on the Manage preview builds to open up its policy. (click to enlarge screenshot below)
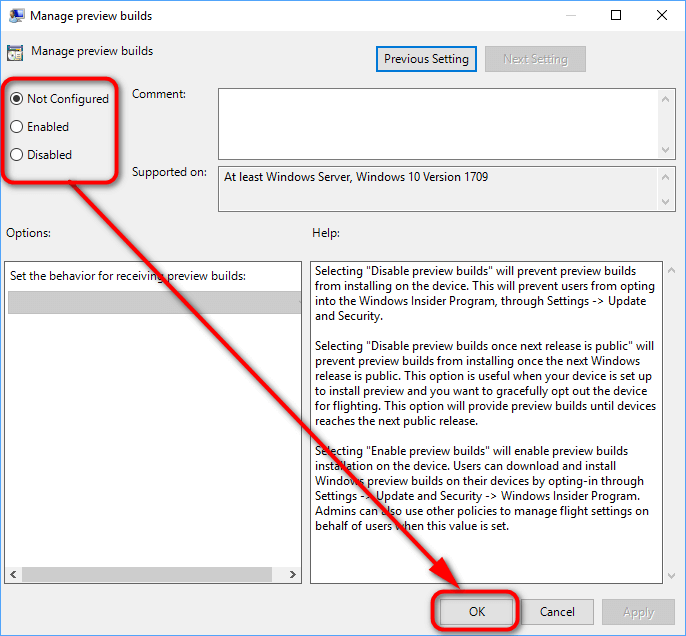
4. From the Manage preview builds, choose between Not configured (to enable preview builds and continue to use what Windows wants as the default option), Enabled (to disable preview builds), and Disabled (to enable preview builds), and then click on the “OK” button at the bottom of the policy window. (click to enlarge screenshot below)
You can now close the Local Group Policy Editor and continue using your computer if you want
That’s all.