Last Updated on April 6, 2017 by Mathew Diekhake
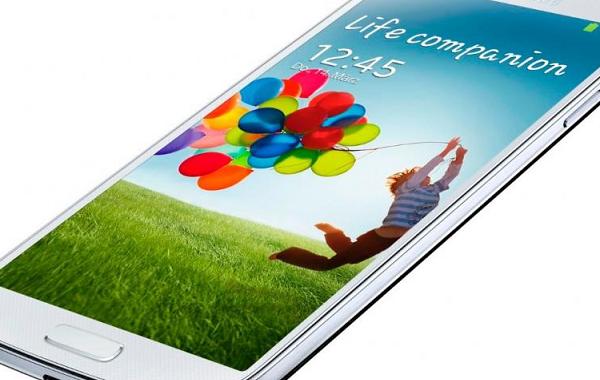
The Samsung Galaxy S4 is last years flagship smartphone under the Sammy name. Furthermore, there are different models which all come under the S4 name. They include the S4 Mini, Active, Zoom, value Edition and the stock S4 phone. There are heaps of tricks and shortcuts which you can use from the operating system and software. The software changes as phone carrier networks and Android push out future installments.
The Samsung Galaxy S4 started out with Android 4.2.2 Jelly Bean and is not running the 4.4.2 KitKat. There are no doubt some unofficial custom ROM where people can try running the last stages of KitKat or even Android 5.0 Lollipop. However, one thing that doesn’t change is how to take a screenshot for the same.

You may remember me referring to a custom ROm just a minute ago. That’s important because those running with custom ROMs will have their own screenshot options from the menu. They come in many variations, but most of them to cater for added functionality and screenshots. Try finding yours from Settings > Display > Screenshot. If you are wondering what on earth a custom ROM is don’t worry! That probably means you don’t use them. A large part of Android enthusiasts change their devices with new features and themes via unofficial ROM builds that changes the software. If you are running stock Android with a device that’s not altered from how it comes out of the box from the shops, you should keep reading for your best methods to applying the shot.
There are two main ways for you to apply the screenshot. The first is by using the built-in feature Android supply whereby you can press a series of keys on the device. The second option is using any number of official applications available from the Google Play Store. Understand that an application isn’t always the easiest way to use a feature. They often result in pressing a similar amount of keys from the display. Moreover, it’s adding bloatware to your device which you want to limit for added performance and saving memory space. All phones come with a limited amount of storage space and each time you install another app from Google Play you are losing some of that valuable space. That can result in battery draining faster, instability and more.
Therefore, we recommend using the keys first as the best method. If you find you don’t like the default keys, or you simply have a hard time pressing the keys required, that’s when you should think about trying out an additional application. Apps often vary with the keys you should press to take the shot. That means you’ll eventually find one that suits you. Check out the full list of application regarding screenshots from here.
Using the Smartphone Default features
- Have the display on the picture you want to take the screenshot.
- Press the Power and Home keys at the same time.
- Keeping holding the buttons down until you hear a sound of a shutter.
- Preview the snapshot from the notifications panel.
Using Swipe Gestures
- Launch the Settings menu from the app drawer.
- Tap the Motion.
- Tap the hand Motion.
- Tap the palm Swipe To capture and mark the box.
- Go back and find the picture you want to store.
- Swipe the hand vertically to take the snapshot.
- Don’t stop until you hear the camera shutter sound.
- View the results from the photo gallery.
Using Apps
- Download the Screenshot ultimate app from GP here.
- Following the prompts for installing the same.
– you’ll need to log in to your Google account and confirm the download. - Wait for the application to appear in the apps section of your phone.
- tape on the icon after it’s complete.
- Follow the on-screen instructions for using the app.
- It comes with the ability to shake the phone, service icon click and an overlay icon which all result in the snapshot.
Alternatively, you can download the Screenshot application here and install it by using the same set of instructions. After downloading user can save the shots in folders of their choice, crop the photo to your desired dimensions and more.
